How to Install Sewer Lines in a Trench
Last updated: September 10, 2026
Key Takeaways
- Mark the centerline with stakes or paint, then mark the trench bottom and pipe invert at intervals of about 10 feet.
- Verify the total fall matches the required slope; a 50-foot run at 1/4 inch per foot needs 12.5 inches of drop.
- Place 4 to 6 inches of compactable material, often sand or fine native material free of sharp rock, under the pipe.
- Ask how the contractor will protect the house foundation and nearby utilities.
Installing sewer lines in a trench is a layout-and-grade job, not a dig-and-drop job. Simple as that. This guide on how install sewer lines trench lays out the basic sequence: set the route, keep the slope, bed the pipe, and get it inspected before the backfill goes in. The pipe has to leave the house at the right elevation, fall steadily to the connection point, rest on a stable bedding layer, and pass inspection before it gets buried. Who are you really hiring? Someone who can make it drain by gravity, hold up after settlement, and satisfy local code.
Who this is for — and who should do something else
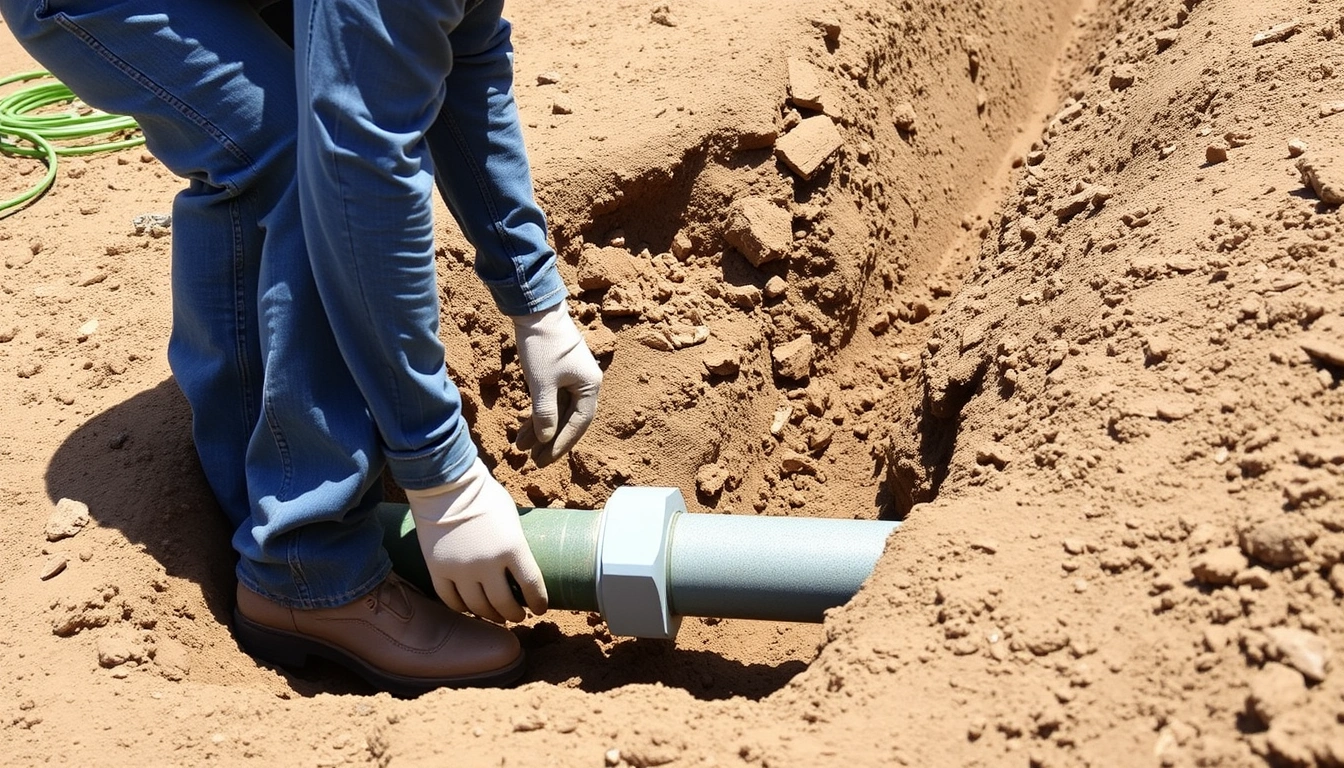
This fits a homeowner, contractor, or property manager who already knows the route is approved, the sewer authority or septic designer has set the connection point, and the job is a straightforward gravity line in a trench. It assumes you have a plan for the pipe size, the depth of cover, and the utility locate before any excavation begins. For most residential work, that means 4-inch PVC sewer pipe, solvent-welded fittings, and a trench that can hold a steady slope from the building to the main or septic tank. For how install sewer lines trench jobs, this is the standard setup most crews expect.
It does not fit neatly if the line crosses a foundation wall, runs under an existing slab, needs a lift station, or passes through rock, a high groundwater table, or unstable fill. And it does not fit every jurisdiction either. Frost depth, trench-shoring rules, bedding requirements, cleanout spacing, and inspection points vary by county, city, and utility district. In colder areas, the burial depth can be a lot greater than the pipe diameter suggests; in wet ground, dewatering can change the whole job. Ugly little surprise, that.
I would treat this as qualified plumbing work, even when the trenching itself looks simple. Honestly, that’s the cautious route. Consult a licensed plumber or sewer contractor if the route, connection, or code requirements are unclear. Excavation cave-ins, utility strikes, and a sewer line that is off-grade by even a small amount can turn into a repeat dig. If the line ties into a municipal main, the sewer authority may require a licensed plumber or sewer contractor for the connection and test. If the line serves a septic system, the installer may need to follow the approved site plan exactly. OSHA trench rules and local plumbing code are the safest references to check before work starts.
The practical dividing line is this: if you are only exposing and backfilling around an already approved line, that is one thing. If you are setting slope, making the connection, or deciding how to cross difficult ground, that is where a bad call costs more than the trenching.
What has to be right before a single shovel goes in?
The pipe route, slope, depth, and utility locations have to be known before digging starts. Sounds obvious. But the failures usually begin with the layout, not the glue joint.
First, check the line elevation. Sewer drains by gravity, so the invert—the inside bottom of the pipe—must fall continuously from the building to the outlet. A common residential target is 1/8 inch per foot to 1/4 inch per foot, depending on pipe size and local code. A 50-foot run at 1/4 inch per foot needs 12.5 inches of fall, while a 40-foot run at 1/8 inch per foot needs 5 inches. Too flat and solids can linger; too steep and liquids outrun solids. I would not guess at this. Use a builder’s level, laser level, or transit, and verify the proposed trench bottom before the trench gets deep.
Second, clear the utilities. Have underground electric, gas, water, telecom, and irrigation lines marked before excavation. If the route is near another utility, hand digging around the conflict zone is usually the safer move. One struck line can stop the job for a day and expose everyone to avoidable risk.
Third, look at the soil behavior. Clean sand, native clay, wet loam, and imported fill do not behave the same under a buried pipe. Loose backfill settles differently than undisturbed soil, and settlement can break a shallow line or create a belly in the pipe. That belly is a low spot that holds waste and water; it is one of the clearest signs of a poor installation. Classic pothole logic, underground.
Fourth, deal with trench safety. Once a trench gets deeper than a few feet, cave-in risk rises quickly. Sloping, shoring, or trench boxes may be required depending on depth and soil conditions. That is not cosmetic compliance; it is what keeps a trench from turning into a rescue scene. OSHA says excavation protection is required at 5 feet or deeper unless the excavation is entirely in stable rock.
A good plan includes a cleanout location, a test method, and a backfill sequence. If those are not set before digging, the job is already underplanned.
How do you install a sewer line in a trench?
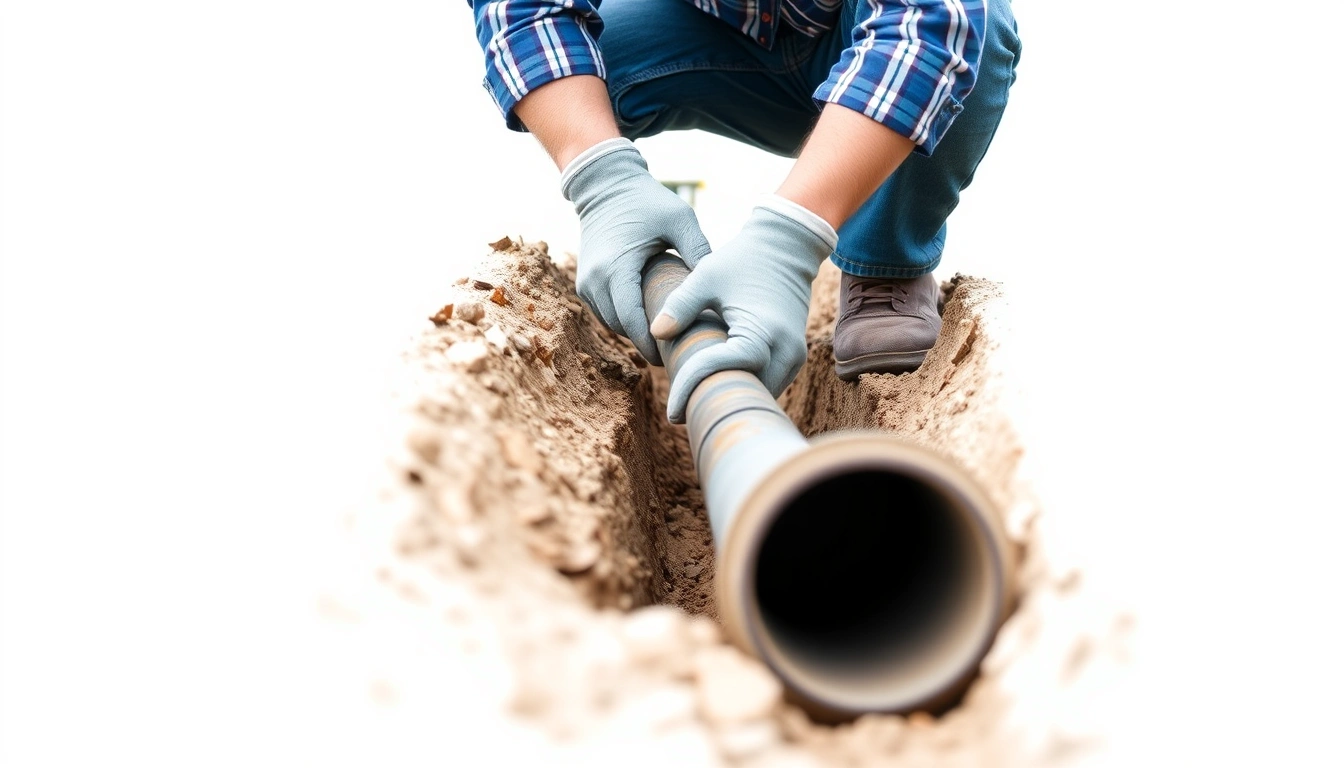
You install it by excavating to a controlled grade, bedding the pipe, laying each section on line and slope, testing the run, and backfilling in lifts that do not move the pipe. The order matters because every later step can wreck the earlier ones.
- Stake the route and the finished elevations. Mark the centerline with stakes or paint, then mark the trench bottom and pipe invert at intervals of about 10 feet. Verify the total fall matches the required slope; a 50-foot run at 1/4 inch per foot needs 12.5 inches of drop. A problem shows up as too little fall at the outlet or too much cut at the house end.
- Excavate the trench wider than the pipe, not just barely wider than the shovel. For a 4-inch sewer line, give yourself room to work and inspect the bedding; many trenches end up around 12 to 18 inches wide at the pipe zone, depending on equipment and soil. Verify the sides are stable enough to stand long enough for placement. A problem is sloughing soil or a trench that narrows so much you cannot bed the pipe properly.
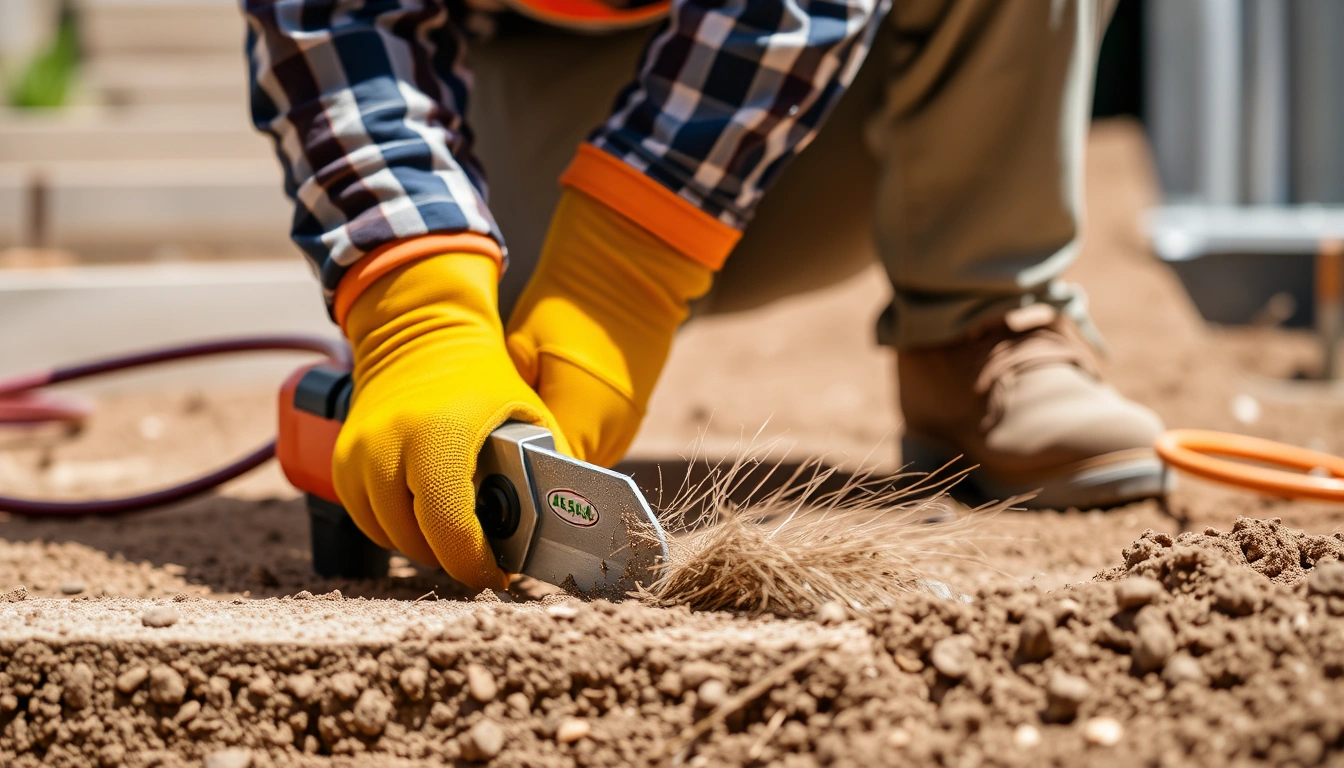
- Prepare a firm bedding layer. Place 4 to 6 inches of compactable material, often sand or fine native material free of sharp rock, under the pipe. Verify the bed is smooth and continuous, with no hard humps or voids. A problem is a rock point under the pipe, which can create a stress spot or a future crack.
- Set the first pipe section at the building outlet. Dry-fit or solvent-weld the first length so the hub orientation and slope are correct. Verify the pipe is on the intended line and the top of pipe does not force the outlet connection. A problem is starting high or low and losing grade over the rest of the run.
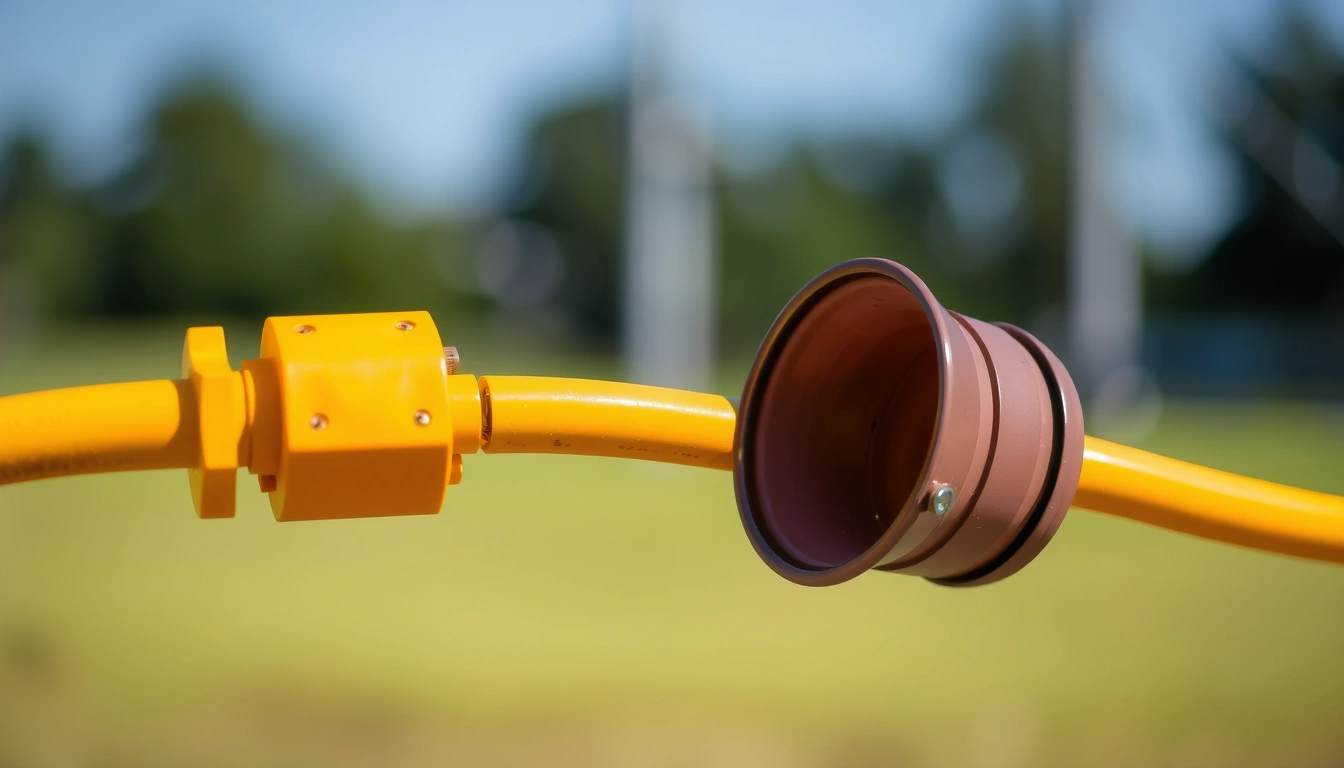
- Lay each section with the bell and spigot aligned. For PVC, clean the joints, apply primer and solvent cement where required by code, and fully seat each joint with a slight twist. Verify the pipe does not pull apart and the internal lip of the joint is not obstructing flow. A problem is an incompletely seated joint, which can leak or separate during backfill.
- Check slope as you go, not only at the end. Use a laser, level, or stringline with a measuring rod every few feet. Verify the grade stays within the allowed range and does not reverse. A problem is a “belly” or a flat section that is easier to fix before it is buried.
- Install cleanouts and fittings at the required points. Cleanouts are access points for a drain snake or camera, and many runs need them near the building and at direction changes. Verify they are vertical, accessible, and capped to grade. A problem is burying a cleanout too deep to use later.
- Test the line before cover. Depending on local practice, that may be a water test, air test, or inspection by the authority having jurisdiction. Verify there are no leaks, no movement at the joints, and no low spots holding test water. A problem is a failed test after backfill, because repairs then require reopening the trench.
- Backfill in layers and protect the pipe zone. Place approved backfill to the springline first, then compact in lifts, usually 6 to 12 inches at a time, without crushing the pipe or shifting the grade. Verify the pipe stays covered evenly and does not float in wet soil. A problem is dumping large rocks directly onto the pipe or compacting too aggressively before the pipe is supported.
The right result is plain, but consult the inspector or a licensed plumber if you are unsure about local acceptance: straight alignment, consistent slope, secure joints, and no settlement after cover. If the line snakes, dips, or drifts off elevation during backfill, the work is not done. IPC and UPC-based inspections are built around those basics.
What should a contractor explain before you sign?
A contractor should be able to tell you the pipe size, trench depth, slope, bedding material, test method, and what parts of the route will be hand dug. If they cannot explain those details in simple terms, I would keep asking. No sales gloss. Just facts.
Price depends on far more than footage. A short run in soft soil can be cheap compared with a shallower run that requires rock breaking, shoring, or a sewer tap in a tight street frontage. The cost also changes with depth, surface restoration, permit fees, traffic control, concrete removal, and whether the crew must pump groundwater during the dig. A sidewalk, driveway, or finished yard can add real restoration cost after the pipe is in. For how install sewer lines trench bids, ask for the scope in writing before you compare numbers.
Time is just as variable. A simple residential sewer trench might take part of a day for excavation and another day for pipe placement, inspection, and backfill. Hard ground, utility conflicts, or inspection scheduling can stretch that. If someone promises an exact one-day turnaround without first seeing the route, that promise is usually too clean.
Ask what happens if the inspector wants a correction. Ask whether the bid includes bedding material, cleanout fittings, and disposal of spoil. Ask how the contractor will protect the house foundation and nearby utilities. Ask who handles the utility locate tickets and permit paperwork. Those are not side issues; they are the job.
A good contractor also names the standard they are following. In many places, plumbing and sewer work is governed by local plumbing code, the International Plumbing Code or Uniform Plumbing Code, plus utility or health department rules for septic or municipal tie-ins. The exact book matters less than the fact that there is one, and that the installer knows it. The EPA also publishes homeowner guidance on septic system siting, maintenance, and permitting.
What are the mistakes people actually make?
The most common mistake is setting the trench by eyeball. That usually produces a run with a shallow section, then a steep section, then a dip. The consequence is poor drainage or repeated clogging. The correct alternative is to shoot grade with a level or laser at multiple points before pipe goes in.
Another mistake is using the wrong bedding or leaving large rocks in the pipe zone. The consequence is point loading, settlement, or a damaged pipe wall. The correct alternative is a smooth 4- to 6-inch bedding layer and careful hand cleanup where the trench bottom is uneven.
A third mistake is overgluing or underseating PVC joints. The consequence is a leak, a joint that creeps apart, or a misaligned interior lip that snags debris. The correct alternative is dry-fit first, then prime and cement only as the manufacturer and local code require, with full joint insertion.
A fourth mistake is backfilling too fast. The consequence is pipe movement before the soil around it has support, which can undo a perfect grade in minutes. The correct alternative is to haunch the pipe properly—fill and support the sides first—then compact in layers.
A fifth mistake is ignoring cleanout access. The consequence is that any future blockage becomes a much larger excavation or interior drain problem. The correct alternative is to place cleanouts where a snake or camera can actually reach the line.
A sixth mistake is assuming municipal and septic jobs are installed the same way. The consequence is a line that passes one inspection and fails the next because the connection, depth, or test method is wrong. The correct alternative is to follow the authority’s written requirements before ordering material. For how install sewer lines trench work, that written requirement is the real checklist.
When should the job stop and a different plan take over?
The trenching approach stops being the right tool when one of these conditions shows up.
High groundwater or standing water in the trench: the pipe can float, the bedding washes out, and the slope can shift — stop and switch to dewatering, drainage control, or a different route.
Rock ledge or boulders across the line: the trench bottom cannot be shaped cleanly, and the pipe may bear on hard points — stop and bring in rock excavation or redesign the route.
Unknown utilities or conflicting marks: a strike can shut down the job and create a safety hazard — stop until the locate is clarified and exposed by hand.
Trench walls are unstable or collapsing: the job is no longer simple excavation, and cave-in risk rises fast — stop until proper shoring, sloping, or a trench box is in place.
The line will not hold grade without too much cover or too little cover: the route may be physically wrong for gravity drainage — stop and redesign the invert, cleanout layout, or connection point.
Inspection or permit requirements are unclear: a buried line that never passes inspection can force a costly tear-out — stop until the authority’s rules are in hand.
In all of those cases, “just keep digging” is the expensive choice. The right move is to change the plan before the pipe is buried.
What does a bad sewer trench job look like?
A bad job usually shows itself before the trench disappears. The pipe does not sit on a smooth bed, the grade wanders, fittings are forced instead of aligned, and the line has obvious stress at bends or couplings. If you can see the pipe bowing between support points, that is a warning.
After burial, the signs are slower but worse. Settling along the trench line, recurring clogs, slow fixtures, gurgling drains, or sewage backing up after a rain all suggest the underground work may be wrong. A trench that was compacted poorly can leave a visible surface dip months later. That dip often tells the story of what the pipe beneath is doing too.
A good result is almost boring. The trench line disappears, the surface settles evenly, access points remain usable, and the plumbing behaves the same six months later as it did on inspection day. That is the outcome worth paying for.
How long does it take, and what should the finished job include?
A typical residential sewer line in a simple trench can take 1 to 3 days for excavation, pipe placement, testing, and backfill, but harder sites can run longer because the trench itself is only one part of the work. If the route is shallow, straight, and clear of conflicts, the crew may finish faster; if the trench is deep, wet, or obstructed, the schedule usually stretches. A finished how install sewer lines trench job should include the pipe, fittings, bedding, cleanouts, inspection sign-off, and compacted backfill.
A complete job also leaves the surface in a condition the owner can live with. In a yard, that may mean rough grading and a plan for final restoration. On a driveway or sidewalk, it may mean concrete patching or asphalt replacement after the trench is closed. If the contractor cannot say what happens after the inspection, the scope is not finished.
How does this compare with other sewer installation methods?
A trenched gravity line is usually the most direct method when the route is accessible and the slope is available. It gives the installer full visibility on grade, bedding, and joints, which is why local inspectors often prefer it for residential work. It also creates the most surface disturbance, so restoration cost matters.
| Method | Typical use | Typical cost range | Typical duration | Best advantage | Main drawback |
|---|---|---|---|---|---|
| Open trench gravity sewer | Most residential replacements and new tie-ins | about $50 to $250 per linear foot | 1 to 3 days on simple jobs | Best control of slope and bedding | Yard, driveway, or sidewalk disturbance |
| Trenchless pipe bursting | Replacing some existing lines with limited digging | about $60 to $200 per linear foot | 1 to 2 days | Less surface restoration | Needs a suitable existing line and setup |
| Pipe lining (CIPP) | Repairing a sound but damaged existing pipe | about $80 to $250 per linear foot | often 1 day | Minimal excavation | Does not correct a bad route or slope |
If the line needs a new route, the open trench is often the practical choice. If the pipe already exists and the problem is inside the pipe wall, trenchless repair may be cheaper and faster. The right answer depends on access, depth, and what the existing line can support. In many localities, trenching remains the standard comparison point because it lets the inspector see the full installation.
What should you ask before the dirt goes back in?
Ask for the final grade check, the inspection report, and the test result before cover. Ask which sections were hand dug, where the cleanouts are, and what bedding material was used. Ask whether the backfill was compacted in lifts and whether any settlement is expected later.
Ask for photos of the open trench if you were not there. Those pictures show the slope, the bedding, and the joint alignment while the line is still visible. They also create a record if a dispute comes up later.
Ask whether the contractor would install the same way in the same soil and depth if the job were on their own property. That question tends to reveal whether the crew is confident or merely moving fast.
If you get clear answers, the job is probably being handled with the right level of care. If you get vague answers, the safest response is to pause before the trench is buried.