How to Route a Utility Trench Around Obstacles
Last updated: October 24, 2026
Quick Answer: Routing a utility trench around obstacles usually means choosing a path that preserves clearance, stays legal, and keeps the trench workable, often with at least 1 to 4 feet of offset depending on the obstacle and site conditions. For How to Route a Utility Trench Around Existing Underground Obstructions, the route should be planned before digging starts so the line can reach the target point without cutting through a slab, tree roots, a retaining wall, an easement boundary, a property line, or existing utility lines.
Start with the route problem, not the shovel
A good route starts with the endpoint, the obstacle map, and the utility’s needed path, not with a straight line drawn across the yard. For How to Route a Utility Trench Around Existing Underground Obstructions, I treat the first question as: “What path can I dig that stays legal, stays practical, and avoids forcing a bad repair later?” If the situation is unclear, consult a professional before digging. That means identifying the line’s start and finish, then tracing every hard stop between them. Source: OSHA excavation safety
Use a sketch at site scale, even if it is rough. Mark the house, curb, slab edges, driveway corners, retaining wall, tree trunks, and visible utility features. If the route has to cross a property line or run near an easement, confirm where that boundary sits before you pick a path. A trench that fits physically can still fail if it trespasses into the wrong strip of ground.
This is also where you decide whether the obstruction is fixed or negotiable. A concrete slab is fixed. A planting bed near a tree may be negotiable. A retaining wall usually is not something to “work around” by guessing; the trench can change drainage or undermine the footing if it gets too close. Existing utility lines are their own category because they can force a route change even when the surface looks open.
A simple rule helps: choose the route that uses the fewest turns and the fewest crossings while preserving safe separation from obstacles. Every extra bend adds labor, and every crossing adds risk. If two paths look equally possible, the one with more room for the trench and backfill usually wins.
How do you route a utility trench around a concrete slab or driveway?
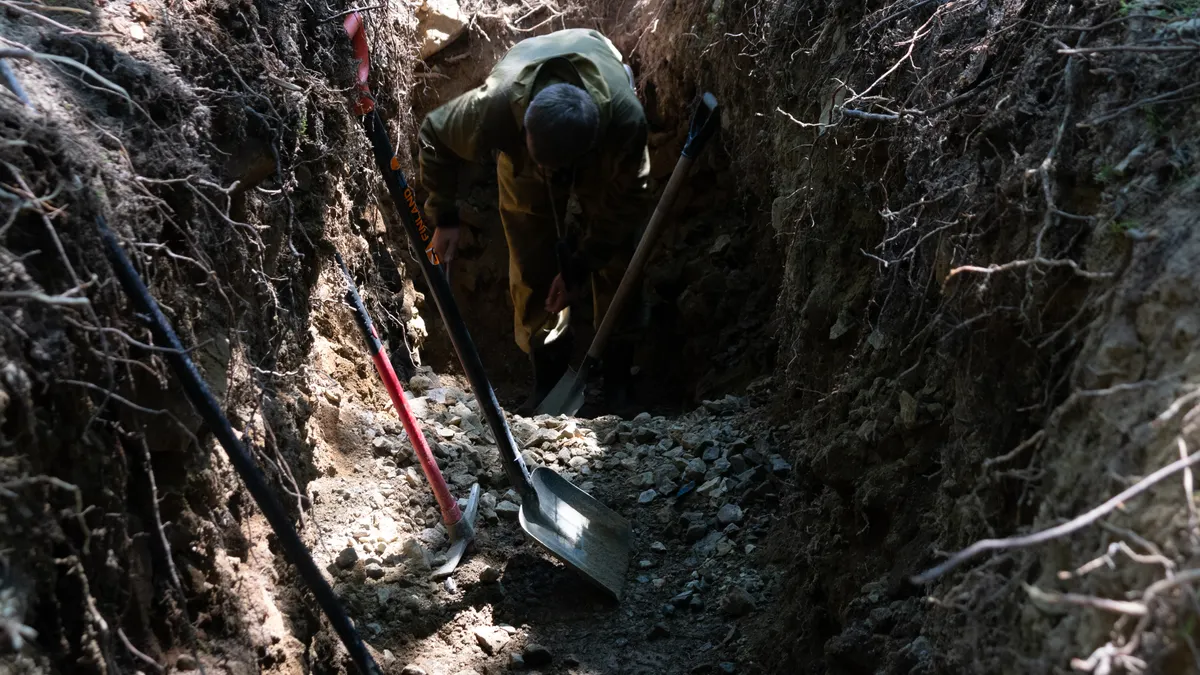
You route it by treating the slab edge as a hard boundary and then choosing an approach that gives the trench a straight run before and after the crossing point. If the situation is uncertain, consult a professional before you cut near the slab. A slab or driveway often becomes the main constraint because cutting it later is costly and slow, so the route needs to respect the paved area from the start. Source: FEMA on safe construction planning
First, decide whether the utility can run parallel to the slab edge for a distance before turning away from it. A 90-degree turn too close to the slab edge creates a tight corner that is awkward to dig and backfill. If the trench must cross near pavement, look for the shortest path that lands outside the most fragile edge zones. The cleaner the entry and exit, the less likely the trench will crumble the edge or leave a soft patch that settles later.
Next, check the depth requirement for the utility and compare it with the slab’s edge conditions. Shallow trenches near paved surfaces are more likely to disturb the base material under the slab or driveway. If the route can be shifted 1 to 2 feet farther out and still meet the destination, that small move often saves the surface above it. In tight yards, that extra foot matters more than a perfectly straight line.
A common mistake is to route beside a slab so tightly that there is no room for clean excavation and compaction. That costs time, invites edge collapse, and can leave the concrete unsupported. A better choice is to widen the offset slightly, then return to the target point with a cleaner angle.
If the driveway is the obstacle, I treat the paved surface as a route-crossing decision, not a place to improvise mid-dig. This page does not cover the separate choice of open-cut trenching versus directional drilling, but the route still has to account for whichever installation method is approved for the job.
Avoiding tree roots without guessing
You avoid tree roots by keeping the trench out of the root zone whenever possible and by changing the route before the roots become a digging problem. Tree roots are one of the easiest obstacles to underestimate because the visible trunk is small compared with the underground spread.
The practical move is to route the trench outside the likely root-dense area, then approach the target point from the least damaging side. Near mature trees, even a narrow trench can sever a web of feeder roots if it cuts too close to the trunk. The cost is not just plant stress; it is slower digging, harder cleanup, and a route that may need to be adjusted after the roots show up in the trench wall.
If the trench must pass near a tree, choose the side with fewer visible surface roots and the least canopy spread over the route. Roots often extend well beyond the trunk line, so do not assume the open side is root-free. A route that stays 3 to 4 feet farther from the trunk can be enough to change the amount of root cutting, even though it does not eliminate it.
The mistake to avoid is forcing a straight trench through the first root mass you find. That usually makes the excavation ragged and leaves the route fighting the tree instead of working around it. A better adjustment is to dogleg the trench slightly, then straighten it after the root zone.
This is one place where patience saves labor. If the route can move a little and still meet the utility target, it is usually smarter to spend the extra minute planning than the extra hour cutting.
Routing beside retaining walls and property lines
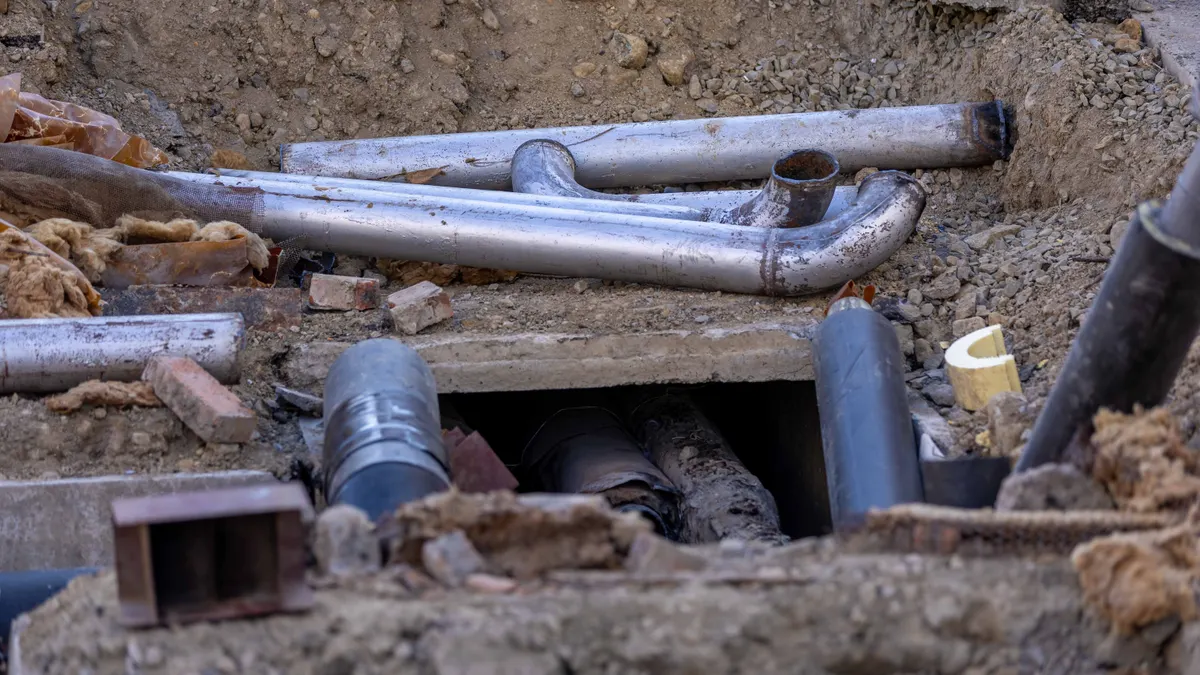
You route beside a retaining wall or property line by keeping enough offset for safe digging, access, and legal placement, then turning back toward the target only where the path is still buildable. Retaining walls and property lines are different obstacles, but both punish loose assumptions.
A retaining wall can limit how close the trench can get because the wall footprint, drainage, and soil support all matter. A trench placed too close can destabilize the backfill behind the wall or leave too little room to compact the new trench properly. If the wall is structural, I do not assume there is room just because the surface looks open. The route should stay outside the wall’s influence zone whenever possible, then rejoin the target line after clearing it.
Property lines are a different problem: the route may be physically possible but still wrong if it crosses into a neighbor’s side or leaves the utility outside the intended easement. That is why route planning and boundary awareness belong together. An easement can allow utility placement in a strip that is not the most direct route, and a property line can force a shift even when a shorter path exists on paper.
A useful habit is to mark the proposed trench with 2 or 3 route options before choosing one. That makes it easier to compare whether the “closest” path is actually the best path. In many sites, the best route is a longer line that avoids a wall corner, stays inside the easement, and keeps future access simple.
A route that pinches between a wall and a boundary line is often the wrong one. It may fit the utility, but it leaves too little room to dig, backfill, and repair without damaging something else.
What to do when existing utility lines block the route
When existing utility lines block the route, you reroute around existing utility lines by treating them as fixed obstacles and choosing a path that preserves separation, access, and future repair space. If the utility location is uncertain, consult a professional before digging. Existing utility lines are the reason many trench plans fail after the first few feet, because the surface route and the buried reality are rarely the same. Source: Call 811 before you dig
The first step is to assume the line is in the way until proved otherwise. That means the route should stay flexible where the trench approaches the crossing zone. A clean parallel run is usually better than a sharp crossing, because it gives more control over spacing and reduces the chance of creating a crowded utility bundle under one narrow strip of soil.
If the existing line runs across your intended path, look for a route that shifts one side at a time instead of swinging wildly around it. A smooth offset is easier to dig than a sharp zigzag, and it leaves the trench more predictable for backfill and future access. If the line cluster is tight, the route may need to move far enough away that the utility can later be serviced without disturbing the new trench.
A frequent mistake is to squeeze a new trench between existing lines and a wall, slab, or fence because the surface gap looks big enough. That costs more than time; it can create a trench that cannot be compacted properly and a utility layout that is hard to maintain. The better move is to accept a longer route if it keeps the trench clear and readable.
This is also where trench route planning earns its value. The goal is not the shortest line. It is the route that still makes sense after the underground conditions stop cooperating.
Make the final route choice by weighing access, repairs, and risk
You choose the final route by comparing how each option will be dug, backfilled, serviced, and repaired later, not just by how short it looks on a sketch. The best route is usually the one that stays accessible and leaves the fewest future problems, even if it adds a few feet.
I use four questions for the final choice. Can the trench be dug without tearing up a concrete slab or driveway edge? Can it stay clear of tree roots enough to avoid a messy excavation? Does it remain outside the danger zone of a retaining wall? And does it respect property lines and easements while keeping clear of existing utility lines? If one route fails on two of those questions, it is usually the wrong route.
A good route also leaves room for the work itself. A trench that barely fits on paper may fail in the field because the shovel, compactor, and backfill all need space. Narrow routes often create narrow problems: uneven sides, poor compaction, and awkward bends that make the utility harder to place cleanly.
The honest limitation is that some routes cannot be solved by trenching alone. If the path is boxed in by slab, wall, roots, and other utilities all at once, the right answer may be to change the alignment, not to force the trench. That is why this page is for route planning, not for pretending every obstacle can be beaten by persistence.
For the bigger method decision, the hub page on utility line installation methods and use cases is the place to go next. This page’s job is the route itself: how to choose the path around what is already there.
Common route mistakes that cost time later
The biggest route mistake is drawing the trench first and checking constraints second. That usually creates a path that looks tidy on paper and fails at the slab edge, the wall corner, or the first utility crossing. The cost is rework, not just inconvenience, because a bad route often has to be moved after the trench has already started.
Another mistake is treating all obstacles the same. A concrete slab needs a different response than tree roots. A retaining wall is not just another hard object; it affects soil support. An easement is not just a strip of land; it can define where the utility is allowed to run. Existing utility lines are not a visual nuisance; they are a route-control problem.
A third mistake is leaving no room for bends. A trench with two sharp turns in a short distance is harder to dig, harder to keep straight, and harder to backfill well. If the route needs to turn, make the turn gradual enough that the trench still has a believable path through the site.
The fix is simple, though not always easy: sketch the route, test it against each obstacle, then revise before the first cut. A route that changes on paper is cheap. A route that changes in soil is expensive.
Key takeaways
- Pick the trench path from the underground and boundary constraints first, not from the shortest visible line.
- Give slabs, driveways, and retaining walls enough offset that the trench can be dug and compacted cleanly.
- Route around tree roots with distance, not force.
- Treat easements, property lines, and existing utility lines as hard planning limits.
- A slightly longer route is often the better route if it reduces crossings, bends, and repair risk.
Can a trench go under a driveway?
Sometimes, but the route decision depends on the crossing point, the driveway structure, and the installation method. A trench that has to pass under a driveway usually needs a cleaner approach and exit than one running through open ground. If the crossing creates a tight bend or threatens the paved edge, the route should be changed before digging starts.
How do you avoid tree roots when trenching?
You avoid tree roots by keeping the route outside the root-dense area and by approaching the target from the least damaging side. A route that stays farther from the trunk usually causes less root cutting than a direct line. If the trench must pass nearby, shifting the path even a few feet can change how much root mass the excavation meets.
What if another utility blocks the route?
You reroute around it and treat that utility as fixed until the final layout is confirmed. The safest route is often the one that moves parallel for a while, then returns to the target with a smooth offset. If the space is too tight between the obstacle and a slab, wall, or boundary, the better answer is to change the route rather than squeeze the trench through.
Drafted with AI; not yet reviewed by a person.