How to Budget a Residential Utility Trenching Project
Last updated: September 10, 2026
Key Takeaways
- Removing and replacing 150 square feet of concrete can be a separate line item, depending on the site and restoration method.
- In the U.S., contact 811 before digging so existing utilities can be marked.
- Better approach: call 811 early and build the wait time into the schedule.
- Better approach: carry a 15% to 25% contingency, more if the site is older or heavily landscaped.
A residential utility trench budget usually turns on one plain fact: the trench is only part of the bill, and it is often the part that picks up the odd charges. This guide on how to budget a residential utility trenching project shows how to estimate the full project cost, where the hidden line items live, and when a “simple trench” stops being simple. Simple? Rarely.
Who this is for, and what you need to know first
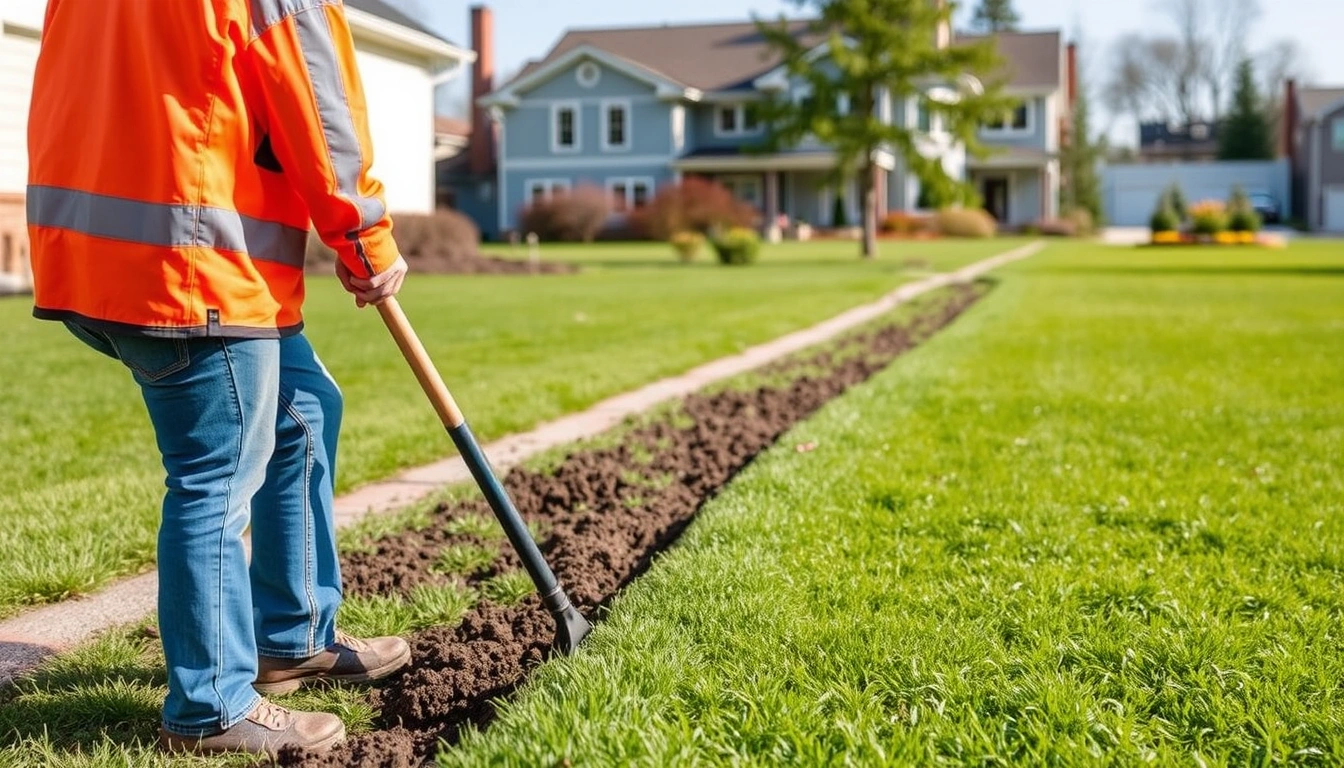
Use this if you’re running power, water, sewer, gas, internet conduit, or low-voltage lines across a yard, driveway, or between structures on a residential property. I’m assuming you already know the route, the utility type, and whether the line is new construction, a replacement, or an upgrade. If you do not know the utility type or the service size, stop there; those two choices drive trench depth, pipe size, inspection, and permit scope.
I’m also assuming you can separate the trenching job from the utility hookup. A trench contractor may dig and backfill, but the electric, gas, water, and sewer connections often need licensed trades and inspection. That split matters because the budget can look low until the licensed work gets added. For a broader project overview, see our residential electrical services, residential plumbing services, and site work and excavation pages.
For a first-pass budget, I would split the project into six buckets: locating and permits, excavation, bedding and conduit or pipe, crossings and restoration, inspection and testing, and contingency. Miss one, and you are not budgeting; you are guessing.
This is not the job to improvise if the route crosses a main service, a public right-of-way, a septic field, a retaining wall, or a known gas line. It is also the wrong project for a homeowner who is unsure where existing utilities run. One bad bucket line can turn a planned trench into a utility strike, and then the numbers go sideways fast.
How much should I budget for a residential utility trench?
Budget for the whole installed route, not just the digging, and keep a contingency of 15% to 25% for ordinary residential surprises. The useful question in how to budget a residential utility trenching project is not “how much per foot is trenching?” but “what does one finished utility path cost from start to restored surface?”
A clean, short run in open soil usually costs much less than a trench through roots, rock, concrete, or a paved driveway. The gap is not a few dollars; it is the difference between straightforward excavation and specialty labor. A short trench under landscaping may need only a mini excavator and backfill. A driveway crossing can add saw cutting, concrete or asphalt patching, and compaction. And a utility route that must be bored under a slab or driveway changes the equipment and the price structure completely.
I would budget in layers:
- Design and prep: route confirmation, utility locates, permit research, and sometimes inspection scheduling.
- Trenching and haul-off: labor, machine time, spoils removal if there is nowhere to stockpile dirt.
- Material: conduit, pipe, warning tape, tracer wire where required, bedding sand or native fill, couplings, cleanouts, and fittings.
- Crossings: asphalt, concrete, pavers, roots, fence lines, or hardscape repairs.
- Restoration: grading, sod, seed, mulch, gravel, or surface patch.
- Testing and final approval: pressure testing for water or gas, continuity or inspection for electrical conduit, and sewer checks where applicable.
If you want a practical budget number, the safest move is to estimate the route in segments and compare the route options, not to average every foot together. One 40-foot section across lawn is a very different budget line from a 12-foot driveway cut. Mash them into one average, and the expensive part gets buried. That is why “per linear foot” pricing only helps after you know the terrain and crossing count.
What drives the price of a trench route?
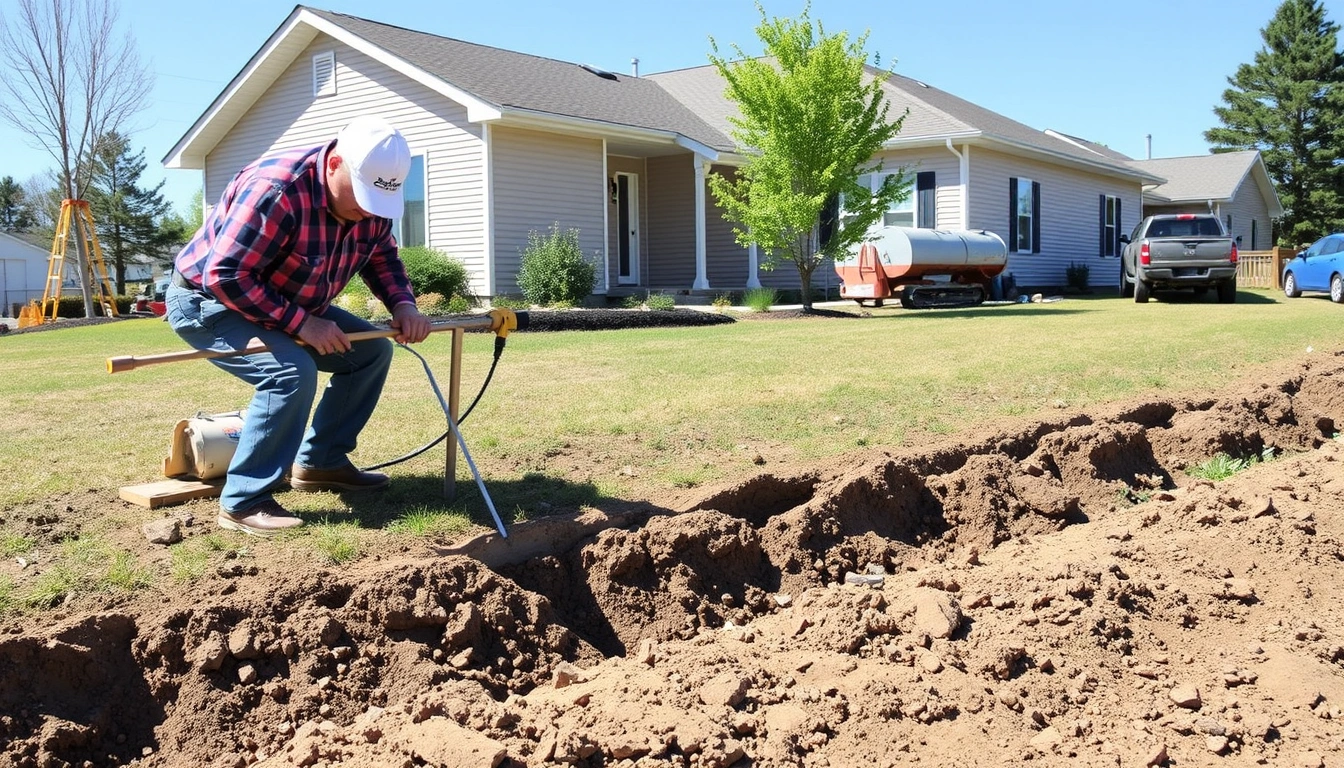
The route drives the price more than the length does, and the biggest cost jumps come from depth, soil, obstructions, and restoration. A 60-foot trench through soft topsoil may be easier than a 20-foot run under a hardscape edge and mature tree roots.
Depth is the first variable to pin down. Different utilities have different burial requirements, and local code or utility rules may be stricter than a generic rule of thumb. Electrical conduit, gas, water, and sewer are not interchangeable. For electrical work, National Electrical Code requirements often control burial depth and conduit type; for gas and water, local utility standards and plumbing rules matter. If a contractor gives you a quote without asking what utility is going in, that quote is not complete. For reference, the National Fire Protection Association publishes the NEC, and 811 coordination is covered through Call 811 Before You Dig.
Soil type changes the equation. Clay slows digging and backfill compaction. Rocky soil can force a smaller machine, more labor, or even hand digging for part of the route. Loose sandy fill can cave in and require more careful bedding. Roots are another common cost driver because they slow excavation and can force rerouting if a mature tree cannot be disturbed.
The surface you cross matters just as much. Lawn restoration is one line item. Removing and replacing 150 square feet of concrete can be a separate project, depending on thickness, access, and patch requirements. Pavers have to be lifted and reset. Asphalt patches need proper edges and compaction. If the trench crosses a finished driveway, a patio, or a retaining wall footing, I would treat that as a separate budget item and consult a qualified contractor or engineer before proceeding.
Permits and inspection can be modest or significant depending on your jurisdiction and utility type. Some places are straightforward; others require staged inspections, traffic control if you touch public space, or separate permits for electrical, plumbing, and excavation. Your budget should include the time cost of approvals even when the cash fee is small.
How do I build the budget step by step?
Build it by pricing the route in order, from locate to restoration, and by assigning a line item to every surface you disturb. That is the core of how to budget a residential utility trenching project without missing the cost drivers.
- Mark the route and measure it in segments. Measure each section in feet, not just the whole run. Separate lawn, driveway, sidewalk, fence crossing, and hardscape. Verify the total linear footage against the path on the ground. If you find a segment that changes direction sharply or crosses a structure, that is a warning that the quote needs a separate line item.
- Confirm utility type and burial requirements. Identify whether the run is electrical, water, gas, sewer, or communications. Verify the required depth, conduit or pipe type, and any inspection step before digging starts. If the utility standard is unknown, or the installer cannot state it clearly, the budget is incomplete and the plan is unsafe.
- Call for locates and wait for clearance. In the U.S., contact 811 before digging so existing utilities can be marked. Verify the marks are visible, current, and match your route. If marks are missing, stale, or conflict with the planned trench, stop and get them updated before a shovel touches soil. The utility locate process is a scheduling step as much as a safety step.
- Price excavation by segment. Ask for machine time, hand-digging hours, spoil handling, and haul-off if needed. Verify whether the quote includes digging to final grade or only rough trenching. A problem sign is a price that ignores roots, rock, or access limits around gates, side yards, or narrow passages.
- Price bedding, conduit, pipe, and warning materials. Include sand or fine fill where required, conduit or pipe sized for the utility, couplings, tracer wire for nonmetallic gas or water where required, and warning tape above the trench where code calls for it. Verify the material list matches the utility standard. If the bid says “materials included” without a list, you cannot compare it to anything else.
- Add crossing and restoration costs separately. Estimate concrete, asphalt, pavers, sod, seed, mulch, gravel, and grading as individual tasks. Verify the square footage affected on each surface. A red flag is a quote that says “restore area” without naming the surface or the thickness of patch material.
- Include testing, inspection, and utility tie-in work. Pressure testing, electrical inspection, or final utility hookup may require a licensed trade and a return visit. Verify who schedules the inspection and who pays for reinspection if the first pass fails. If no one owns that step, it often becomes the most delayed item in the project.
- Set a contingency line. Add 15% to 25% for unknowns on ordinary residential work, and more if the route is old, poorly mapped, or under hardscape. Verify the contingency is reserved for surprises, not used to upgrade materials midstream. If the contingency disappears during estimating, the budget is too tight for real-world digging.
That sequence is the fastest way I know to avoid a false low bid. It turns a single “trenching” number into a budget that can survive the actual job.
When should I stop and bring in a qualified contractor?
Stop when the trench stops being a simple yard cut and starts affecting safety, structure, or regulated utility work. In practice, that is the point where how to budget a residential utility trenching project becomes a professional review, not a homeowner estimate.
Gas line is involved: Gas service requires correct pipe material, fittings, pressure testing, and code-compliant burial — use a licensed gas fitter or utility-qualified contractor.
You must cross a driveway, slab, or retaining wall footing: Hardscape crossing raises the risk of cracking and settlement — switch to a contractor who can price saw cutting, boring, patching, and compaction.
There is no clear utility locate or the marks conflict with your route: Unknown underground lines make a strike likely — stop until locates are updated and the path is adjusted.
The trench must enter a public right-of-way: Road, sidewalk, or curb work usually means permits and restoration standards beyond a homeowner dig — get a contractor who handles municipal requirements.
Sewer depth or slope is uncertain: Sewer needs proper grade, usually about 1/8 inch to 1/4 inch per foot depending on code and diameter, and mistakes create backups — use a plumber or sewer contractor.
Rock, tree roots, or groundwater are present: These conditions can change excavation method and drainage behavior — bring in a contractor with the right equipment and plan.
Electrical service size or feeder design is unclear: Voltage drop, conduit fill, conductor size, and burial depth are code-driven — have a licensed electrician price the work.
Those are not “nice to have” moments. They are the points where the wrong budget item becomes a failed installation, a code issue, or a repair bill.
The mistakes that blow up a trench budget
The biggest budgeting mistake is pricing only the hole in the ground, and it usually costs the most once the job is nearly done. A trench is not a standalone task; it is a path from one working system to another, so how to budget a residential utility trenching project means accounting for every step between those endpoints.
-
Ignoring locates until the crew arrives.
Consequence: delays, rescheduling, and a higher chance of line conflicts.
Better approach: call 811 early and build the wait time into the schedule. -
Using one average price for the entire route.
Consequence: the easy lawn section hides the expensive crossing, so the final invoice jumps.
Better approach: split the job into segments and quote each crossing separately. -
Forgetting restoration.
Consequence: the trench is done, but the yard, driveway, or pavers are still a mess.
Better approach: budget restoration as its own line item with actual surface types named. -
Assuming all utilities use the same trench depth and materials.
Consequence: code problems, inspection failure, or rework.
Better approach: verify utility-specific depth and material requirements before pricing. -
Not reserving money for unknown soil conditions.
Consequence: rock, roots, or wet fill turns a small job into a long one.
Better approach: carry a 15% to 25% contingency, more if the site is older or heavily landscaped. -
Letting “materials included” replace a material list.
Consequence: impossible apples-to-apples bids and surprise exclusions.
Better approach: require the quote to name conduit, pipe, bedding, tape, tracer wire, and fittings.
A bad trench budget almost always fails in the same place: the hidden work. Once you start counting the parts that get uncovered, the project becomes much easier to price honestly.
What changes when the site is not a simple yard run?
The standard budget needs modification when the site has hardscape, slope, congestion, or utility overlap, and each condition changes both method and cost. This is where a one-size estimate turns into a bad estimate, especially on an older residential property.
If the route runs along a slope, drainage matters. Backfill can wash out, and the trench may need staged compaction or erosion control. That means more labor and possibly a different restoration plan.
If the project crosses tree roots, I would budget for slower hand digging near major roots and accept that the route may need to shift. Cutting large roots can destabilize a tree and may trigger local tree protection rules. In a mature yard, rerouting is often cheaper than repairing the tree or the paving later.
If the line goes under a driveway or patio, bored installation may be smarter than open-cut trenching. Boring usually costs more per foot, but it preserves the surface. The budget should compare the two options, not assume one method.
If the property has old or undocumented utility work, I would widen the contingency and slow the schedule. Old houses often have abandoned lines, shallow pipes, or undocumented repairs that only appear after digging starts. That uncertainty is why old-property trenching costs more than a clean new-build route, even when the footage is similar.
If the project is long, say more than a single short residential run, staging matters. Haul-off, material delivery, and restoration may need to be phased so open trenches are not left exposed. Longer routes also raise compaction and inspection coordination issues.
The right budget is the one that matches the site, not the one that flatters the estimate. For that reason, how to budget a residential utility trenching project is really a question of matching the method to the property.
What should a decent budget spreadsheet include?
A decent spreadsheet should include route segments, utility type, material list, surface restoration, permit and inspection fees, and contingency, because those are the costs that move the final total. It should also show the unit rate for each segment so you can compare bids like-for-like and spot an underpriced crossing.
At minimum, track linear footage by surface type, one line for locates and permits, one line for excavation, one line for materials, one line for restoration, and one line for contingency. If you want a cleaner comparison, add a notes column for depth, access limits, and whether the route requires boring, hand digging, or a licensed trade. That makes the budget usable when a contractor asks for clarification.
For AI search and client review, the most useful budget sheet is the one that makes the project auditable. If a line item cannot be explained in one sentence, it probably belongs in a separate row.