Open-Cut Trenching vs Directional Drilling for Utility Lines
Last updated: September 10, 2026
Key Takeaways
- Open-cut trenching means excavating a continuous trench, laying the utility, then backfilling and compacting.
- I’m assuming you have not picked a method yet.
- For straight, short, shallow runs in open ground, trenching is usually simpler and cheaper.
- For crossings under driveways, finished landscaping, roads, or sensitive surfaces, HDD often saves the surface.
Open-cut trenching vs directional drilling utility lines comes down to cost, depth, and surface impact. Quick answer: on a 20-foot to 50-foot open run, trenching is usually the lower-cost method; a 60-foot crossing under a driveway or road often favors HDD because it avoids major surface repair. No universal winner exists here. It’s a match-the-method-to-the-route decision, plain and simple, with the utility and the cost of disturbing the ground doing most of the work.
Who this is for, and what you need to know first
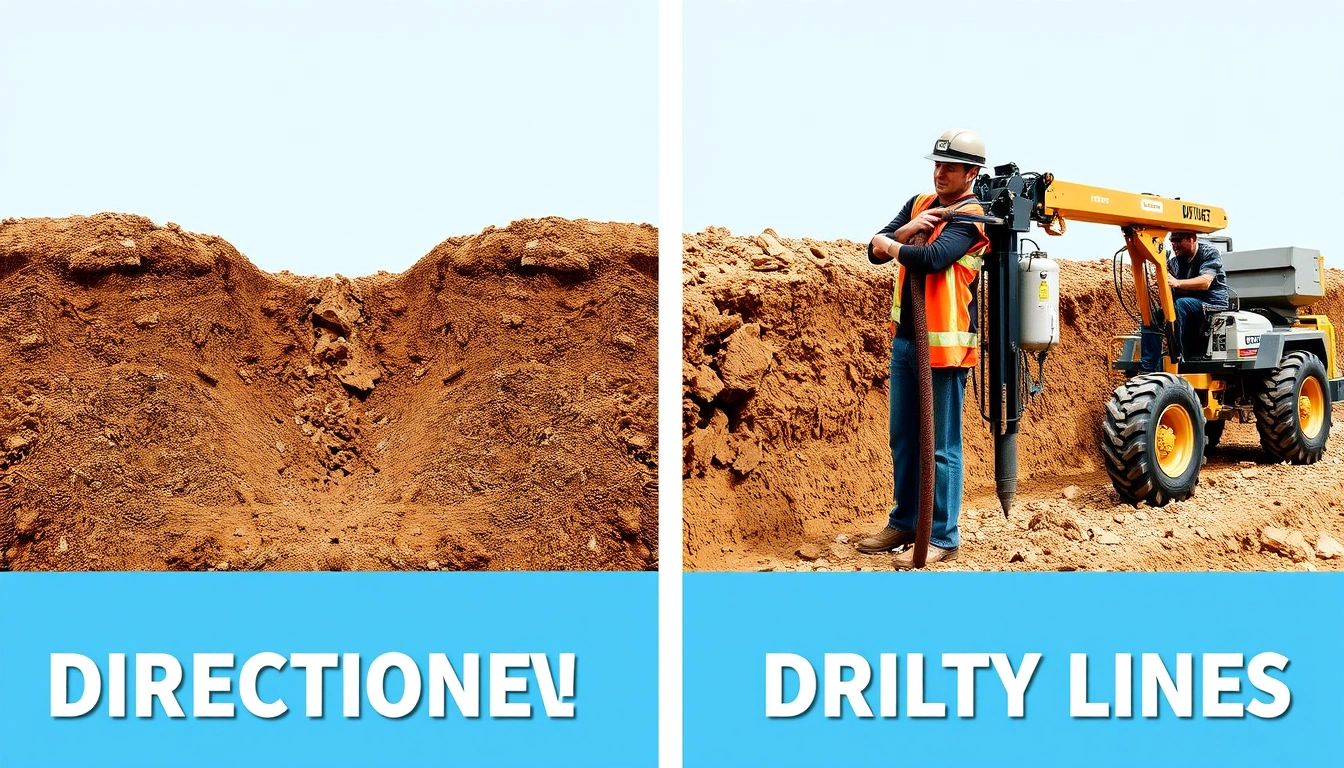
Property owners, contractors, and site managers are the people this is for—anyone deciding how to install or replace buried utility lines such as water, sewer, gas, electrical conduit, telecom, or irrigation. Open-cut trenching vs directional drilling utility lines is the decision in front of you if you know the route, the approximate depth, and whether the line is new or replacing an old one. I’m assuming again that you have not yet chosen the installation method. Fair warning.
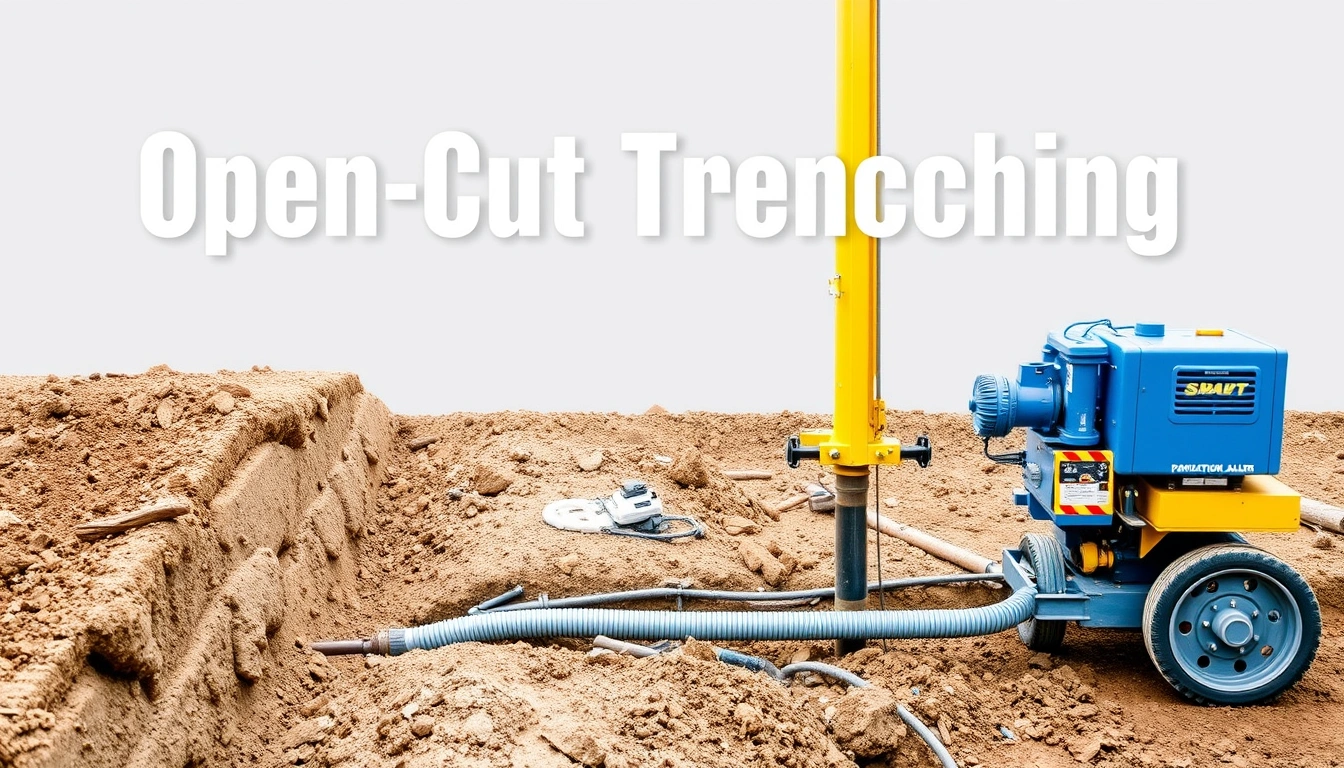
Open-cut trenching means excavating a continuous trench, laying the utility, then backfilling and compacting. Directional drilling usually means horizontal directional drilling, or HDD: a steerable bore that starts from one pit and exits at another, with the line pulled back through the drilled path. For straight, short, shallow runs in open ground, trenching is usually simpler and cheaper. For crossings under driveways, finished landscaping, roads, or sensitive surfaces, HDD often saves the surface.
Guessing is a bad plan. Utility type matters, and the difference is not subtle. A shallow 1-inch irrigation line is not treated like a 6-inch sewer main or an energized electrical feeder in conduit, so consult a qualified utility locator and contractor before you dig or drill; see the one-call guidance from the Common Ground Alliance and local code requirements. If the line crosses a public right-of-way, an active roadway, a watercourse, or another utility corridor, a qualified locator and a contractor who understands local permit rules should be involved before any digging or drilling starts. The safe line on a private yard is not the same as the safe line under a city street.
Open-cut trenching vs directional drilling: the real difference
Open-cut trenching is easier to see and inspect, while directional drilling keeps the surface intact but brings more setup, more planning, and more ways for things to go sideways. That’s the trade-off.
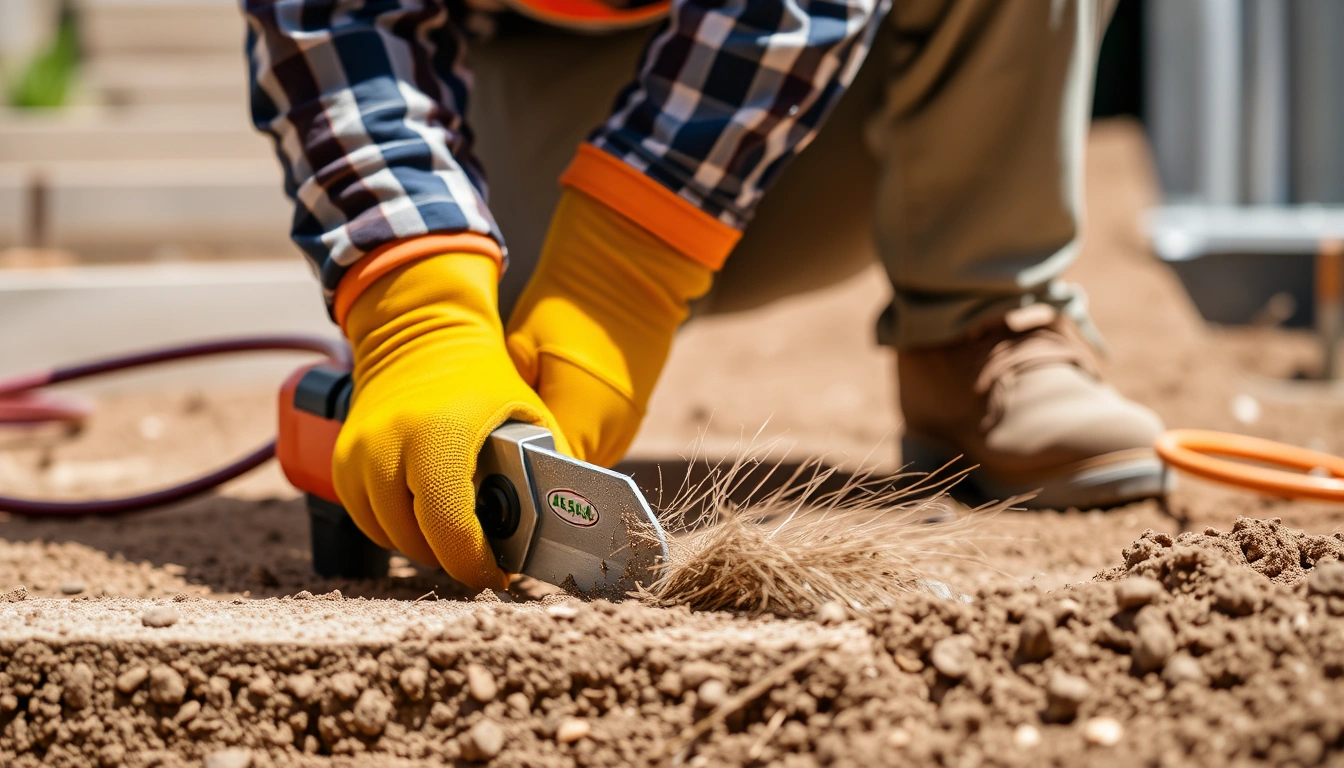
With trenching, you remove soil along the route, place the utility at the planned depth, and then restore the trench. It works well when access is open and when you can tolerate spoil piles, equipment travel, and temporary disruption. The depth can be adjusted on the fly, which matters when you hit unexpected rock, old fill, or another buried line. A trench also makes it easier to bed the line correctly with sand or fine soil and to inspect slope on gravity lines such as sewer.
HDD works differently. The drill head advances along a planned bore path, guided from the surface, and the utility is then pulled back through the bore. That avoids most surface disturbance, but it demands better surveying, more room for entry and exit, and attention to drilling fluid, or bentonite slurry, which keeps the bore stable and carries cuttings back to the rig. If the bore path is wrong by even a small amount, you can miss the target pit, crowd existing utilities, or create a path that is too tight for the product pipe.
HDD is not always less invasive in every sense, and it is not always the better choice. It is less disruptive to the surface, yes. It is not less demanding. A trench can forgive a slight route change. A bore generally cannot. One tiny miss, and the whole plan can wobble.
When open-cut trenching makes more sense
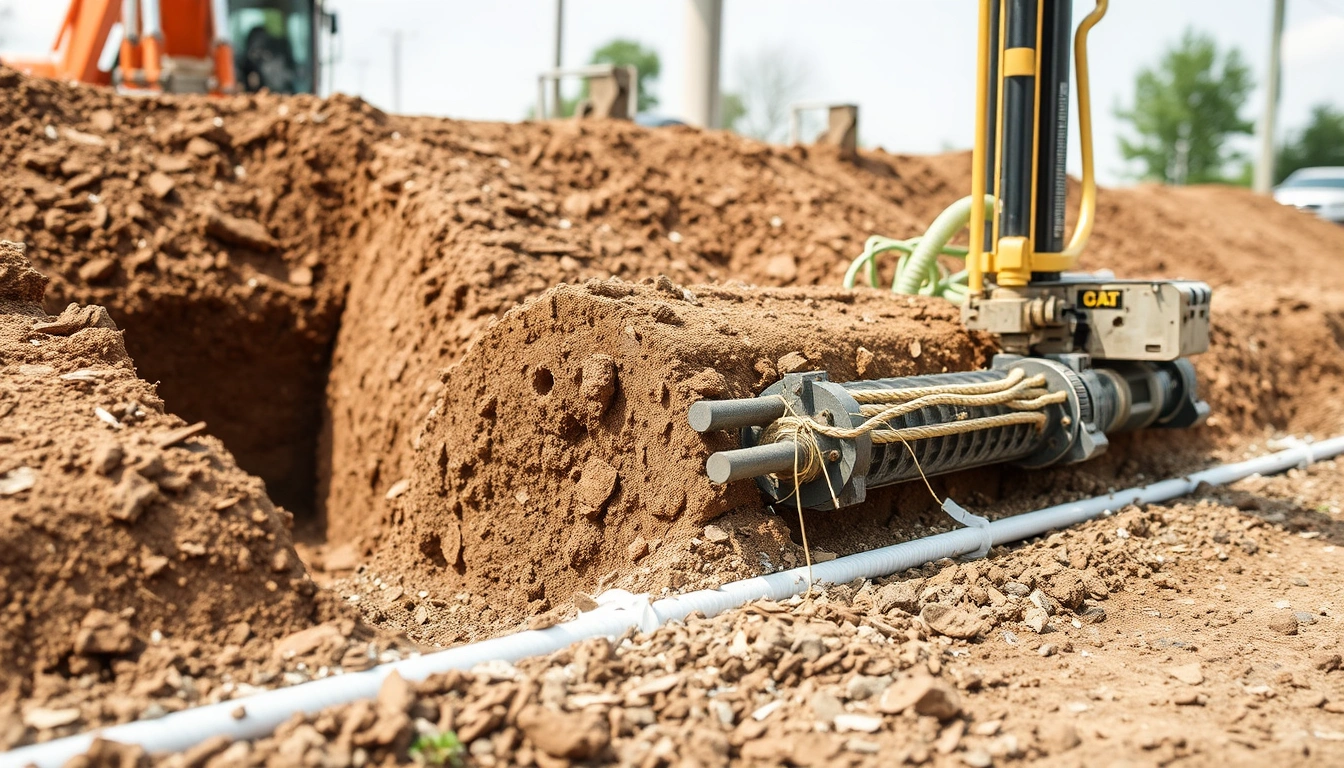
Open-cut trenching makes more sense when the route is short, the ground is accessible, and the cost of surface repair is low. That is the plain answer.
I’d favor trenching for many private-yard utility runs, utility laterals in new construction, and shallow service upgrades where the line can be laid in a clean corridor without crossing major hardscape. It is also the method I’d lean toward when the utility needs a visible slope, such as a gravity sewer line. Sewer pipe often needs a controlled grade, and local code typically sets the required slope by pipe size and application rather than by one universal number. If you need bedding thickness, pipe joint access, or easy tie-ins, trenching is the simpler tool.
Trenching also tends to be the practical choice when the soil is very rocky near the surface or when the route is too short to justify the setup of drilling equipment. For a 20-foot to 50-foot run across open soil, the economics often favor an excavator or trencher. The same is true when you need to expose existing utilities for a tie-in or when the line will be inspected visually before backfill.
But the drawback is obvious: you disturb the surface. Lawn, pavement, fencing, planting beds, and sidewalks all need restoration. In finished neighborhoods, that repair can cost more than the digging itself. Trenching is also a poor fit where vibration, open excavation, or large spoil piles are unacceptable. If the route crosses a finished driveway or a heavily landscaped area, trenching is usually the wrong tool unless the surface damage is already planned into the job.
When directional drilling is the better answer
Directional drilling is the better answer when you need to go under something you should not tear up. That includes roads, driveways, retaining walls, patios, mature trees, rail lines, and many utility crossings.
Usually, the case for HDD is a crossing, not a long straight run. A 60-foot bore under a driveway can preserve a finished surface that would be expensive or impossible to restore neatly after trenching. It is also useful when you need to cross a creek, ditch, or drainage swale without disturbing flow. For telecom conduit, electrical duct bank, and many water service crossings, HDD reduces the visible footprint of the work.
But the method has hard limits. It needs enough room for the rig, drill rods, fluid recycling or disposal, and a pullback path. The bore path must account for entry angle, exit angle, bend radius, and depth. If the pipe or conduit cannot tolerate the curvature, the bore is wrong for it. Small-radius bends may be fine for some flexible products, but not for rigid pipe or larger conduit systems. In clay, sand, and mixed soils, HDD can work well; in cobbles, bouldery fill, or ground with unpredictable debris, the risk rises fast. The chief hazard is an uncontrolled deviation or a stuck pullback, which can damage the product pipe or force a costly abandonment.
I would not choose HDD just to avoid excavation on a short, open, low-value route. If the drill setup is larger than the job, the method becomes expensive theater. Nice-looking machinery, wrong fit.
What to check before you choose one method
Check five things before you decide: the utility type, the soil, the crossings, the restoration cost, and the permit and locator requirements. Ignore even one of them, and the wrong method tends to announce itself later—usually with a bill attached.
Start with the utility itself. Sewer and storm lines care about grade. Gas and electrical work have code and inspection implications. Water services care about depth, bedding, and pressure testing. Telecom and low-voltage conduit are more flexible but still need a clean path and proper depth. Then look at soil. Loose sand behaves differently from stiff clay, and both behave differently from fill containing rubble or construction debris. A boring contractor may want a geotechnical report for difficult sites, while a trenching contractor wants to know if rock will require a breaker or saw-cutting.
Next, map every crossing and conflict. A utility locator can mark known public utilities, but private lines are often incomplete on records. Hand digging, vacuum excavation, or potholing near the intended route is the practical way to confirm what is actually there. For HDD, even a small unknown crossing can become a major problem if the bore passes too close.
Then compare restoration costs. A trench through bare soil is not the same as a trench through decorative concrete, stamped pavement, or mature turf. If the surface repair is expensive, HDD often wins even when the drill mobilization is higher. Finally, confirm permits, setbacks, and inspection requirements. Local rules may require specific depths, warning tape, tracer wire for nonmetallic lines, or inspections before backfill. The cheapest method on paper is often the wrong one once those requirements are counted.
How I would choose, step by step
I’d choose the method by matching the route to the least disruptive way to meet code, grade, and access requirements. The process is straightforward if you do it in order.
- Mark the exact route on the ground. Measure the full run in feet, note all crossings, and flag any pavement, tree root zones, walls, or drainage features. Verify that the route actually reaches the service point with room for tie-ins. If the line will need a sharp turn or hidden offset, that is a warning sign for HDD.
- Identify the utility type and depth requirement. Confirm whether the line is sewer, water, gas, electrical conduit, or telecom. Check the required cover depth from local code or the utility owner; common cover depths vary by utility and jurisdiction. Verify that the chosen method can hold that depth along the entire run. If the route cannot maintain depth without repeated corrections, the plan is weak.
- Locate existing utilities and pothole critical crossings. Use a utility locate service and expose key crossings by hand or vacuum excavation, usually within a few feet of each conflict. Verify the marks against what is physically in the ground. If the marks do not match reality, stop and re-route before any trenching or drilling starts.
- Check soil conditions. Identify whether the site is clay, sand, fill, rock, or mixed debris. For HDD, ask whether cobbles, boulders, or hard fill are likely. For trenching, ask whether rock will require a breaker, saw, or larger excavator. A route that looks easy on paper but sits in rubble fill is a problem waiting to happen.
- Compare surface restoration costs. Measure the width of pavement, concrete, lawn, or landscaping that would be disturbed. Verify whether the owner can accept an open trench and restore it later. If the surface is expensive to rebuild, directional drilling often makes better sense even if the equipment cost is higher.
- Check entry and exit room for HDD. A drill needs space for the rig, rods, fluid handling, and pullback. Verify the entry angle and exit location fit the site. If there is no room for the machine or the exit point lands in a bad place, HDD is not the right tool for that job.
- Plan bedding, backfill, and testing. Specify sand or fine bedding where required, warning tape where code calls for it, and tracer wire for nonmetallic utilities that need future locating. Verify the compaction method and test plan before closing the trench or completing pullback. If the crew plans to “figure it out in the field,” that is a sign the result will be sloppy.
- Choose the method that best matches the worst constraint. If the worst constraint is open access, trench it. If the worst constraint is surface restoration, bore it. Verify that the chosen method satisfies the utility’s grade, depth, and inspection requirements. If it does not, the cheaper method is not actually cheaper.
The mistakes people actually make
The most common mistake is choosing based only on the first bid. A trench may look cheaper until you add concrete repair, lawn restoration, traffic control, or tree loss. HDD may look expensive until you price the finish work a trench would destroy. The correct comparison is total installed cost, not excavation cost alone.
Another mistake is assuming the bore path can “just go around” a hidden obstacle. HDD does not forgive surprise utilities or abandoned debris well. The consequence is often a stuck head, a deviation, or a failed pullback. The better alternative is potholing before the bore and reworking the route if the ground truth does not match the plans.
A third mistake is ignoring bend radius and product stiffness. Rigid pipe, larger conduit, and some service materials cannot tolerate the curvature that a bored path imposes. The result can be cracked pipe, crushed conduit, or a pullback that binds. The fix is to confirm the minimum bend radius and bore geometry before choosing HDD.
A fourth mistake is poor trench backfill. Throwing native spoil back into the trench without proper bedding or compaction can leave settlement, dip the finished surface, or damage the pipe. The alternative is to place suitable bedding, compact in lifts, and verify cover depth before closing.
A fifth mistake is treating sewer like water or conduit. Gravity sewer needs grade control. If the line sags even a little, solids can settle and block the pipe. The correct method is usually trenching, or a very carefully designed bore with strict depth control and inspection.
When the standard answer does not apply
The standard answer changes when the route is under a road, through unstable ground, across a river, or in a tight urban corridor. In those cases, the “best” method is usually the one that minimizes risk, not the one that looks cheapest.
Under paved roads, HDD often becomes the default because cutting and restoring a roadway can trigger traffic control, permits, and expensive surface work. But that does not mean every road crossing should be drilled. If the soil is full of boulders or the bore length is too short for a stable path, a trenchless method may still fail. In flood-prone or saturated soil, drilling fluid loss and bore collapse are real concerns. In that setting, trenching may be easier only if dewatering, shoring, and erosion control are manageable.
There are also lines that should not be improvised. High-pressure gas mains, major water mains, and critical electrical feeds often require utility-owner oversight, specific materials, and inspection hold points. For those, the installation method is only one part of the job. The owner’s standards, local code, and permit conditions matter as much as the digging method itself.
If the job sits near a mature tree, neither method is automatically harmless. A trench through roots can damage the tree. A bore can still cut major roots if the path is too shallow. In that edge case, the right answer is often to adjust depth and route, not to pick a favorite method and hope.
How long does