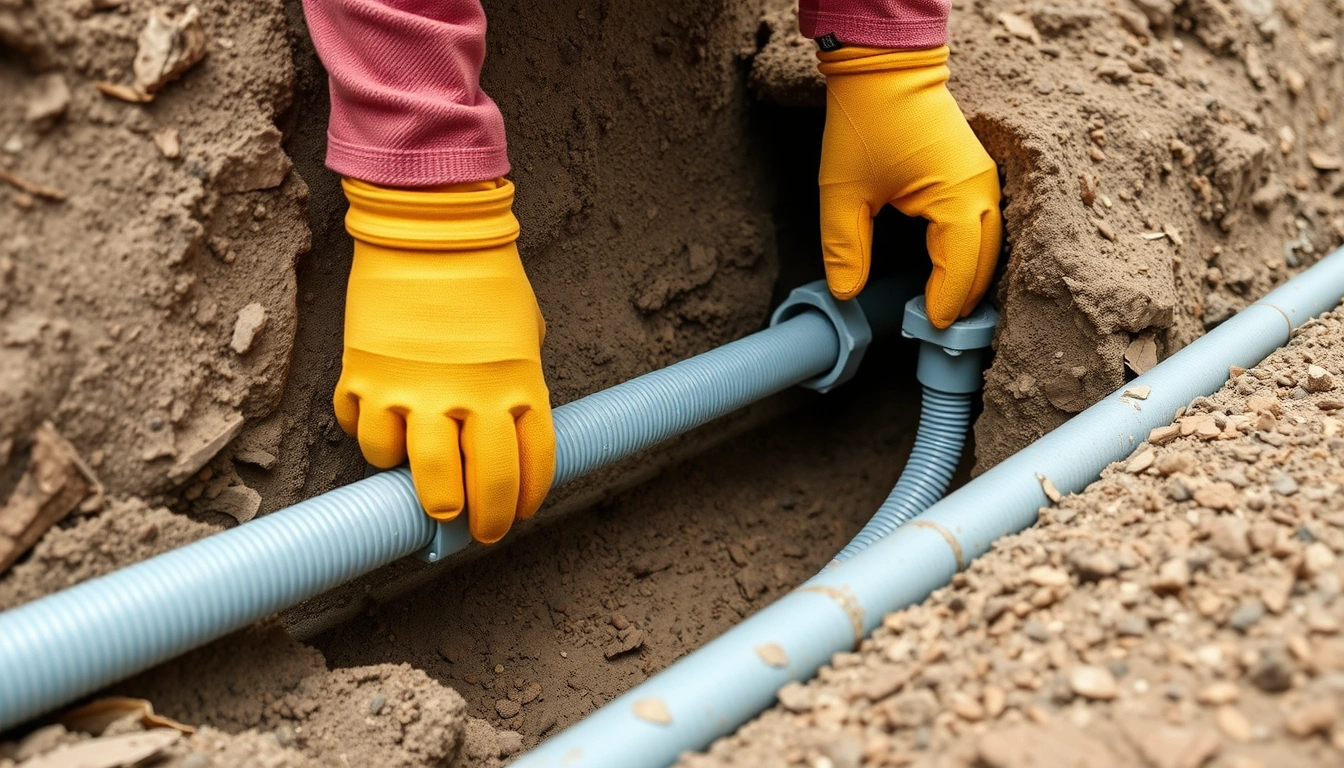
How to Install Electrical Conduit in a Trench
Last updated: September 10, 2026
Key Takeaways
- NEC-related requirements are summarized by the National Fire Protection Association, and utility locate rules are covered by 811 services in the U.S.
- For many common residential runs, 18 inches is a typical minimum for buried conduit with individual conductors, but some installations require 24 inches or more.
- Ask whether they will leave a pull string and whether warning tape will be installed about 12 inches above the conduit.
- Many common residential runs use 18 inches or 24 inches, but you need the local code table for the exact case.
Installing electrical conduit in a trench is really the backbone of how install electrical conduit trench work: get the depth wrong, skip the bedding, or choose the wrong conductor type, and the whole buried run is on shaky ground. The real job is not “lay pipe in dirt”; it is building a buried path that stays dry enough, stays continuous, and survives backfill without crushing, kinking, or shifting. A basic reference is the NFPA’s overview of the National Electrical Code and the U.S. 811 locate system. Simple words. Big consequences.
Who this applies to, and what I’m assuming you already know
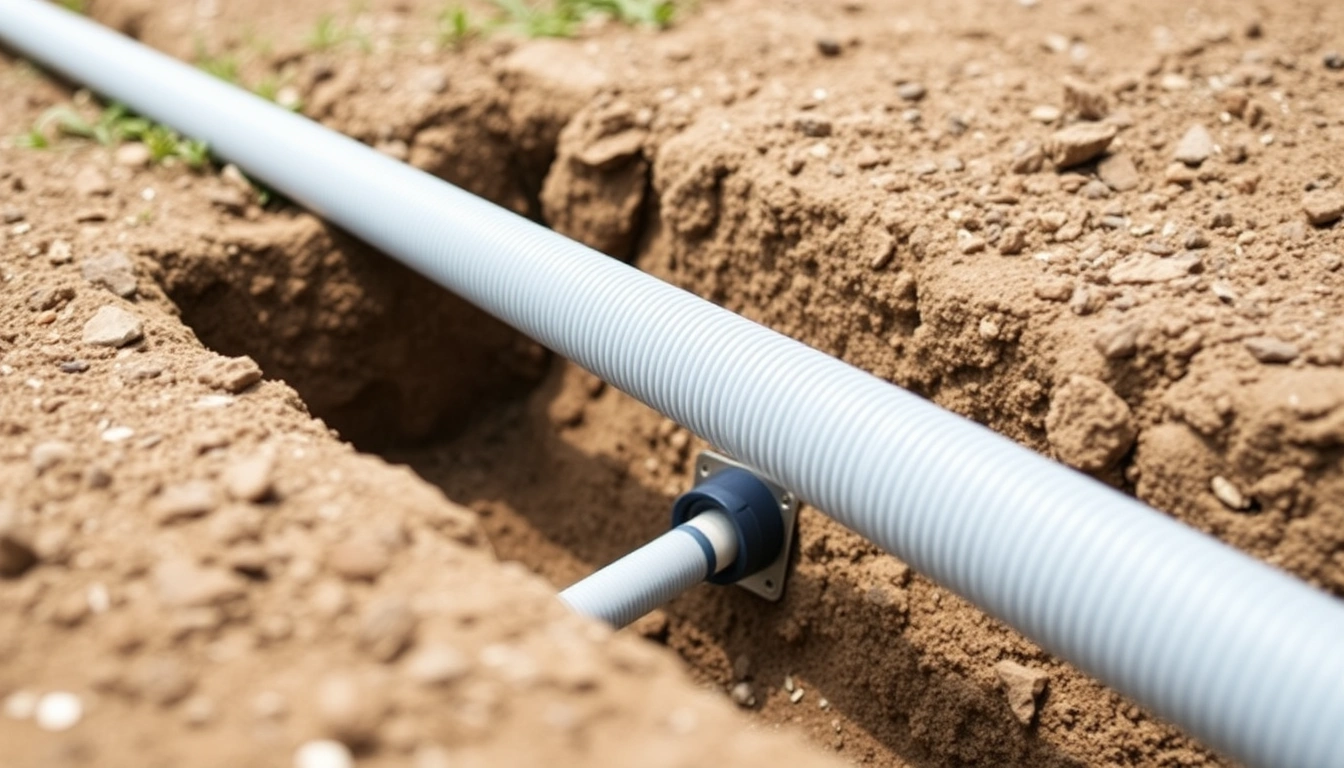
This is for a homeowner, property manager, or small contractor who needs to bury conduit for a feeder, branch circuit, gate line, outbuilding, low-voltage run, or something similar underground. I’m assuming you already know how to mark a route, call utility locating services before you dig, and read the basic burial requirements that apply in your area. I’m also assuming the trench is open and you have the conduit, fittings, and conductors selected.
I’d only treat this as a DIY job when the run is short, the soil is ordinary, and the path is simple; even then, it makes sense to talk with a licensed electrician or local authority if the line feeds a detached structure or crosses a driveway. A 20- to 50-foot trench with a few sweeps, one or two boxes, and no rock, groundwater, or heavy traffic is one thing. A 100-foot run under a driveway or along a frost-heavy slope is another beast entirely. The tricky cases are where a neat-looking trench later turns into a mess. See the NEC guidance summarized by the National Fire Protection Association for underground installations, and check your local permit office before you bury anything.
Use the local electrical code and manufacturer instructions for the exact burial depth and conduit type. In the U.S., the National Electrical Code is the baseline reference, but local amendments matter. Public guidance comes from the NEC-related requirements summarized by the National Fire Protection Association, while utility locate rules are covered by 811 services in the U.S. and equivalent one-call systems elsewhere. Crossing under a driveway? Feeding a subpanel? Supporting a detached structure? Then I’d slow down and confirm the conductor sizing and grounding plan before anything gets buried. For related planning, see our electrical conduit size guide, how to trench for utilities, and electrical grounding basics.
What depth and conduit type should you use?
Depth depends on the wiring method, the circuit type, and the surface above it. For many common residential runs, 18 inches is a typical minimum for buried conduit with individual conductors, but some installations require 24 inches or more. Direct burial cable, PVC conduit, rigid metal conduit, and runs under concrete or driveways all change the number. Don’t guess. That table matters.
The NFPA’s NEC resources and your local inspection office are the places to verify the exact depth before work starts. For conduit in a trench, PVC electrical conduit is the most common choice for a straight residential run because it is light, corrosion-resistant, and easy to solvent-weld. Schedule 40 is common underground in protected areas; Schedule 80 is thicker and used where the conduit may be exposed to damage, such as up a wall near grade. Rigid metal conduit is tougher but more expensive and harder to work. Flexible conduit is usually not what you want for a long buried run. Product sheets and NEC summaries from NFPA are the right references here.
I’d avoid mixing conduit types unless the transition is deliberate and allowed. The weak point in many trench jobs is not the straight run; it’s the riser where the pipe comes up out of the ground, the coupling that was not fully seated, or the bend that is too tight for the pull later. Too sharp, and the pull turns nasty fast.
Check the fitting style before you start. Electrical PVC uses solvent cement and primer where required by local practice, not plumber’s glue by habit. Make sure every section is the same nominal size, usually 1/2 inch, 3/4 inch, 1 inch, or larger, and sized for the conductor fill you will need later. If you are uncertain about fill, pull capacity, or voltage drop, stop there and size the system properly instead of forcing smaller conduit into service. For sizing and fill, check the NEC tables and the manufacturer’s published data.
How do you install conduit in a trench step by step?
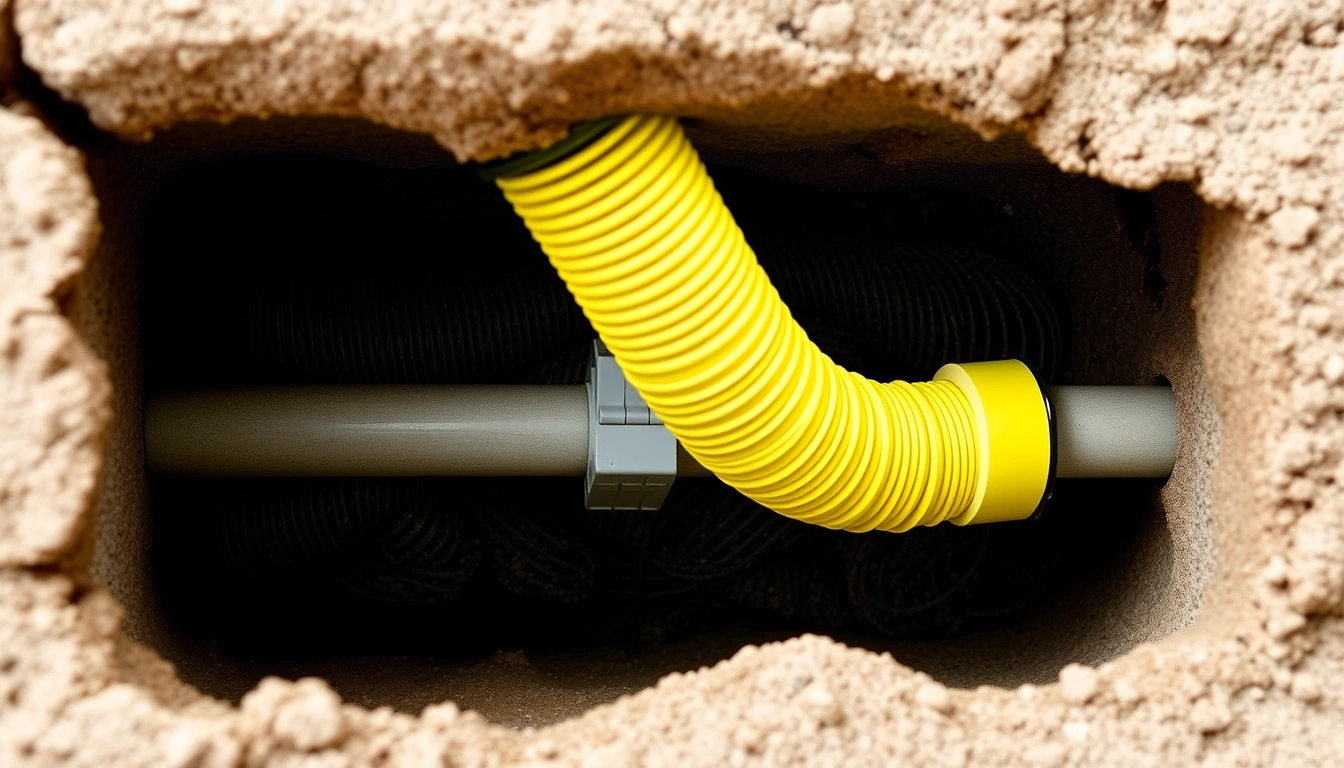
Build a straight, supported route first. Then assemble the conduit on grade when possible, lay it in place, protect it, and only then backfill. For a short trench, the work often takes a few hours; multiple bends or hand-dig sections stretch that out. On a clear residential route, one day is often enough. Often, not always.
- Measure the route and mark the trench depth. Lay out the line with paint or stakes and mark the final burial depth required by the conductor and conduit type, often 18 to 24 inches from finished grade to the top of the conduit. Verify that the route clears tree roots, footings, patios, and other buried utilities. A problem shows up if the path forces a bend tighter than the conduit can handle or if the depth will vary wildly under one run.
- Prepare a flat bed in the trench. Remove rocks, broken concrete, and sharp debris from the bottom and create a bed of about 2 to 4 inches of fine soil or sand where needed. Verify the conduit will sit without rocking. If the trench bottom is full of stones or drops into soft pockets, the pipe can settle unevenly and the joints can separate.
- Dry-fit the conduit and fittings before gluing. Assemble the lengths on the surface with sweeps, couplings, and risers so you can confirm the full line and the entry/exit points. Verify that each joint mates fully and that the entire run follows the trench without forcing. If a section springs back or bows, the alignment is wrong and the trench should be corrected before cement goes on.
- Cut square and deburr every conduit end. Use a conduit cutter or fine-tooth saw, then remove burrs from the inside and outside edge. Verify the wire path will be smooth by running a finger around the cut. A sharp edge will scrape conductor insulation later, and that damage may not appear until the circuit is energized.
- Prime and solvent-weld PVC joints correctly, if you are using PVC. Apply primer where required, then cement, insert the pipe fully with a short twist, and hold it for several seconds so it does not push back. Verify the marks you made before insertion are covered to the same depth. If the joint creeps out or looks dry and incomplete, remake it; a weak joint underground is not worth gambling on.
- Set the conduit in the trench and maintain slope awareness. Place the run so water can move away from boxes and low points, but do not rely on the conduit itself to “drain” as though it were a plumbing line. Verify the pipe stays at the chosen depth along the run and rises cleanly at each end. A dip in the line creates a low spot that can collect water and complicate pulling.
- Protect the run before backfill. Place warning tape about 12 inches above the conduit if local practice requires it, and add a layer of fine backfill before the heavier fill goes in. Verify the first cover layer has no sharp stone that can press on the pipe. If the conduit shifts when you shovel around it, stop and stabilize it before more soil goes on.
- Leave pull string or mule tape in place. Install a pull line rated for the pull and leave enough slack at both ends for later conductor installation. Verify it runs end to end without snagging. If the line binds, now is the time to fix the obstruction, not after the trench is closed.
The clean result is simple: the conduit sits at a consistent depth, the risers are plumb, the joints are sealed, and the backfill does not reveal humps, sags, or crushed spots. A bad result usually shows up as a wavy trench line, a joint that is not seated, or a conduit end that disappears under loose spoil without warning tape or measured cover. Ugly work hides for a while; then it bites.
What mistakes cause trench conduit jobs to fail?
Most failures come from ignoring burial depth, skimping on trench prep, or pretending conduit can be adjusted after the fact. That’s the moment to call a licensed electrician or inspector, because the cheap fix today can turn expensive tomorrow. The NFPA’s NEC guidance and local permit rules are the right references before backfill.
One common mistake is using the wrong conduit for the exposure. Schedule 40 PVC buried fully underground is one thing; leaving it exposed where a shovel, mower, or vehicle tire can hit it is another. The consequence is cracked conduit and a failed pull later. The better choice is Schedule 80 or a different protective method where damage risk is real.
Another mistake is making glued joints on a crooked lay. If the pipe is forced into position and the joints are glued under stress, the run can bow or pop apart as temperature changes. The correction is to dry-fit first and only glue after the line sits naturally.
A third mistake is burying conduit in a trench full of rocks or broken concrete. That raises the risk of abrasion and point loading. The correct alternative is a clean bedding layer of fine soil or sand and careful hand removal of sharp debris.
A fourth mistake is pulling conductors through an undersized conduit. Even if the pipe fits in the trench, conductor fill rules can make the pull impossible or unsafe. The result is insulation damage, overheating, or both. I’d size the conduit for the actual wire count before the trench is closed, and I’d check the NEC fill tables or have the design checked.
A fifth mistake is failing to stub up correctly at buildings, boxes, or pedestals. If the riser is too short, or the transition is not protected, the conduit can break where it leaves the ground. The fix is a rigid, well-supported riser with proper fittings and the correct termination box.
When should you stop and change the plan?
Stop when the trench or the layout stops matching code, physics, or common sense. Don’t force the conduit in and hope the backfill hides the problem.
The trench will be under a driveway or parking area: That adds vehicle load and often changes the required burial depth and conduit protection — use the heavier-duty assembly the local code requires, and do not rely on light PVC alone.
You hit large rock, ledge, or continuous gravel: That can damage the conduit or keep it from sitting flat — reroute, deepen selectively, or prepare a properly bedded section instead of forcing the pipe into an uneven bottom.
The run needs too many tight bends: Long pulls become impractical because conductor friction rises fast — reduce the number of direction changes, use long sweeps, or add an accessible pull point where allowed.
The conduit must feed a detached structure: That often changes grounding, disconnect, and feeder requirements — stop and verify the feeder design before burial, because correcting it later means reopening the trench.
Groundwater keeps filling the trench: A waterlogged trench can float light conduit and ruin solvent joints — dewater the trench, adjust the route, or wait for drier conditions instead of burying into soup.
You are unsure about conductor size, fill, or voltage drop: Those are not details to “figure out later” — size the wire and conduit together now, or get the design checked before backfill locks the mistake in place.
How long does the job take, and what does a good install look like?
A short, simple residential trench can take half a day to a full day when the route is clear and the trench is already open. Add time for hand digging near utilities, multiple risers, long sweeps, or hard backfill. If the route crosses difficult soil or a driveway, expect the job to stretch beyond one workday.
A good install looks boring. The conduit sits at the same depth most of the run, the bends are gentle, the joints line up, and the ends are where the plan said they would be. You should be able to pull a tape or string through without snagging. The backfill should not reveal a ridge of pipe or a void around the conduit. If the finished line telegraphs every joint to the surface, the trench was too shallow or the bedding was poor.
I consider a trench job questionable if the pipe sits directly on sharp fill, if the riser rocks, if the pull string is missing, or if the depth varies enough that a spade can find the conduit later. That is the kind of hidden defect that turns a cheap burial into a reopened trench.
What should you ask the contractor before they bury it?
Ask how deep the conduit will be, what type it is, how they will bed it, and how they will prove the route is clear before backfill. Those questions matter more than brand names or polish.
Ask for the burial depth in inches, not “code depth.” Ask whether they are using Schedule 40 or Schedule 80 and why. Ask where they plan to place pull boxes or handholes if the run has multiple bends. Ask whether they will leave a pull string and whether warning tape will be installed about 12 inches above the conduit.
Ask what they do when they hit rock or wet soil. A careful contractor should be able to explain how the trench will be handled, because the trench does not always cooperate. Ask whether the run is sized for the actual wire count and whether the pull has been planned with conductor fill and bending limits in mind. If the answer is vague, the trench may be, too.
A poor trench job is easy to spot once you know the signs: inconsistent depth, glued joints under strain, no bedding, and no clear plan for the wire pull. Those problems save a little time in the moment and cost a lot later.
FAQ
Can I bury electrical conduit directly in dirt?
Yes, but I wouldn’t. Direct contact with rough soil, stones, and settling fill is harder on the pipe, especially if the trench bottom is uneven. A few inches of fine bedding makes a better installation.
Do I need schedule 80 conduit underground?
Not always. Schedule 40 is common for buried runs, while Schedule 80 is often used where the conduit is exposed to damage. The deciding factor is exposure and local code, not habit.
How deep should electrical conduit be in a trench?
That depends on the circuit type, conduit type, and what is above it. Many common residential runs use 18 inches or 24 inches, but you need the local code table for the exact case.
Can I use flexible conduit in a trench?
Usually not for the buried portion of a normal run. Flexible conduit is better for short connections or special applications, not as the main underground route.
Should I glue the conduit before placing it in the trench?
For PVC, yes, but after a dry fit. Dry-fit first so you