Trenching Safety Checklist for Utility Install Crews
Last updated: September 10, 2026
Key Takeaways
- Verify the ladder extends about 3 feet above the landing point and is secured, but consult a competent person and the site’s excavation standards before relying on it. OSHA excavation rules and ladder-access guidance should be checked for the specific setup.
- Can the crew explain the plan in under 1 minute? Verify that answer, and consult a competent person if they cannot.
- Verify the ladder reaches 3 feet above the top edge, consistent with OSHA’s access guidance and the manufacturer’s instructions.
- That’s the kind of miss that shows up 20 minutes later, after the trench is already unsafe.
A trench safety checklist for utility install crews is a start-of-day, in-the-field, and stop-work tool. It keeps a trench from turning into a collapse, a struck-by event, or a rescue problem. This trench safety checklist for utility install crews is meant to give foremen, crew leads, operators, laborers, and inspectors a practical sequence to use before the first person drops into the cut. I’m assuming you already know the basics of locating utilities, calling in the dig, and reading a site plan; what this article adds is the order, the failure points, and the places where the “normal” plan is the wrong one. For OSHA excavation requirements, see 29 CFR 1926 Subpart P and the agency’s excavation overview.
On a safety-critical job like trenching, the answer is not “do it yourself or call someone” in the abstract. Use a competent person for the trench inspection and protective-system decision, and stop the work when the soil, water, depth, access, or utility conditions no longer match the plan. For an excavation, “competent person” has a specific OSHA meaning: someone capable of identifying hazards and authorized to take corrective measures. That is not a paper title; it is a job function. For site-specific decisions, a competent person should review the trench safety checklist for utility install crews against the actual conditions.
What I mean by a trench safety checklist
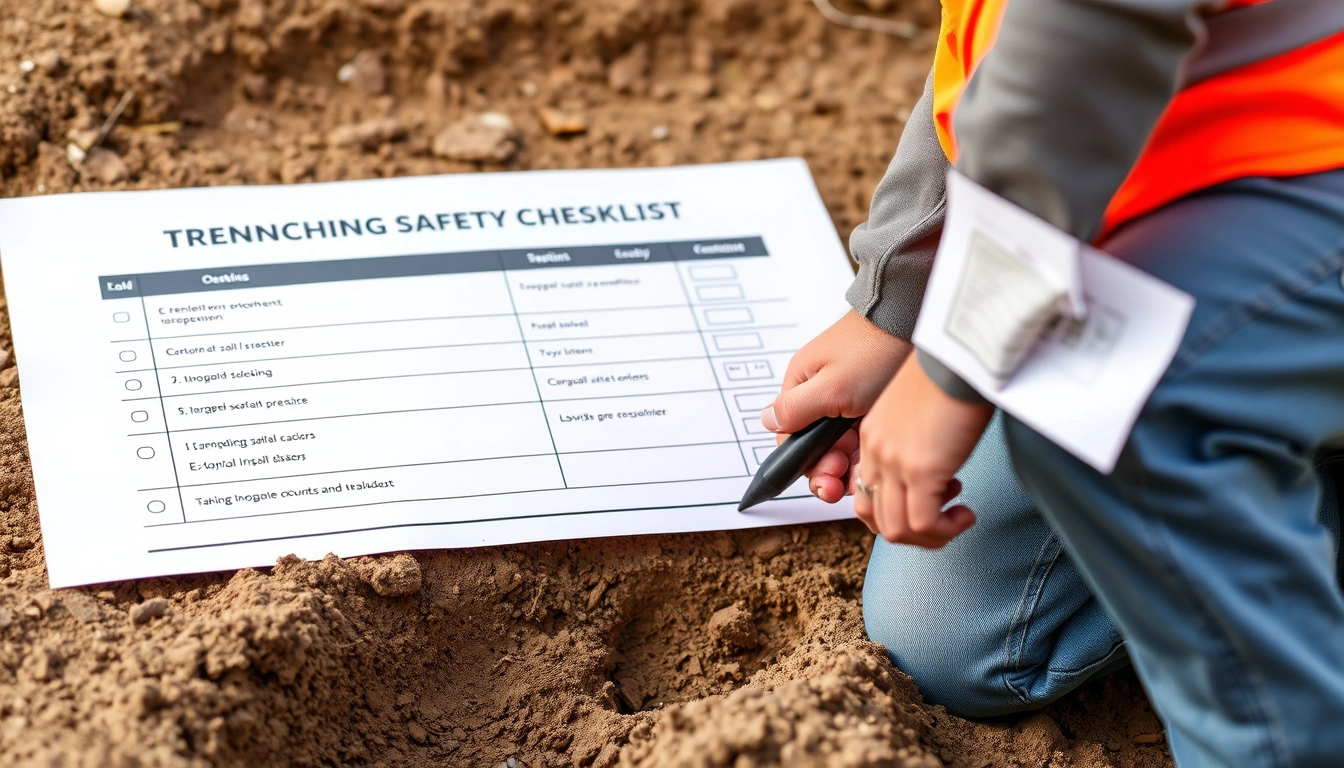
A trench safety checklist is a sequence that checks the trench before entry, during the shift, and after any change in conditions. I’d treat it as a living document, not a form you file once, and I’d have a competent person review changes against OSHA and the project’s excavation plan. The point is not paperwork; the point is to catch the conditions that make a utility install crew vulnerable: cave-in, engulfment, contact with a buried line, struck-by from spoil or equipment, and hazardous atmosphere.
The checklist should fit the job’s real scale. A 24-inch-deep trench for a short service line is not the same as an 8-foot-deep main in saturated clay beside a road box. Same checklist. Different trigger points. The thresholds that drive shoring, shielding, benching, access, and standby are not identical. OSHA’s excavation rules live in 29 CFR 1926 Subpart P, and that is the right baseline for most U.S. crews; local rules, utility-owner specs, and city permit conditions can be tighter. For practical guidance, OSHA’s excavation and trenching page and the Utility Safety Partners locate process are useful references.
This is not the right tool if the crew has no competent person on site, if the trench is already showing signs of distress, or if the work plan depends on “we’ll see once we get there.” That approach is how a manageable dig turns into an emergency. A good checklist forces the pause before someone climbs down the ladder. For related planning guidance, see our excavation safety checklist and utility locate checklist.
What should be on the trench checklist before anyone enters?
It should cover the trench, the ground around it, the buried utility picture, and the rescue path before the first boot hits the floor. I’d want the checklist specific enough that a foreman can point to a condition and say yes, no, or stop. In practice, the trench safety checklist for utility install crews works best when it is tied to the day’s layout, weather, and utility marks.
- Verify utility locates and expose crossings by hand. Mark the planned dig zone, review the locate ticket, and hand-expose known crossings and conflict points before machine digging gets close. In many jurisdictions, the tolerance zone is about 18 inches on either side of the mark, but local rules vary. Verify that the marks match the plan and that offsets are not drifting. Any conflict with the plan, any missing mark, or any utility-owner restriction that changes the dig method is a problem. For utility damage-prevention rules, check the local One Call program and the relevant utility-owner instructions.
- Measure trench geometry. Record depth, width, and the length of the open cut. If the trench is 5 feet or deeper, you are in the range where a protective system is generally required unless the soil is stable rock. Verify the trench face is not undercut and that spoil is kept at least 2 feet back from the edge. A problem is a vertical face with no support, a narrow spoil berm, or a section deeper than the crew assumed. Two feet vanishes fast.
- Classify the soil and watch the water. The competent person should judge the soil as Type A, B, or C under OSHA definitions, or treat it conservatively when the evidence is mixed. Verify moisture, fissures, vibration, and recent rain. A problem is saturated, layered, sloughing, or previously disturbed soil that does not hold a cut. When in doubt, consult the competent person and OSHA’s soil-classification guidance.
- Select the protective system. Choose sloping, benching, shoring, or a trench shield/cage based on depth, soil, and space. Verify the system is rated or configured for the depth and conditions; a trench shield is not the same as a shored trench. A problem is using a box in a way it was not designed for, or assuming a shield alone protects against collapse outside the box. That mistake bites people.
- Set safe access and egress. Place a ladder, ramp, or stair so no worker has to travel more than 25 feet laterally to exit. Verify the ladder extends about 3 feet above the landing point and is secured. A problem is climbing on the excavation face, stepping over pipe, or having only one awkward exit path. OSHA’s trench-access guidance is the right reference, and a competent person should confirm the setup on site.
- Control spoil, equipment, and surcharge loads. Keep spoil, pipe, trench plates, and parked equipment away from the edge. Verify machine swing radius, tire loads, and trench edge stability. A problem is a loader, vacuum truck, or dump body too close to the lip, where it can add load and trigger a collapse.
- Check atmosphere when conditions can trap gas or low oxygen. If the trench is in a confined area, near a sewer, fuel line, landfill, or contaminated ground, test the air before entry and as conditions change. Verify oxygen, flammables, and known hazards with the right meter. A problem is any reading that points to deficiency, contamination, or a sudden shift after rain or pumping. Bad air doesn’t announce itself.
- Confirm the rescue plan is real. Know who calls 911, where the address is posted, how the side walls will be accessed, and how a rescue can happen without sending in an unprotected coworker. Verify the crew can describe the plan in under 1 minute. A problem is a plan that exists only in a binder or depends on climbing in to “pull them out.”
I would not let this list become generic safety wallpaper. If the crew cannot show me the locate ticket, the trench depth, the protective-system choice, and the exit point in the same minute, the checklist is not working. For a related field form, see the utility trench pre-start checklist.
How do you run the checklist step by step?
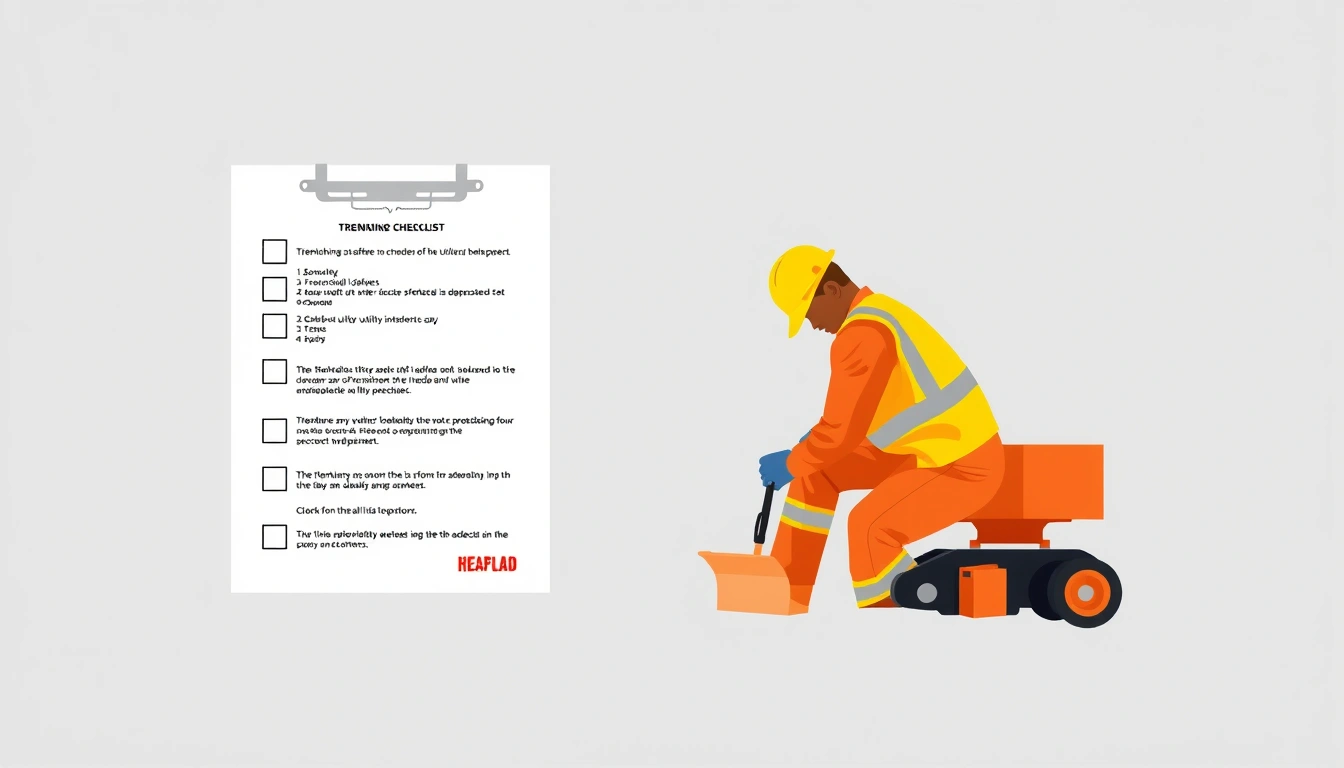
Run it in the same order the hazard builds: outside the trench, at the edge, inside the trench, and then again when something changes. I would use a 7-step flow every morning and repeat key items after rain, a utility strike, a trench extension, or a new equipment setup. The trench safety checklist for utility install crews should read like a field sequence, not a policy memo.
-
Start with the permit, locate ticket, and utility-owner notes. Confirm the call-in number, ticket age, marks, and any special instructions such as potholing, vacuum excavation, or hand-dig only. Verify the planned excavation matches the ticketed area. If the marks are faded, shifted, or absent, that is a problem before anyone digs.
-
Walk the full trench line with the competent person. Measure the route, note nearby traffic, vibration, and overhead hazards, and identify low spots where water will collect. Verify the ground is stable enough to support the plan. If the trench passes under a driveway, crane path, or vibrating compactor lane, that is a different risk profile and needs adjustment.
-
Decide the protective system before entry. Match the depth and soil to sloping, shoring, or shielding, and confirm the system is installed correctly for the excavation width. Verify the manufacturer’s ratings or the engineered design if the job uses a trench box or hydraulic shores. If the system depends on assumptions the site does not meet, stop and change the setup. No guessing.
-
Set the spoil pile and equipment exclusion zone. Keep spoil at least 2 feet from the edge and move heavy equipment far enough back that edge loading is not a factor. Verify no wheel, track, outrigger, or stored pipe is charging the lip. If the edge begins to crumble or crack, the zone is too tight.
-
Place access and mark the safe entry point. Install ladders so workers do not exceed the 25-foot travel distance, and secure them against movement. Verify the ladder reaches 3 feet above the top edge. If the crew is climbing on the wall or pipe to get in, the access plan is wrong. OSHA’s ladder and excavation guidance should be checked, and the competent person should confirm the setup.
-
Inspect the trench face and bottom right before entry. Look for tension cracks, bulging, seepage, running sand, curling edges, and bottom heave. Verify the bottom is clear enough to work and that nothing is undermining the wall. If you see a fresh crack, a small slough, or water pushing out of the face, assume it can worsen fast.
-
Keep checking after every change. Reinspect after rain, after dewatering starts or stops, after a machine moves position, after a deeper cut, and after any utility exposure changes the wall. Verify the conditions still match the original protective system. If the trench changes shape or moisture, the old decision may be invalid.
The bad version of this is easy to spot: the crew starts with the excavator, adds a box later, and treats the rest as cleanup. That is how crews miss the fact that the trench became unsafe 20 minutes ago. For more on sequencing, see our excavation planning guide.
What makes a trench unsafe enough to stop work?
It is unsafe enough to stop work any time the conditions no longer match the protective system, the access plan, or the locate plan. I would use a hard stop when any of these show up:
Depth reaches 5 feet and no protective system is in place: this is the standard cave-in threshold for most trench work — stop until sloping, shoring, shielding, or a rock exemption is in place.
Water is entering or pooling in the excavation: water weakens the wall and hides voids — stop, dewater, and reassess before entry.
Tension cracks, sloughing, or bulging appear at the edge: the soil is moving — clear the trench and change the support plan.
A locate is missing, uncertain, or conflicts with the dig: a buried utility may be in the cut — stop and verify by hand or by the utility owner’s method.
The trench box or shoring no longer fits the actual excavation: the protective system is being asked to do a job it was not set up for — stop and reset the system.
An employee would need to climb the wall, pipe, or spoil to exit: the access plan is failing — stop until a ladder, ramp, or stair is in place.
Atmospheric readings are unsafe or unknown in a potentially contaminated trench: oxygen deficiency or flammable gas can kill quickly — stop and use the site’s confined-space or hazardous-atmosphere procedure.
I am deliberately strict here. A lot of bad trench work survives on the phrase “it’s only for a minute.” A minute is enough time for a wall to let go. For trench safety checklist for utility install crews work, the stop-work trigger has to be immediate.
The mistakes I see crews make, and what they cost
The most dangerous trench errors are ordinary ones. They look small on the surface and expensive only after the fact. In utility work, the trench safety checklist for utility install crews is supposed to catch these before they become incidents.
-
Putting spoil right on the lip. This adds load and can trigger edge failure. The alternative is a 2-foot minimum setback, more where the soil is soft or cracked.
-
Using a trench box as if it fixes every hazard. A shield protects the people inside it; it does not make the whole trench safe, especially outside the box ends. The alternative is to match the box to the trench and still control slope, edge load, and access.
-
Assuming dry soil means stable soil. Dry, cracked soil can still fail suddenly, especially after vibration or a change in cut geometry. The alternative is a competent-person inspection that looks at structure, not just moisture.
-
Letting the machine work too close. Excavator tracks and truck tires near the edge can destabilize the wall and put the operator in the collapse zone. The alternative is a marked exclusion area and a spotter when visibility is poor.
-
Ignoring a change after rain or pumping. Water changes the trench faster than many crews expect. The alternative is a fresh inspection every time the condition changes, not just at the morning tailgate.
-
Skipping the access setup because the trench is “small.” A 6-foot drop is still a fall and a rescue problem. The alternative is a ladder or ramp placed before anyone enters.
The cost of these mistakes is not theoretical. A cave-in can bury a worker in seconds, and a bad rescue can double the casualty count. That is why a utility install crew needs the checklist to be plain and repetitive.
When does the standard trench plan not apply?
The standard plan needs modification when the ground, the utility mix, or the job layout changes the hazard. I would change the approach in these cases, and I’d have a competent person confirm the decision for the trench safety checklist for utility install crews.
- Stable rock: if the sides are cut in stable rock, sloping or shoring may not be required in the usual way, but the competent person must be sure it is actually rock, not fractured material.
- Layered or previously disturbed soil: treat it more conservatively than the surface suggests, because the wall can fail along the weak layer.
- Roadways, structures, or stockpiles near the cut: surcharge loads change the edge stability; increase setback and reassess the protective system.
- Deep utility crossings: hand exposure and bridging plans often matter more than speed.
- Cold, wet, or freeze-thaw conditions: soil can crack, soften, or release unexpectedly; reassess at the start of the shift and after temperature swings.
- Vacuum excavation or daylighting around congested utilities: this is often safer than blind mechanical digging, but it still needs traffic control, spoil control, and a competent person on site. For a deeper guide, see our vacuum excavation safety page.
Because of that, the strongest alternative is not skipping the checklist; it is tightening it when the site becomes more complex. The trench safety checklist for utility install crews should expand, not shrink, as the utility corridor gets tighter.
What should the crew do after the trench is open?
Once the trench is open, the crew should keep the checklist active until backfill is complete. That means rechecking the walls, the access, and the edge loading before each return to the trench and after each change in the work sequence. The trench safety checklist for utility install crews is not a one-time pre-job step; it is a control that stays live through the shift.
Before backfill, verify that all utilities are installed at the correct depth and separation, that any bedding or shading material is in place, and that no one has left tools or loose material in the cut. Then remove the access only after the trench no longer needs entry. If the job will reopen the next day, leave the site in a state that can be inspected quickly and accurately.
The cleanup phase is where crews get casual. But the trench still exists until the last hazard is gone, and the checklist should treat it that way. That final pass is often the one that prevents the next shift’s incident.