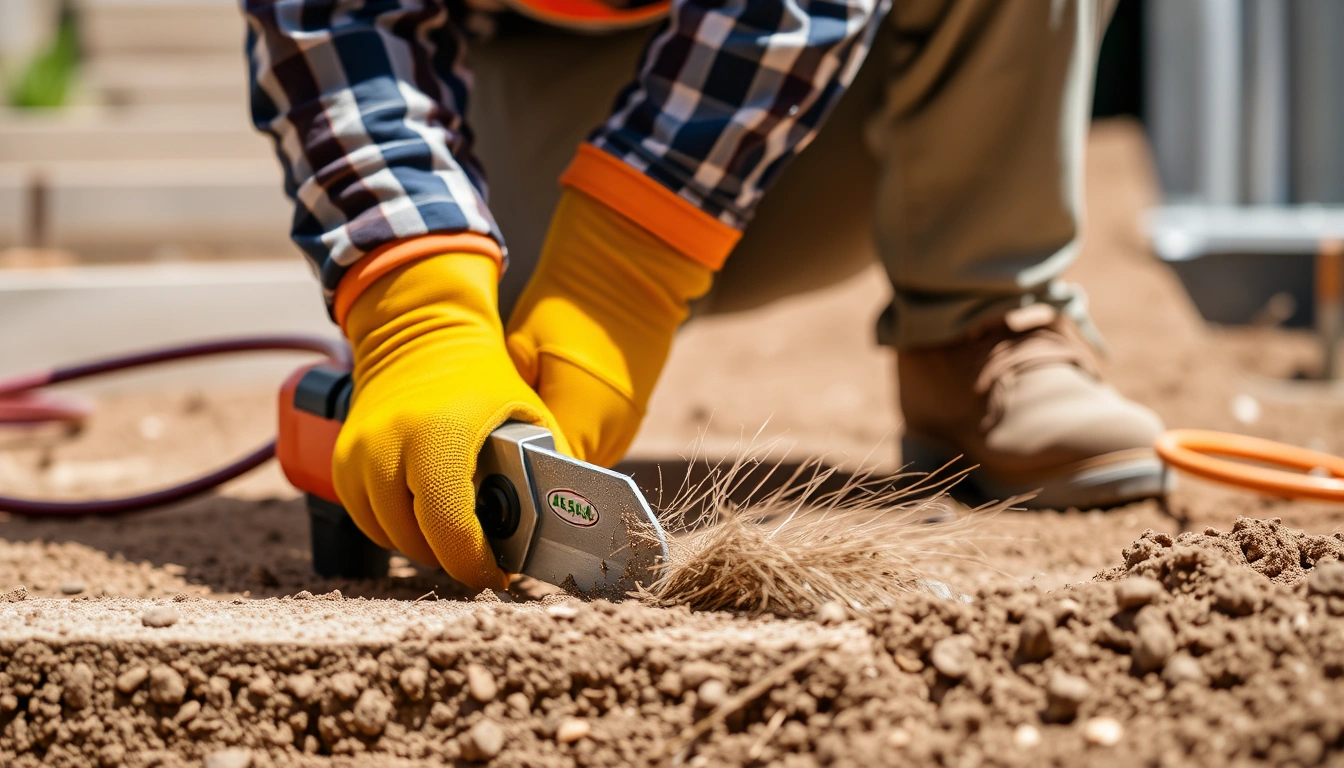
Best Equipment for Small Utility Trenching Jobs
Last updated: September 10, 2026
Key Takeaways
- A 36 in gate changes the answer.
- A 1 in conduit does not need a 24 in trench.
- Call 811 before you dig in the U.S.
- Cut 4 to 6 in deep on the first pass, especially in unfamiliar soil.
Small utility trenching jobs usually call for one of three tools: a walk-behind trencher, a compact excavator with a narrow bucket, or a ditching attachment on a skid steer or compact track loader. For small utility trenching jobs, the right pick hinges on trench depth, soil, access width, and how clean the trench bottom has to be. For short runs in decent soil, I would start with a walk-behind trencher. But when the space is tight, the ground has rocks or roots, or the line needs to go deeper, I would switch to a mini excavator.
Who this is for, and what it assumes you already know
This applies to homeowners, landscape contractors, fence installers, irrigation crews, and maintenance teams who need trenches for electrical conduit, low-voltage cable, drainage pipe, water line, or small gas and utility runs under about 6 ft deep. I am assuming you already know the route, the utility location, and the basic line type you need to install. No marks yet? Stop. Get the utilities located first; equipment choice is the wrong place to begin.
A “small utility trench” usually means a narrow cut, often 4 to 12 in wide, with enough depth to meet the line’s burial requirement and enough room to bed and cover the pipe or conduit properly. The real question is not “what is the biggest machine I can rent?” It is “what tool makes a straight, safe, usable trench without tearing up more ground than the job deserves?”
I would not recommend a hand tool-only approach except for very short runs, shallow work, or cleanup around existing lines. A trenching shovel, a ditching shovel, a mattock, and a digging bar still earn their keep, but they are not the main answer once the run gets long or the soil turns stubborn. Oversized machines are the opposite problem. A 10-ton excavator can dig a trench, sure, but it is clumsy in a backyard, costly to move, and often complete overkill.
People also get the selection process backward. They start with horsepower or brand names. I would start with access width, soil conditions, and spoil handling. A 36 in gate changes the answer. So does clay that shelves in dry weather, or a trench that must hold a clean grade for gravity drainage.
What is the best equipment for a small utility trench?
There is no single best equipment small utility trenching jobs answer, because the right fit depends on the site. For straight, narrow runs in workable soil, a walk-behind trencher is often the most efficient tool. For roots, rocks, or precise depth changes, a mini excavator usually fits better. And for very shallow utility work in open ground, a skid steer with a trencher attachment can be efficient if you already have the carrier.
A walk-behind trencher cuts a continuous slot with a boom and chain, usually 4 to 8 in wide, and it is a strong choice for irrigation pipe, electrical conduit, and cable runs. Faster than hand digging. Cleaner too. Its weak spot is hard, stony, or root-bound soil, where the chain can bounce, stall, or wear out fast. It is also a poor fit in cramped yards with lots of turns, because it wants a straight shot.
A mini excavator, usually in the 1.5- to 3.5-ton class for this kind of work, is the most flexible tool. With a 6- to 12-in bucket, it can dig, backfill, lift pipe, and clean trench bottoms. Slower than a trencher in perfect soil, yes, but it wins when the ground changes. If the route crosses roots, old fill, broken concrete, or utility congestion, this is often the better buy or rental. The trade-off is surface disturbance: it needs more room, more operator skill, and more cleanup.
A skid steer or compact track loader with a trencher attachment makes sense when you already own or rent the carrier for other work. It can move spoil quickly and handle broader site tasks. The catch is weight, plus the machine needs room to maneuver. I would not choose this first for a narrow backyard with a finished lawn unless the project has other loader work attached to it.
Hand tools still matter. A digging bar, trenching shovel, and root saw are the backup kit when the machine meets a stubborn spot or when you need to expose a crossing by hand. Not glamorous. Still necessary. A trench job without them tends to bog down at the exact moment the machine becomes too blunt.
How do I choose the right trencher, excavator, or attachment?
Choose by depth, width, access, and soil, in that order. If you can answer those four questions, the equipment choice gets much easier.
First, match depth to machine capability. Many small utility trenching jobs need depths from 12 in for shallow cable to 24 to 36 in for irrigation or electrical conduit, and deeper for some water or gas lines depending on code and local practice. A walk-behind trencher handles many of those depths well, but only if the chain length and boom geometry support it. A mini excavator can go deeper, though depth is not the whole story; a deep trench also needs stable sidewalls and proper spoil placement. For guidance on buried utility protection and excavation safety, see OSHA’s excavation standards and 811’s digging guidance. OSHA Excavations and Call 811.
Second, match trench width to the line and bedding. A 1 in conduit does not need a 24 in trench. The usual goal is a trench just wide enough to work in without wasting time or backfill. Narrower cuts save cleanup and make compaction easier. If you need multiple lines in one trench, plan the width for separation and warning tape.
Third, look at access. A machine that cannot pass through a 48 in opening is useless in a backyard with a narrow side yard. Walk-behind trenchers generally fit where compact excavators do not, but they need a run-up and a straight path. Mini excavators need more lateral space but can work from one side and reach over obstacles. Track width matters too; a machine that fits the gate may still damage turf if it is too heavy for soft ground.
Fourth, read the soil honestly. Sand, moist topsoil, and light fill are friendly to trenchers. Clay, shale, frost, roots, cobble, and demolition debris push the job toward an excavator or at least toward a machine with a stronger digging mechanism. In hard ground, I would rather have a slower excavator that can pry and clean than a trencher chain that chews itself to pieces.
A practical rule: if the trench is long, straight, and predictable, choose a trencher. If the trench is short, ugly, or uncertain, choose a mini excavator. If the job includes loading spoils, setting materials, and backfilling, the excavator often becomes the better all-around answer even when the trench itself is simple. For small utility trenching jobs, that flexibility can save a second trip with another machine. See also our mini excavator guide and walk-behind trencher options.
What equipment belongs on the job besides the digger?
The digger is only half the job. You also need layout tools, location tools, trench safety gear, and backfill tools that match the line you are installing.
At minimum, I would want marking paint, stakes, string line, a tape measure, a digging bar, a trenching shovel, a flat shovel, a hand tamper, a wheelbarrow or spoil box, and a pipe or conduit bed material such as clean sand or screened fill if the job requires it. If the trench crosses existing utilities, a utility locator and flags are not optional. Call 811 before you dig in the U.S. and wait for the marks.
For deeper or longer trenches, a laser level or builder’s level helps you hold grade. That matters on drainage lines, where a few tenths of an inch can change how water moves. A level line that looks fine at the surface can still fail if the invert — the bottom of the trench where the pipe sits — wanders. Our laser level guide and trenching safety checklist cover the setup.
If you are using a trencher, I would also keep spare chain wear parts on the rental sheet or at least know what chain style it uses. Rock chains, dirt chains, and carbide-tipped chains are not interchangeable in practice. A standard dirt chain in rocky ground is a slow way to burn money. If you are using an excavator, a trench bucket and a clean-up bucket are the two most useful attachments for small utility work. A tilt bucket can help on sloped terrain, but it is not necessary for most straight runs.
Do not forget compaction equipment. A trench that is backfilled loose will settle later, usually right where a driveway, walkway, or lawn edge makes the failure obvious. A hand tamper is enough for small fills. For larger backfills, a plate compactor makes a cleaner result, but only when the line has enough cover and the material can take compaction without crushing the utility. For backfill basics, check the cover depth before compacting.
How do I dig a small utility trench without making a mess?
You dig it in a straight, verified line, keep the spoil out of the trench path, and backfill in layers that protect the utility. Sounds easy. The setup is where the work lives.
- Mark the route with paint and stakes. Lay out the trench centerline with string if the run is longer than 20 ft, and confirm offsets from structures. Verify the route avoids marked utilities and planned tree roots; a route that crosses a mark or forces a sharp bend is a problem.
- Check the machine’s width, reach, and trench depth before starting. Confirm the trencher boom length or excavator bucket size matches your required depth and access. A machine that cannot reach the target depth without overextending the operator or boom is the wrong machine.
- Strip the surface where needed. Remove sod or loose top layer in a 12- to 24-in strip so the trench cut is cleaner. Verify you are not shaving into buried stone, edging, or drip lines; hitting hidden material means slow down and expose it by hand first.
- Make the first pass shallow. Cut 4 to 6 in deep on the first pass, especially in unfamiliar soil. Check whether the chain or bucket tracks true and whether spoil is piling to one side. Excess vibration, stalling, or wandering means the soil or tool choice is wrong.
- Cut to depth in controlled passes. Increase depth in increments rather than forcing full depth in one shot. Verify the trench bottom stays even and the sidewalls are not sloughing in. If the bottom waves up and down, the line may not drain or sit correctly.
- Clean the bottom and inspect for conflicts. Use a flat shovel or narrow bucket to remove loose chunks, roots, and stones. Confirm the trench is free of sharp debris that could damage pipe or conduit. Broken rock, jagged rebar, or active seepage are signs to stop and reassess.
- Lay the utility with correct bedding and cover. Place the pipe or conduit on the specified bedding, then cover it with suitable material before final backfill. Verify the utility is not twisted, bellied, or pinched. If it shifts as you cover it, the bedding is too uneven or the trench is too narrow.
- Backfill in layers and compact as required. Place soil in 6- to 8-in lifts and compact each lift where settlement matters. Check final grade against nearby finished surfaces. A trench that sinks after rain or first freeze was not compacted enough.
What mistakes do people actually make?
The most common mistake is choosing a machine for the wrong soil. A small chain trencher in rocky clay looks efficient for the first few feet, then turns into a stalled, vibrating problem. After that, the chain wears out, teeth break, and the cut starts wandering. A mini excavator, or at least a stronger chain setup matched to the dirt, is the better move.
Another mistake is digging before confirming utility marks. That is not just a procedural miss; it can turn a simple trench into a shutdown. The consequence is damaged lines, unsafe conditions, and expensive repairs. The correct alternative is to locate and verify marked utilities before any machine starts moving.
People also dig trenches too wide. A wide trench means more spoil, more backfill, more compaction, and more lawn repair. The consequence is extra labor and a mess that outlasts the utility itself. The better alternative is a trench just wide enough for the pipe, bedding, and working room.
A fourth error is treating backfill as an afterthought. Loose backfill settles, and it settles most under driveways, walks, and gutter lines. Before you assume the fill will hold, consult a qualified installer or local utility professional, especially where settlement or code compliance is a concern; OSHA’s excavation guidance also stresses protecting the trench and the work area. The consequence is a sunken strip that becomes obvious within a season. The correct alternative is layer-by-layer backfill with tamping where settlement matters.
The fifth mistake is ignoring access and turning radius. A machine may fit the gate but still be unable to swing or exit without tearing up the site. The consequence is turf damage and a half-finished trench. The alternative is to map the route first, measure every opening, and choose the machine around the site rather than the other way around.
When does a small trencher stop being the right tool?
A small trencher stops being the right tool when the job shifts from simple cutting to controlled excavation. Here are the clearest breakpoints.
Rocky subgrade or buried rubble: This means the chain will bounce, stall, or wear too fast — switch to a mini excavator with a trench bucket, or hand expose the obstruction first.
Heavy root zones near mature trees: This means a chain will snag roots and a narrow trench may injure the tree — use hand digging near the root flare and consider rerouting the line.
Trench crossings under existing driveways, walls, or slabs: This means you need controlled exposure and likely a bore or directional approach — do not force a surface trench through a crossing that should stay intact.
Very tight access with frequent turns: This means a walk-behind trencher will waste time or become unmanageable — use a compact excavator if it can reach, or do the short sections by hand.
Wet, collapsing soil: This means the trench walls will not stay open long enough for a clean install — use smaller equipment, shorten the open trench length, and keep the trench from sitting uncovered.