How to Install Water Lines in a Trench
Last updated: September 10, 2026
Key Takeaways
- Check depth every 10 to 20 feet, and at any slope change.
- In many cold-climate areas that means roughly 36 to 48 inches of cover, but the correct number is local, not universal.
- Around the pipe, sand or screened fill is the better call for at least 6 inches above and below it.
- Bad work usually shows itself early. Fast.
How install water lines trench work begins with local code, frost depth, and utility locates, then moves through bedding, testing, and layered backfill. If you are planning how install water lines trench, the aim is simple: keep the pipe below frost, away from sharp stone, and shielded from settlement, freezing, and crush loads. This guide covers a straightforward buried water line from a meter, well, frost-free hydrant, or detached building, and it lays out the practical steps, checks, and decision points you need before you dig.
Who this applies to, and what you need before you start
This applies to a straightforward underground water line between two points on one property, using common materials such as polyethylene (PE) pipe, PVC rated for water service, or copper in limited cases where local code allows it. I’m assuming you already know the route you want, can call for utility locates, and have access to basic digging equipment, a way to pressure-test the line, and the fittings for your chosen pipe system.
Not every site fits this job. If the line crosses a public right-of-way, serves more than one structure in a way your local code treats as a utility run, passes under a slab you cannot open, or connects to a regulated municipal tap where the water department requires approved materials and inspection, consult the local code, utility, or a licensed professional before you dig. Rocky ground, shallow frost depth, ledge, contaminated soil, and high groundwater also change the plan fast. The Iowa State University Extension notes that service line depth, bedding, and utility rules vary by location, and local requirements control the final design. In those cases, I would treat the trench as a contractor job unless you already know the code and inspection sequence for your area.
A simple buried line still needs more than a shovel and pipe. Plan on trenching equipment, bedding material such as sand or screened fill, warning tape, pipe insulation only where local practice calls for it, and enough slack or fittings to make the turns you need without forcing the pipe. If you are not sure what your local frost depth is, that number matters more than pipe brand. The line has to sit below it, or be protected another way. No shortcuts here.
How deep should a water line trench be?
The trench should put the pipe below local frost depth, with enough cover above it that backfill and surface traffic will not crush it. In many cold-climate areas that means roughly 36 to 48 inches of cover, but the correct number is local, not universal. The International Plumbing Code requires water service piping to be installed below frost depth and protected from physical damage, and many local amendments add depth requirements for driveways or traffic areas. I would not guess here. Your city, county, or water utility may publish the required depth, and some places require deeper burial under driveways or where a line crosses areas that will carry vehicle loads.
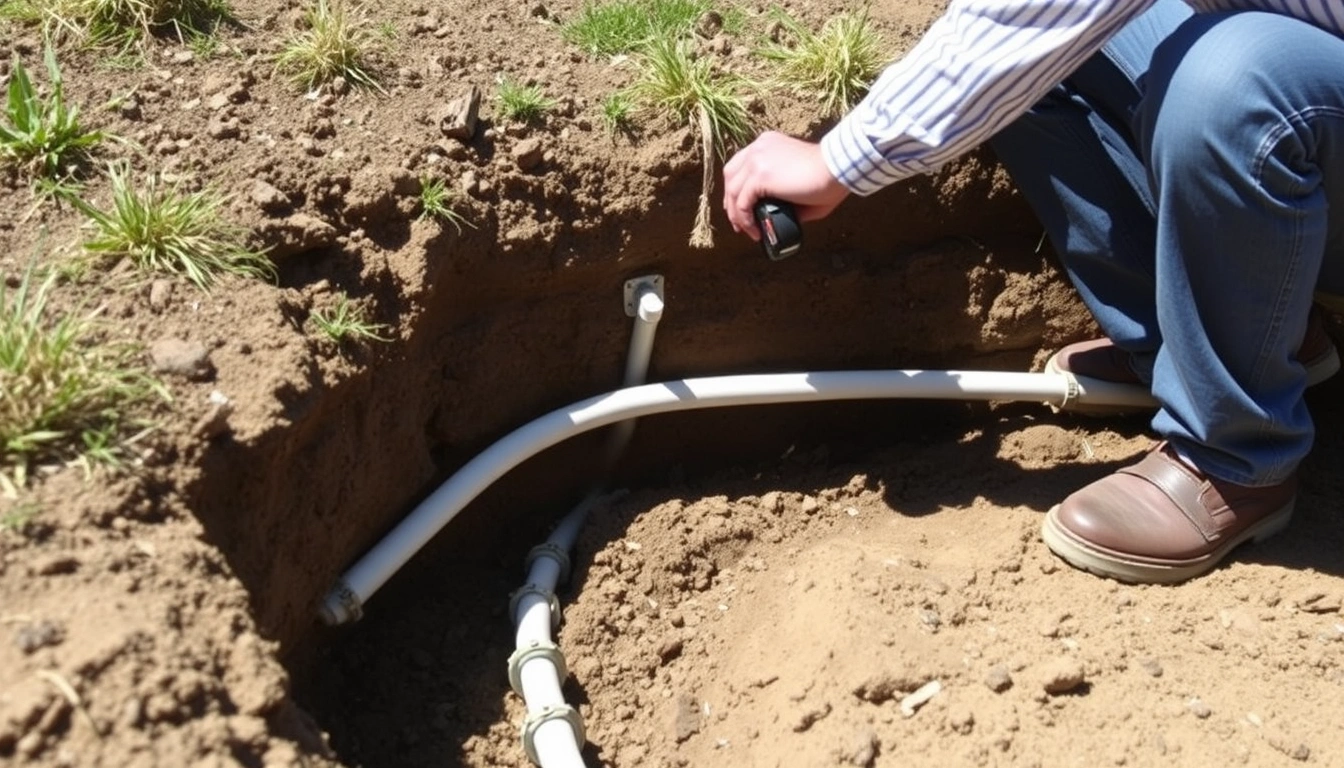
Depth is only half the story. The bottom of the trench should be smooth and free of sharp stone, broken concrete, or tree roots that can press into the pipe. For flexible pipe such as PE, a 4 to 6 inch bed of sand or screened soil is common practice under the pipe, with similar material around and over it before you use native backfill. That bedding gives the line a stable seat and keeps rocks from scoring it.
I also watch trench width. Too narrow and you cannot work cleanly around the joints; too wide and you waste effort and backfill. A trench that is wide enough to get a hand or tool beside the pipe, but not so wide that the pipe floats in loose fill, is usually the right balance. If the ground is unstable, the trench walls can collapse; sloping, shoring, or stepping the sides may be necessary. That is not a place to improvise.
How to install water lines in a trench, step by step
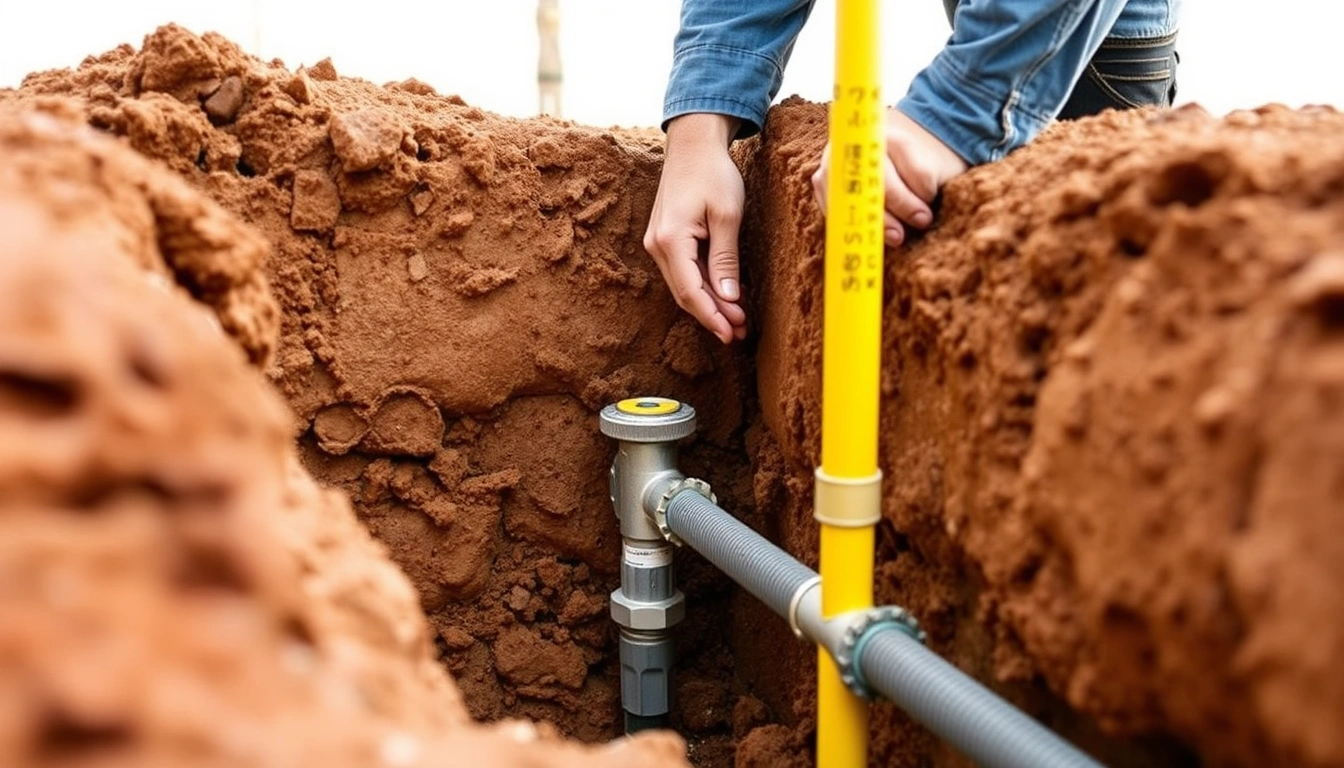
How install water lines trench work should follow a clean sequence: mark the route, dig to depth, bed the pipe, join it correctly, test it, and backfill in layers. The details matter.
- Mark the route and confirm all utilities. Call for utility locates before you dig, then mark the trench line with paint or flags and measure the run in feet or meters. Verify that electric, gas, sewer, communication, and irrigation lines are clear of the path. A missed utility locate can turn a trench into a hazard in minutes. 811 rules in the U.S. require this step before excavation, and many damage cases start with an unmarked line.
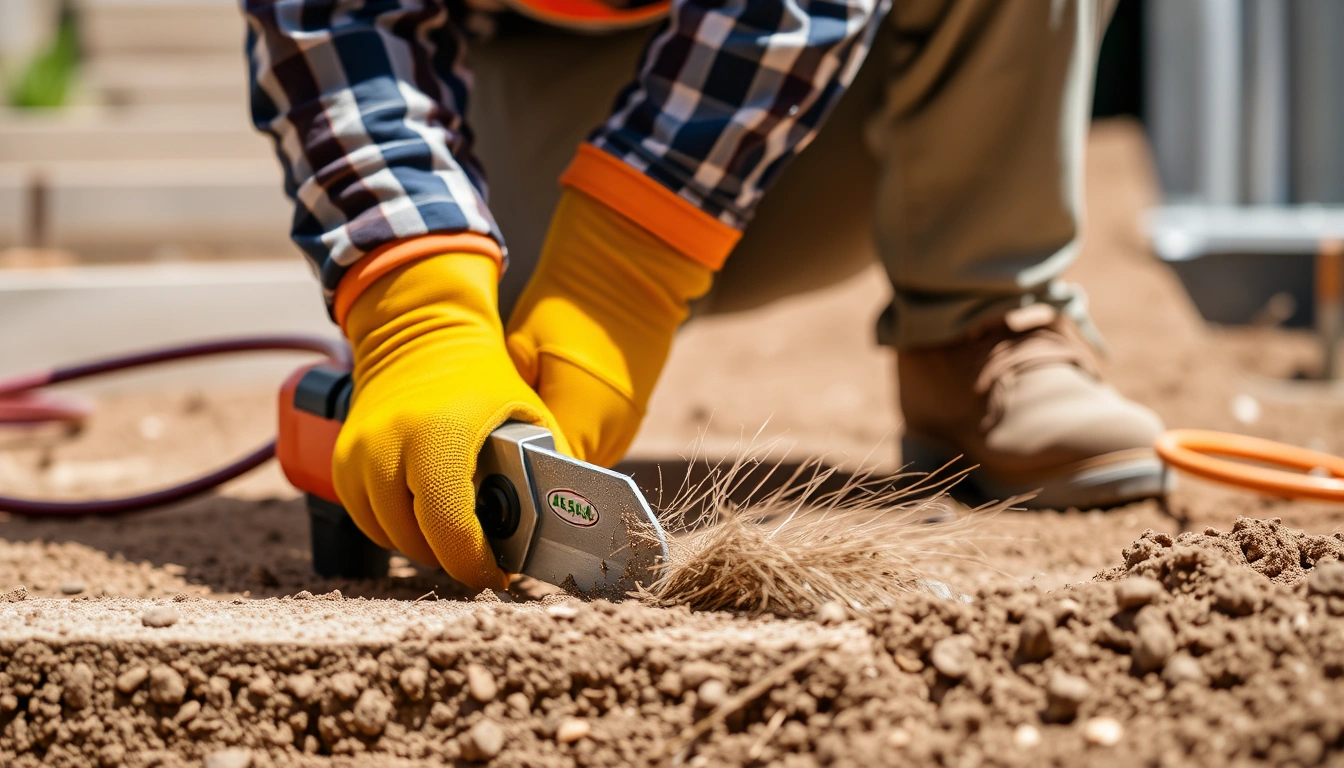
- Excavate to the required depth with a consistent bottom. Dig to local frost depth or the code depth your area requires, plus enough room for bedding material. Check depth every 10 to 20 feet, and at any slope change. If the bottom undulates by more than a couple of inches, the pipe will bridge high spots and settle unevenly later.
- Prepare a 4 to 6 inch bedding layer. Spread sand or screened native soil across the trench bottom and level it. Make sure there are no rocks larger than about 3/4 inch in the pipe seat. Sharp debris under the pipe is a problem because it creates point loads that can damage the line over time.
- Lay the pipe without forcing bends. Uncoil PE pipe carefully or set rigid pipe in manageable sections. Keep bends gentle; PE can take gradual curves, but tight kinks are a failure point. Check that the pipe sits flat in the bedding with no tension at fittings. If a section springs back or tries to climb out of the trench, the route is too tight or the layout needs adjustment.
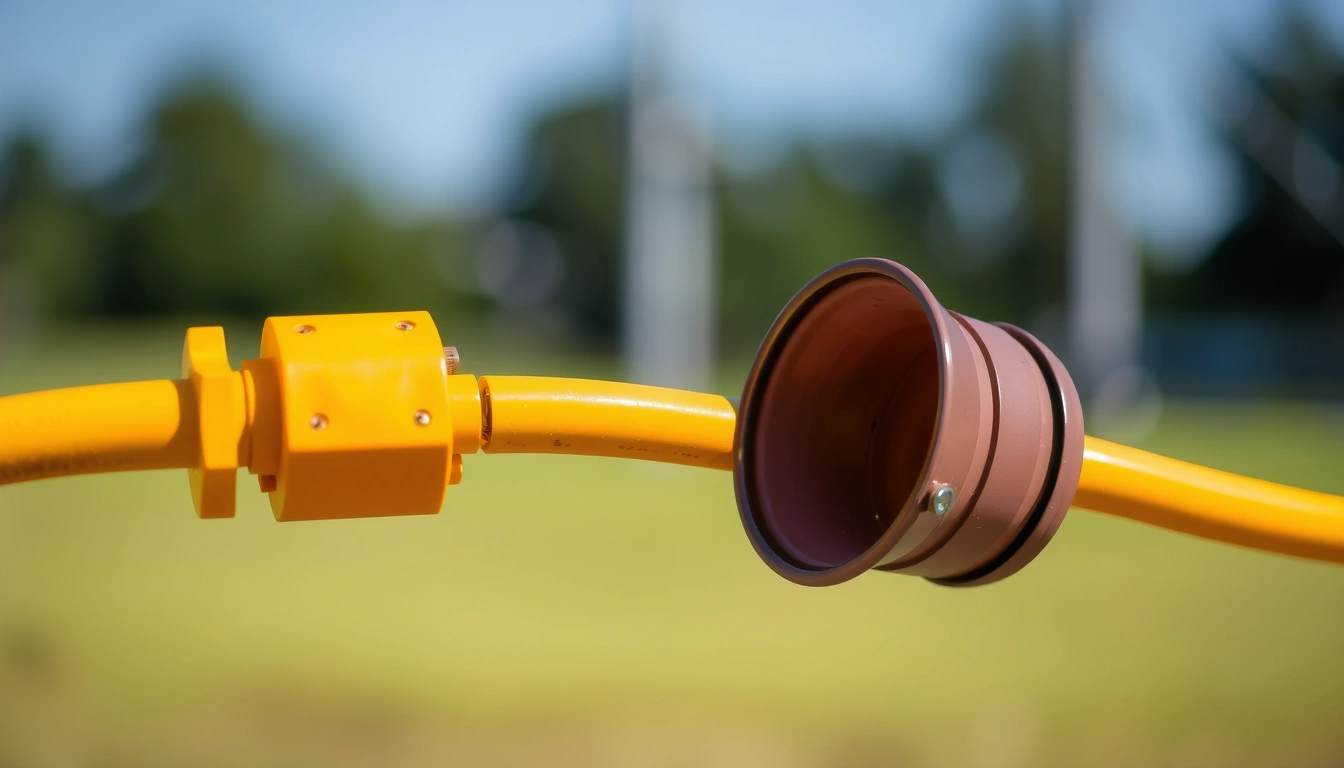
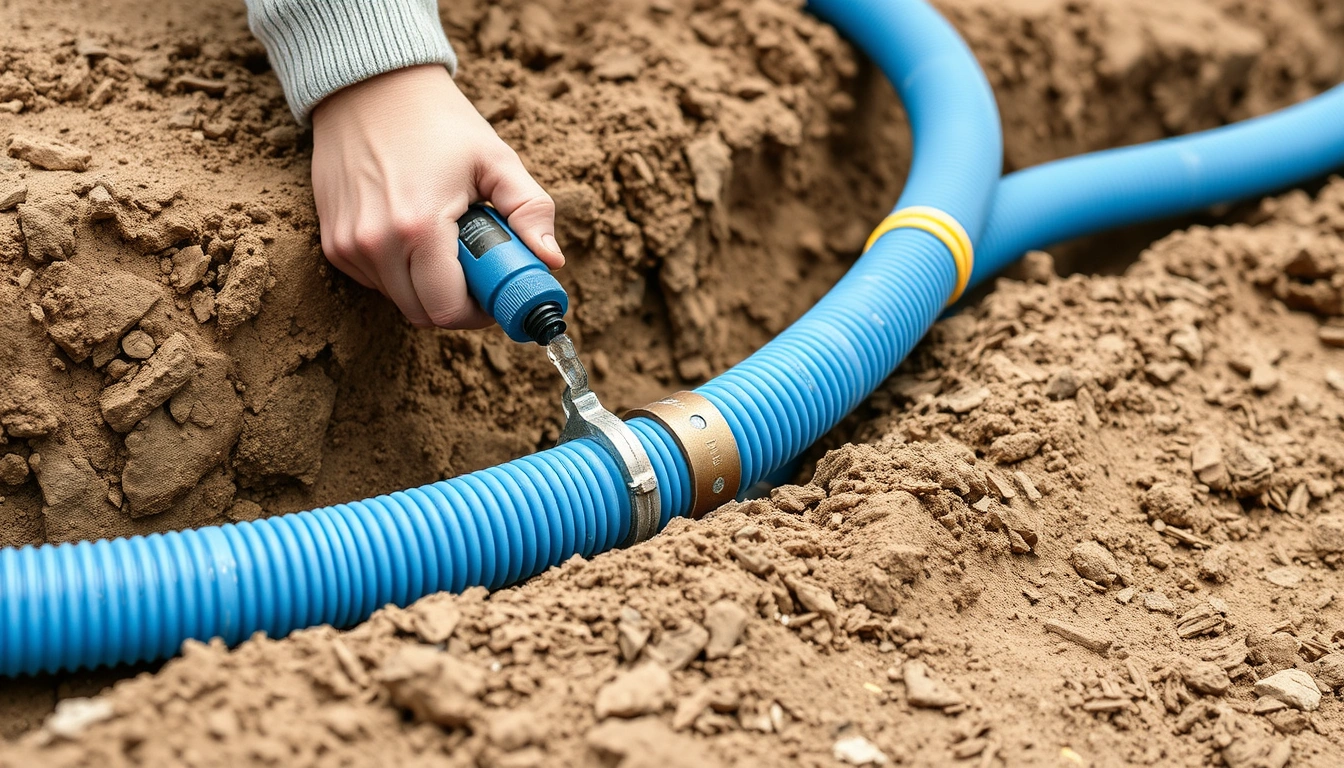
- Make the joints using the correct method for the material. For PE, use approved compression fittings, stab fittings, or fusion where the system calls for it. For PVC, use primer and solvent cement only on pressure-rated pipe and fittings. Check that each joint is fully seated and aligned before the cement sets or the fitting is tightened to spec. A dry, crooked, or partially inserted joint is a leak waiting to happen.
- Install any valves, drain points, or shutoffs where accessible. If the line includes a shutoff, put it where it can be reached without digging, and orient it so the handle will be clear of the trench wall. Check that any drain or low-point strategy actually works for your layout; a “low spot” that still traps water can freeze and split a section in winter.
- Test the line before full backfill. Pressurize the line with air or water according to local code and the fitting manufacturer’s instructions. Watch for pressure loss, damp joints, or movement at fittings. A pressure drop, even a slow one, means stop and find the leak before burying anything. Covering a leak with dirt only makes the repair slower and more expensive.
- Backfill in layers and protect the pipe first. Place selected fine material around the pipe to at least 6 to 12 inches above the crown of the pipe, then compact lightly by hand or with the method allowed by the pipe type. Check that the pipe has not shifted and that no stone is contacting it. After that, return the remaining native soil in lifts of about 6 to 12 inches, compacting enough to reduce later settlement but not so aggressively that you crush shallow pipe.
- Mark the line for the future. Install warning tape several inches above the pipe if local practice or code calls for it, and note the route on a site sketch with measurements from fixed landmarks. Verify the sketch before you cover the trench completely. The next person who digs there should not have to guess.
If the line serves a building, I would also flush it before final connection to remove grit and shavings. Clean at the end matters. Debris can damage valves, cartridges, and small fixtures.
What a good trench job looks like, and what a bad one looks like
A good installation is the kind that disappears after backfill. The pipe sits at a consistent depth, the route is smooth, the joints stay dry, and the backfill settles without creating a trench-shaped dip at the surface. If the line is under a driveway or other traffic area, it has enough cover and proper material so repeated loading does not flatten it over time.
A bad job usually shows itself early. You may see a trench that is shallow in spots, a pipe that rises and falls like a wave, joints buried before testing, or backfill full of broken brick and large rock. Another bad sign is a line that was “protected” with nothing but a few loose shovels of dirt under it. That may hide the pipe for a season, then produce a leak where the soil settles or a stone digs in. Ugly stuff.
Watch the surface too. If the trench line settles several inches after the first rain, the backfill probably was not placed in lifts or was not compacted enough. If that settlement happens over the pipe route, the line may be carrying uneven loads underground. Another clue is water that pools where the trench crosses a yard or driveway. That can mean the backfill was too loose, the trench was overcut, or the grade was not restored properly.
The cost of a bad trench is rarely just one repair. Digging up a buried line after the fact means more labor, more fittings, and sometimes damage to landscaping, pavement, or hardscape. On a long run, a second excavation often costs more than doing the bedding, testing, and backfill correctly the first time.
When should you stop and call it a different kind of job?
Stop when the trench stops being a simple buried line and starts becoming a code, safety, or site-condition problem. In those cases, the wrong answer is to keep digging and hope.
Utility locates are missing or uncertain: You do not have a safe dig path — stop until the utilities are marked and cleared. Hitting gas, electric, or fiber can shut the job down immediately and create a dangerous scene.
The trench must cross a driveway, road, or public easement: The load and permit requirements change — use the approved method for that crossing, which may mean sleeving, deeper burial, or contractor-installed work. Surface traffic changes the design enough that ordinary trench rules may not apply.
You hit ledge, large rock, or hardpan at shallow depth: The required cover may be impossible without heavy equipment or a redesign — stop and reassess the route, depth, or material. Forcing pipe over rock creates stress points and future breaks.
Groundwater keeps filling the trench faster than you can work: The bedding and joints may not stay dry enough to install correctly — dewater or change the approach. Wet trenches make it hard to seat pipe, fuse fittings, or keep bedding from turning to mud.
The run needs an unusual slope, loop, or low point: Water can trap and freeze in a bad geometry — have the layout corrected before pipe goes in. A small dip can become a recurring winter failure.
The connection is to a municipal main or metered service that requires inspection: The utility may require approved materials, pressure testing, and a specific tie-in procedure — follow their rules or hand the tie-in to someone who does this work routinely. A buried line that fails inspection can mean rework even if the trench itself is fine.
The mistakes people make with buried water lines
The most common mistake is burying the pipe too shallow. The consequence is freezing, movement, or damage from surface activity. The correct alternative is to use the local frost depth or code depth, and to verify it before backfilling.
Another mistake is using native soil full of stones right against the pipe. That can nick flexible pipe or create point loads on rigid pipe. Around the pipe, sand or screened fill is the better call for at least 6 inches above and below it.
A third mistake is skipping the pressure test until after the trench is fully closed. That turns a small leak into a full excavation. The better practice is to test before final backfill, while joints are still visible.
A fourth mistake is making tight turns with PE or forcing rigid pipe into alignment. The consequence is joint stress and eventual leaks. The correct alternative is to use long-radius bends, more fittings, or a route change.
A fifth mistake is compacting too aggressively right over the pipe with heavy equipment. That can deform plastic pipe or push fittings out of alignment. The right move is light, layered backfill near the pipe, then normal compaction only after there is enough cover.
A sixth mistake is forgetting the future digger. No tape, no sketch, no measurement from a fixed point means the next excavation may hit the line. I’d leave a record, even on a small private job.
How long does it take, and what should it cost?
A simple trench line can take half a day to several days, depending on length, soil, depth, and how many fittings are involved. A short, straight run in soft soil may be dug, laid, tested, and backfilled in a single day. A longer line, a rocky route, or a run that needs permits and inspections will take longer because excavation is only one part of the schedule.
Cost swings with the same variables. The big ones are trench length, soil type, depth, pipe material, number of fittings, restoration after backfill, and whether you need equipment or permits. A shallow straight run in easy soil is one price; a deeper run through rock, around utilities, or under hardscape is a different job entirely. I’d be cautious of anyone who gives a flat price without seeing the route. In many markets, small trenching jobs can land in the low hundreds for materials only, while a longer or harder run can move into the thousands once excavation and restoration are included.
If you are collecting bids, ask what depth they are pricing, what bedding they include, whether pressure testing is part of the job, and who restores the surface. Ask what happens if hidden rock or groundwater changes the work. Those questions tell you more than a headline number. A low quote that excludes testing, bedding, or cleanup is not a bargain; it is a future change order.
What should I ask a contractor before I hire one?
Ask whether they install water service lines in trench and whether they follow the local code depth and testing requirements. Ask what pipe material they plan to use, how they bed the pipe, and whether they test before final backfill. Ask how they handle utility locates, inspections, and restoration.
I would also ask for the exact scope in plain language: trench depth, bedding, pipe size, fittings, shutoffs, pressure test, backfill, and surface repair. If the answer is vague, the work may be vague too. A good contractor can tell you which parts are included and which are not, without dodging the hard questions.
If the job touches a municipal water main or requires a tap, ask whether they handle that portion or whether the utility must do it. That one question can save days.