What to Expect During a Utility Line Installation Project
Last updated: September 10, 2026
Key Takeaways
- A short private run in open ground may take 1 to 2 days.
- Ask what happens if the crew finds a conflict at 3 feet instead of 2 feet, or if the route crosses an unmarked private line.
- If your lot is in a dense urban block, a 20-foot run can take longer to clear than a 100-foot rural run.
- The first practical step is to call 811 or the local one-call service before excavation; the utility owners then mark public utilities.
A utility line installation project does not begin with a shovel. It usually starts with permits, route marking, and utility locates, then moves on to trenching or boring, inspection, backfill, and restoration. Short, open runs can be quick; cramped sites with rock, traffic, or a tangled underground utility map are another story. In many markets, a small residential service line can take 1 to 2 days, while a street crossing or bored installation can take several days.
Table of Contents

- Who this applies to, and what you should already know
- What happens before the first shovel hits the ground
- How utility line installation usually goes, step by step
- How much does utility line installation cost?
- What should I ask before I hire someone?
- When should I stop the job and call it off?
- The mistakes people make on utility line jobs
- What does a bad utility line installation look like?
Who this applies to, and what you should already know
This is for anyone planning a new service line or a replacement line for water, sewer, gas, electric, internet conduit, or drainage on private property—and wanting a clear picture before making the first call. I’m assuming you already know the rough path the line needs to follow, or at least the endpoint: house to meter, meter to main, panel to transformer, or building to street connection.
I’m also assuming this is ordinary service work, not a weekend experiment. On utility work, the real question is usually not “can I dig?” but “what’s underground, what permits are required, and which method keeps the site usable?” For shallow, non-pressurized, low-risk work such as a short conduit run on open private land, a property owner may handle planning, access, and cleanup. But the actual tie-in, live utility connection, pressure line work, gas work, and anything crossing public right-of-way should be handled by a qualified utility contractor or the utility owner’s approved crew. Gas, electrical service, and sewer connections can turn dangerous or noncompliant fast.
Local conditions matter more than people expect. In frost-prone climates, burial depth often has to account for freeze depth. In areas with expansive clay, trench stability and bedding carry more weight. And in older neighborhoods, the slowdown is often not the trench at all—it’s the crowded underground corridor: water, gas, telecom, and abandoned services all jammed together. If your lot is in a dense urban block, a 20-foot run can take longer to clear than a 100-foot rural run. That sounds backwards, but it happens all the time.
What happens before the first shovel hits the ground
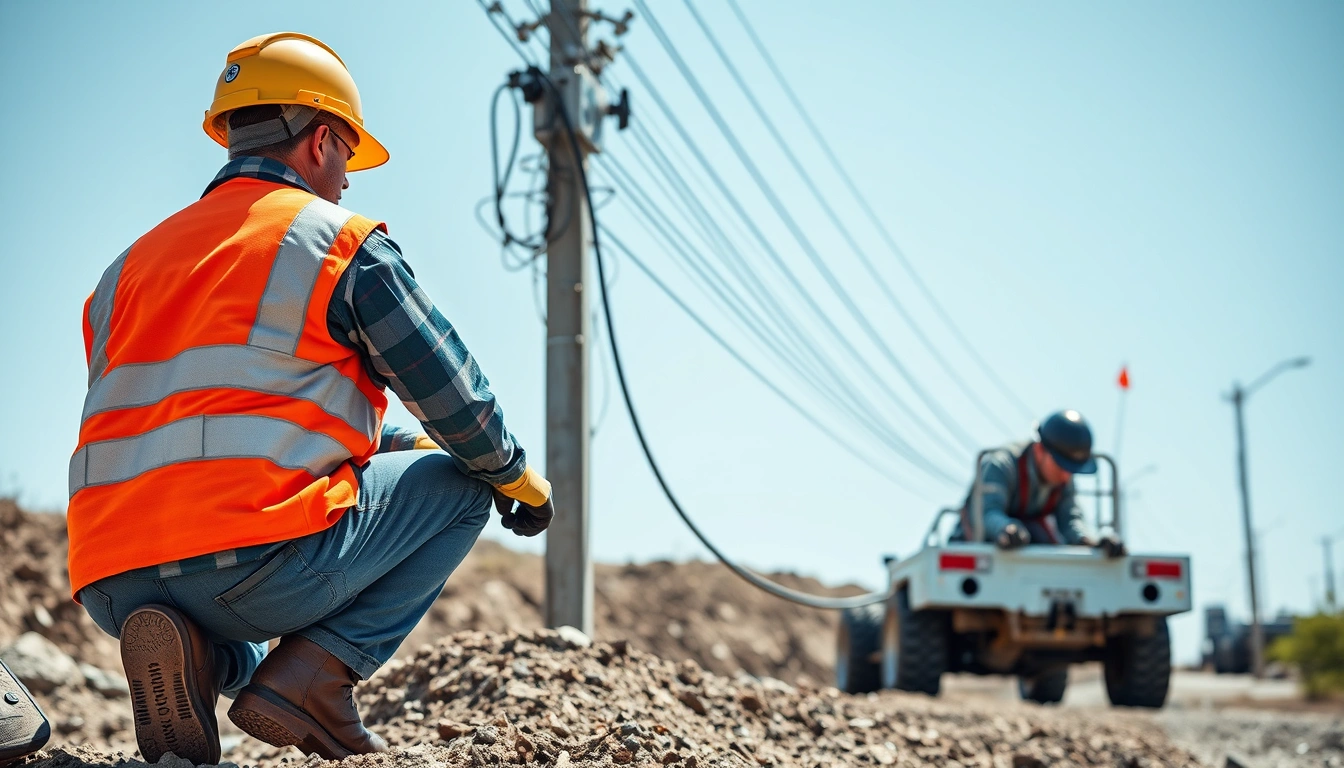
Usually, the project begins with locate marks, permits, and a route check—not digging. The first practical step is to call 811 or the local one-call service before excavation; the utility owners then mark public utilities. Common Ground Alliance damage-prevention guidance says most excavation damage can be avoided when locates and verification happen before any digging starts. Those paint marks and flags are the difference between a normal trench and a cut main. Private lines on your property are often not marked by the one-call system, so a contractor may still need private locating or test holes.
Expect a pre-job walk-through. It should cover the route, depth, surface restoration, equipment access, and where spoil will go. Spoil is the excavated soil; if the crew has nowhere to stage it, they can’t keep the trench safe or the site orderly. A good contractor will also ask whether the line must stay live during work, whether there is a shutoff window, and whether the final location needs a meter, cleanout, vault, or pedestal. No one talks about those items? That’s a warning sign.
Permits vary by municipality. A city may require an excavation permit, a sidewalk or driveway cut permit, or inspection before backfill. Utility owners may also require a separate tap or service application. That’s one of the biggest reasons price ranges swing so much. A straightforward private trench in open soil is not the same job as a street crossing with traffic control and restoration.
I’d treat the pre-job phase as a rough pricing filter, nothing more; if the scope is fuzzy, check with the contractor or permit office. If a company gives a firm quote without asking about route length, surface type, utility depth, and permit scope, that quote is usually a guess. A guess is cheap until it isn’t. For permit and locate rules, see the OSHA excavation standard and your local one-call requirements.
How utility line installation usually goes, step by step
A utility line installation usually follows the same basic sequence: confirm the route, expose conflicts, install the line, verify it passes inspection, and restore the surface. The details shift by utility, but the order doesn’t.
- Mark the route and endpoints. Paint or flag the exact start and finish points, then measure the route in feet instead of eyeballing it. Verify the line avoids trees, footings, retaining walls, and septic components. A problem sign is a route that “sort of” follows the plan; vague routes lead to extra bends, extra fittings, and disputes about who pays for change orders.
- Call for utility locates and wait for clearance. Request locates at least 2 to 3 business days before digging, or by the local required window. Verify every marked utility before trenching starts, including overhead clearances if equipment will raise booms or augers. A problem sign is missing marks in the work zone; that usually means the area is not ready and should not be opened.
- Dig test holes at conflict points. Hand-dig or vacuum-expose the line where multiple utilities cross, typically near service meters, driveway edges, or public easements. Verify actual depth and direction before committing equipment. A problem sign is hitting rock, compacted fill, or a utility sooner than expected; that means the route or installation method needs revision.
- Excavate the trench or bore path. Open-cut trenches are common for short, open runs; horizontal directional drilling or auger boring is better when the surface cannot be disturbed. Verify trench width allows safe bedding and pipe placement, and verify bore depth keeps clear of other utilities. A problem sign is trench walls sloughing in or the bore path drifting; both can compromise safety and final alignment.
- Prepare the bedding and set the line. Place the line on appropriate bedding, often sand or screened material, so the pipe is not resting on sharp stone. Verify slope for gravity sewer or drainage lines; a drainage line needs consistent fall, not random dips. A problem sign is a “bellied” section, which traps water and causes poor flow.
- Make the tie-in and test the system. Connect to the meter, main, panel, or existing line using the correct fittings and approved method, then pressure-test or inspect as required by the utility. Verify the system holds the required test and that no joints sweat, leak, or shift. A problem sign is a drop in pressure, seepage, or a test that fails inspection; do not cover a failed line and hope it passes later.
- Inspect before backfill. Many jurisdictions want an inspection while the line is exposed. Verify that depth, materials, tracer wire where required, warning tape, and cleanouts or access points match the permit. A problem sign is backfill done before inspection; that can mean re-excavation and extra cost.
- Backfill, compact, and restore the surface. Place fill in lifts, compact as you go, then restore sod, gravel, asphalt, concrete, or pavers. Verify the surface does not settle immediately and that drainage still moves away from structures. A problem sign is a trench that sinks within days or a patch that cracks because the fill was never compacted properly.
Timing depends on the utility and the site. A short private run in open ground may take 1 to 2 days. A job with boring, traffic control, inspection, and asphalt restoration can stretch to several days or longer, especially if the utility owner has a separate connection schedule. The Northeast Ohio Regional Sewer District, for example, notes that service and connection work can involve separate inspection and restoration steps that extend the calendar beyond the dig itself.
How much does utility line installation cost?
Cost usually lands in a wide range because the route, surface, and utility type affect labor far more than the pipe itself. The biggest variables are length, depth, surface restoration, and whether the line crosses a driveway, sidewalk, slab, or public street.
A short trench in open soil sits in a different price tier than a bored line under a finished driveway. Both are easier than work that needs asphalt sawcutting, traffic control, or a street opening permit. Rock excavation, high groundwater, and clay soils that cave in can all raise labor time. In older neighborhoods, the hidden cost is often locating and working around abandoned lines.
Here’s a cleaner way to look at pricing: the quote should separate excavation, pipe or conduit, fittings, tie-in, inspection, and restoration. If those pieces are bundled into one number with no scope, compare carefully. The cheapest bid can be the one that excludes restoration, permits, or utility coordination, so ask for a written breakdown before you compare totals. For line-item guidance on utility project pricing, the U.S. Small Business Administration and local public works departments both recommend scope-based bids.
Ask what happens if the crew finds a conflict at 3 feet instead of 2 feet, or if the route crosses an unmarked private line. That’s where change orders come from. Change orders are not always a red flag; they become one when the original scope was so thin that surprises were likely from the start. That math stops working fast.
What should I ask before I hire someone?
Ask about the route, the method, the permit scope, the inspection step, and the cleanup standard before you sign anything. I’d ask these questions directly:
- Will this be open trench, directional boring, or a mix?
- Who gets the permits, and which permit fees are included?
- How deep will the line be, and what standard or local code controls that depth?
- Who handles the tie-in to the existing utility?
- Is backfill and final restoration included, or billed separately?
- What happens if locates are delayed or the crew finds rock, groundwater, or an unmarked line?
A strong answer sounds specific. You should hear measurements, not generalities. For example, a contractor should be able to explain the planned depth in inches or feet, the route in linear feet, and the restoration scope in square feet. If the answer is “we’ll see when we get there,” that’s a sign the job hasn’t been priced or planned well enough.
Also ask who inspects the work before it gets buried. On many utility projects, the exposed line is the only chance to catch a bad slope, missing tracer wire, or improper bedding, and local inspectors often want the line visible before backfill. Once the trench is covered, the cost of correction jumps sharply.
When should I stop the job and call it off?
Stop the job when site conditions make the original plan unsafe, noncompliant, or likely to fail. Utility work is not the place to force a bad layout just to keep a calendar date.
No valid utility locates are marked: the excavation area is not cleared — stop digging and wait for marks or redesign the route around the delay.
The crew finds an unmarked line or conflict in the trench: the route is no longer verified — stop and expose the area by hand or vacuum before proceeding.
The trench walls start sloughing or cracking: the excavation is unstable — stop and shore, slope, or change the method before anyone enters the cut.
The required inspection cannot happen before backfill: the work may fail permit conditions — stop and schedule the inspection, because covering the line can force re-excavation.
The line will cross a slab, driveway, retaining wall, or roadway without the right method: the disturbance is larger than the plan allows — stop and switch to boring, sawcutting, or a permitted crossing method.
The route must connect to live gas, electrical, or pressurized service without utility approval: the job crosses into controlled work — stop and use the utility owner’s approved process.
Ignore those stops, and the consequences usually aren’t subtle: failed inspection, expensive rework, utility damage, or a line that has to be uncovered and rebuilt. On sewer and drainage work, a bad slope may not show up right away, which is worse because the failure arrives after the trench is closed.
The mistakes people make on utility line jobs
The biggest mistakes come from planning too narrowly, not planning the whole job. People look at the trench and miss the inspection, restoration, and permit pieces. The result is a quote that looks low and an invoice that does not.
-
Ignoring restoration costs. The consequence is a trench that is installed but not properly finished. The correct move is to get the surface type written into the scope: soil, sod, gravel, concrete, asphalt, or pavers.
-
Treating utility locating as optional. The consequence is striking an unmarked line or working blind near a crossing. The correct move is to wait for one-call marks and expose conflicts by hand, then consult the utility owner or a licensed locator if private utilities are involved.
-
Choosing open trench where boring is needed. The consequence is damaged driveway edges, cracked slabs, and a bigger repair bill. The correct move is to choose the method that matches the surface and the utility, not the one that is cheapest per foot.
-
Skipping bedding and compaction. The consequence is settlement, pipe movement, or a sewer belly. The correct move is to place proper bedding and compact fill in lifts, not dump it all back at once.
-
Assuming all lines are the same. The consequence is using the wrong tie-in method or wrong inspection expectations. The correct move is to separate water, sewer, gas, electric, and telecom in the planning phase because each one has different rules.
-
Accepting a vague bid. The consequence is change orders that turn “cheap” into expensive. The correct move is to require a written scope with length, depth, method, permit responsibility, and restoration.
What does a bad utility line installation look like?
A bad utility line installation usually shows up as settlement, standing water, exposed pipe, cracked surface patches, or a failed inspection report. If it is a sewer or drainage line, a bad result often means poor slope—the technical term for the line’s fall over distance. A sewer line with poor slope may drain slowly, collect solids, or clog repeatedly.
Look for these warning signs after the job: a trench line that sinks after rain, a patch that lifts at the edges, a cleanout that sits out of plumb, or a meter box that no longer sits level. Those aren’t cosmetic issues. They usually mean the backfill was not compacted, the bedding was wrong, or the line shifted before the soil was stable.
Bad utility work also leaves a paperwork trail. If there is no inspection signoff, no permit closeout, or no as-built note showing the route and depth, I’d treat that as unfinished even if the surface looks fine. As-built means the final installed location, not the planned one.
The rule for utility line installation is simple: the work should be verifiable before it gets buried, and the records should match what was actually installed.