How to Install Gas Lines in a Trench
Last updated: September 10, 2026
Key Takeaways
- Keep the route at least 18 inches clear of known electric, communication, water, and sewer lines unless local code allows less.
- Place warning tape in the upper zone of the trench, often about 12 inches above the pipe, if your code requires it.
- In practice, many residential buried gas lines need roughly 18 to 24 inches of cover, but that is not universal and you should consult a licensed gas professional and local code.
- A trench that is 22 inches deep at one end and 14 inches at another is not a 22-inch trench; the shallow point controls the result.
Installing gas lines in a trench is not casual dig-and-go work. That’s the blunt answer. Most of the excavation can be planned by a homeowner or site crew, yes, but the piping itself belongs in the hands of someone qualified for gas work — and only if local code permits that person to do it. For many readers, the real question is not how to do it; it is whether to call a licensed gas fitter, plumber, or utility-approved contractor before the first shovel slice. For code references, see NFPA 54 and the International Fuel Gas Code. NFPA 54 | International Fuel Gas Code
This article assumes you already know the route you want, have access to the property, and are dealing with a low-pressure gas distribution or appliance supply line, not a service main. It also assumes you have checked local permit rules, because the details change by city, county, and utility territory. Crossing a public right-of-way, feeding a commercial kitchen, serving a generator, or connecting to a meter set? Stop. Get qualified help first. For permit and locate basics, see 811 underground utility locate guidance. How to dig safely also applies here.
What you need to know before the trench goes in
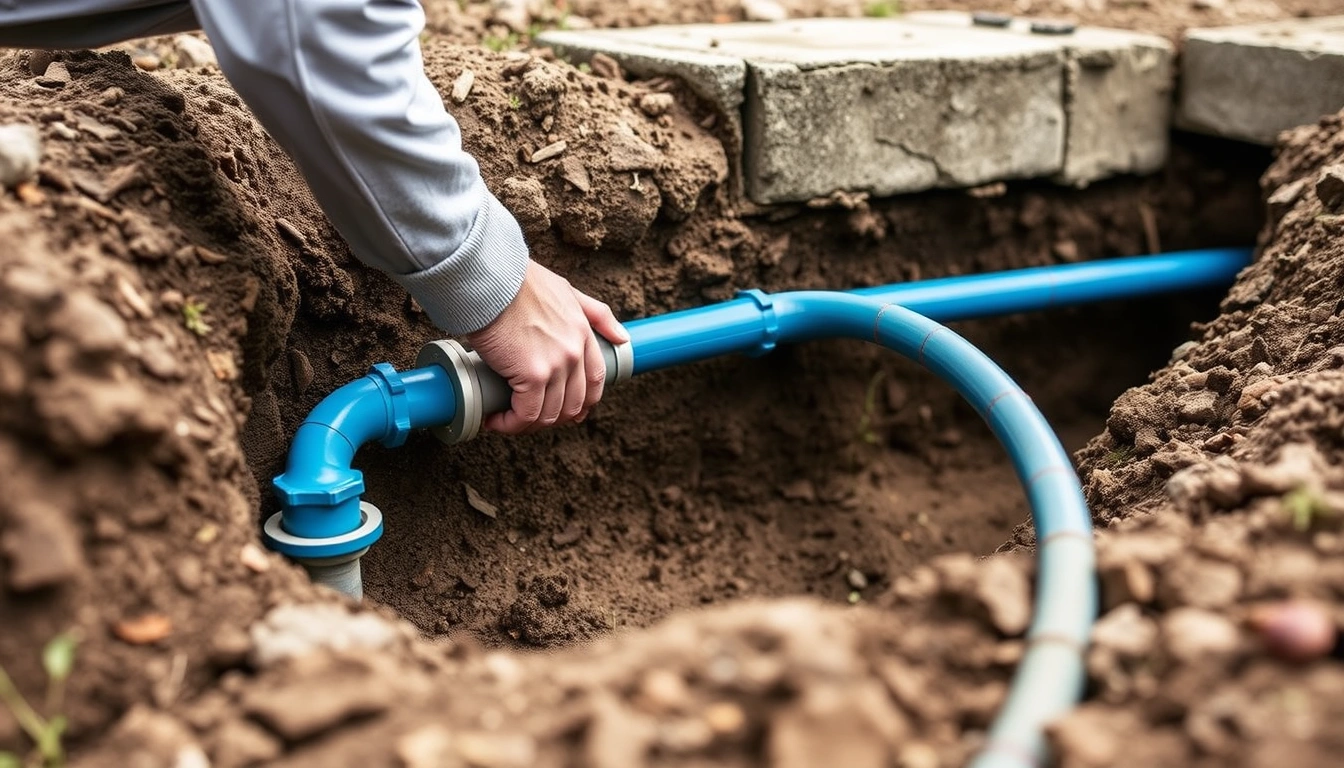
The trench is only one piece. Layout, depth, pipe choice, and inspection order matter just as much, and they need to be settled before anyone starts backfilling. I’d treat this as a planning-and-code job with digging attached, not the other way around. Honestly, that saves grief. I would also consult a licensed gas fitter or the authority having jurisdiction before starting. NFPA 54 and the IFGC both put the installation details ahead of the digging itself. NFPA 54 | International Fuel Gas Code
For buried gas piping, the common materials are polyethylene, or PE pipe, for underground runs on the gas side, and steel or corrugated stainless steel tubing only where local code and the manufacturer allow it. PE pipe must be joined with the right fusion method and fittings approved for gas service. So the pipe size, burial depth, tracer wire, and fittings all need to match the installation standard your jurisdiction uses. In the United States, that is often based on the International Fuel Gas Code, NFPA 54, and local amendments; utilities may also require their own inspection and tie-in rules.
A typical trench for a buried gas line is not a narrow scratch in the soil. It needs enough width for the pipe to lie without kinks, enough depth for required cover, and enough clearance from electrical lines, water piping, drain lines, and tree roots. In many areas, shallow cover is not allowed unless the pipe is protected by a sleeve or concrete encasement specified by code. Clay soil, rocky soil, and frost-prone ground can force deeper digging or extra bedding material. OSHA trench safety rules also matter once the excavation is deep enough to require protection. OSHA excavation standards
Before a shovel touches the ground, I would verify three things: the line size based on connected appliance load, the route and depth based on local code, and the shutoff and test plan. A wrong line size can leave a furnace starved for gas; a wrong depth can fail inspection; a weak test plan can leave a leak hidden under backfill. If you cannot confirm those items from approved drawings or a code-compliant design, this is the point to involve a licensed gas contractor rather than guessing. For appliance sizing guidance, see appliance load and gas piping tables.
How do you install gas lines in a trench?
You install gas lines in a trench by laying out the route, digging to the required depth, bedding the pipe, joining it with approved fittings, pressure-testing it before backfill, and protecting it with tracer wire and marker tape where required. That is the core of how install gas lines trench work, but each step has a failure point that can turn into a leak or an inspection failure. For a typical residential run, plan on at least one locate request, one inspection, and one pressure test before backfill. Call 811 | NFPA 54
- Mark the route and call for utility locates. Paint or flag the full trench path, then get underground utility marking done before you dig. Keep the route at least 18 inches clear of known electric, communication, water, and sewer lines unless local code allows less. Verify that the planned gas route does not cross a buried electrical service without a documented separation method. When a marked utility or a meter location leaves no safe working room, the plan needs to change.
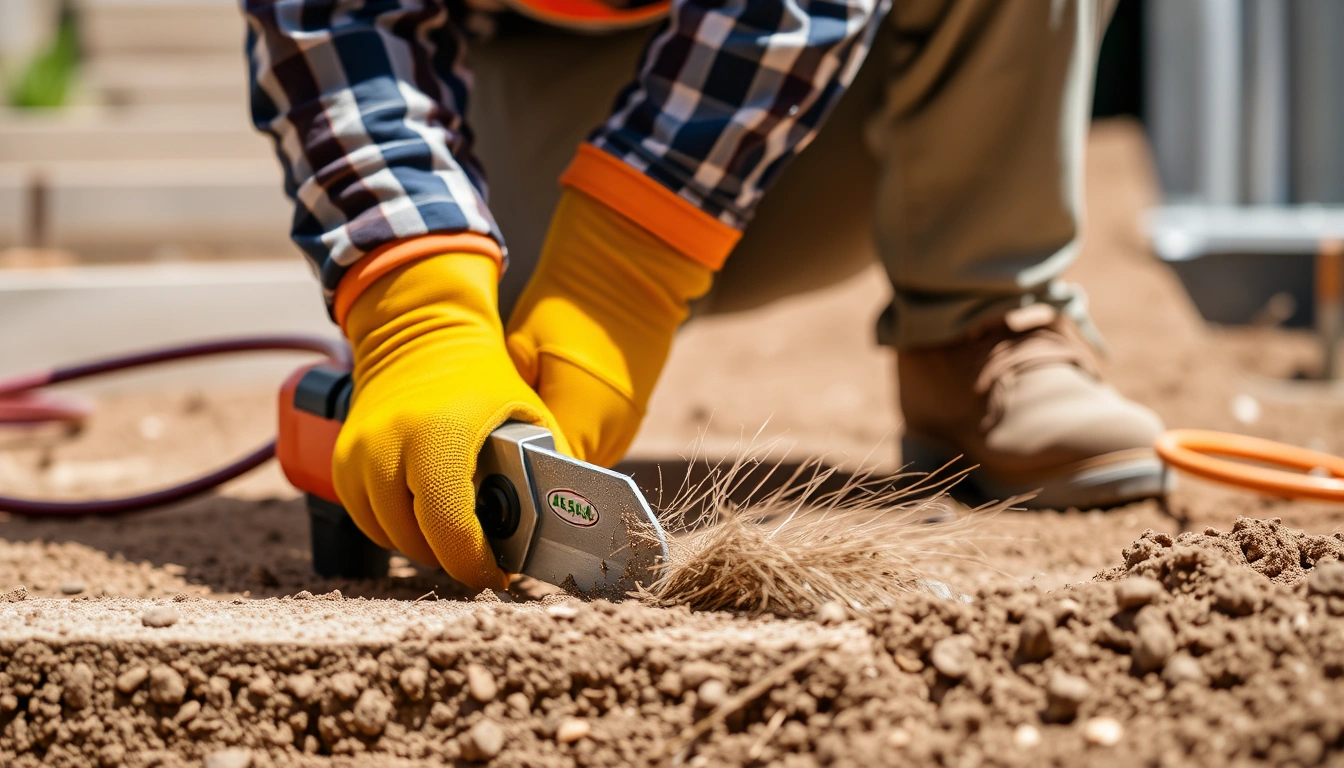
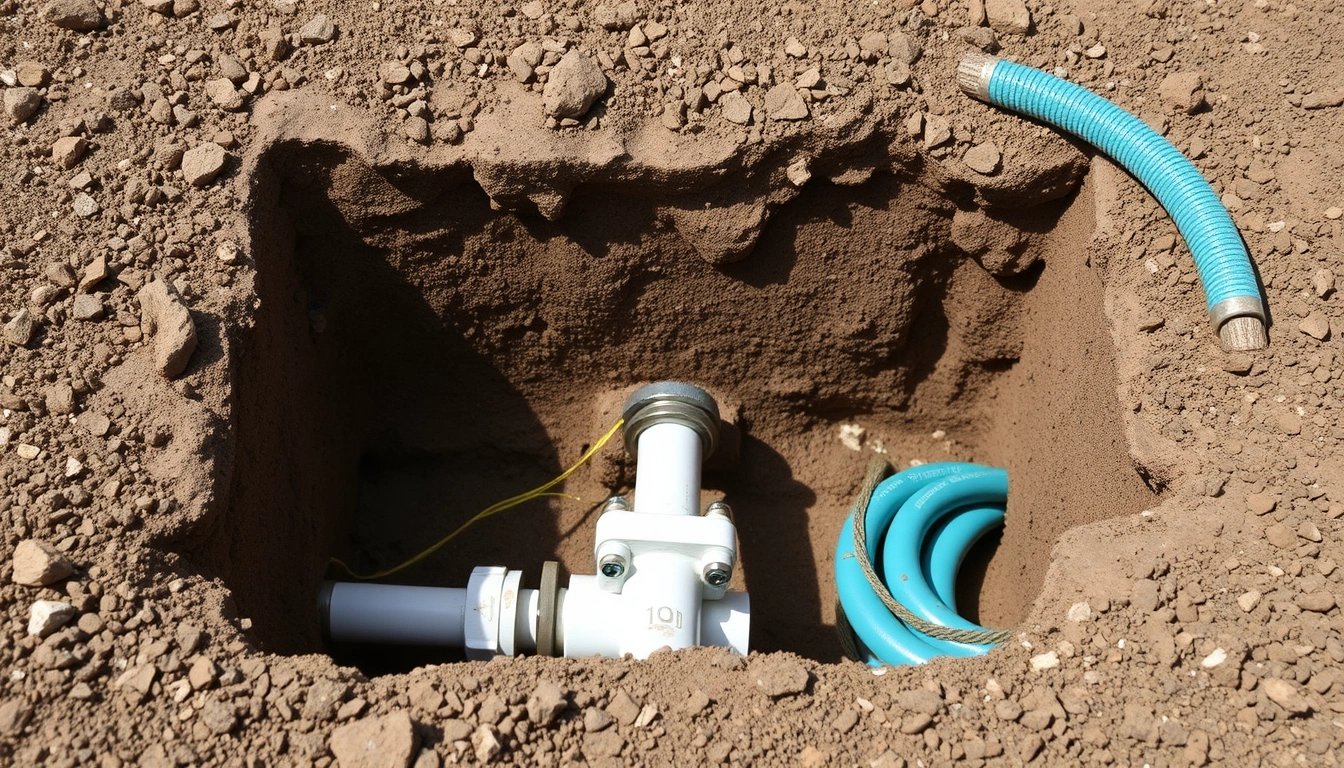
- Dig the trench to the required depth and width. Use the depth required by your local code; many buried gas runs need 18 to 24 inches of cover, but the exact number varies by material, location, and protection method. Check the shallowest point, not the average depth, because that point controls compliance. Make the trench wide enough that the pipe is not forced against the wall. Verify the bottom is even and free of roots, broken glass, and sharp stone. If the trench bottom is lumpy or rocky, the pipe will bridge high spots and can be damaged during backfill. No shortcuts here.
- Prepare a bedding layer. Place 3 to 6 inches of sand or fine native soil below the pipe if the code and soil conditions call for bedding, then shape it so the line sits supported along its length. Verify the bedding contains no stones larger than about 1/2 inch. A trench bottom can look “pretty good” and still hide rock points; those are what dent or nick a pipe during settling.
- Set the pipe with the correct material and slope. Lay approved gas pipe or PE pipe in the trench without twisting it. Keep the run continuous where possible and minimize buried joints. Verify the pipe is not stretched tight between endpoints and that it clears other utilities by the required distance. If the pipe is under tension or kinks at a corner, it can fail later when the soil moves.
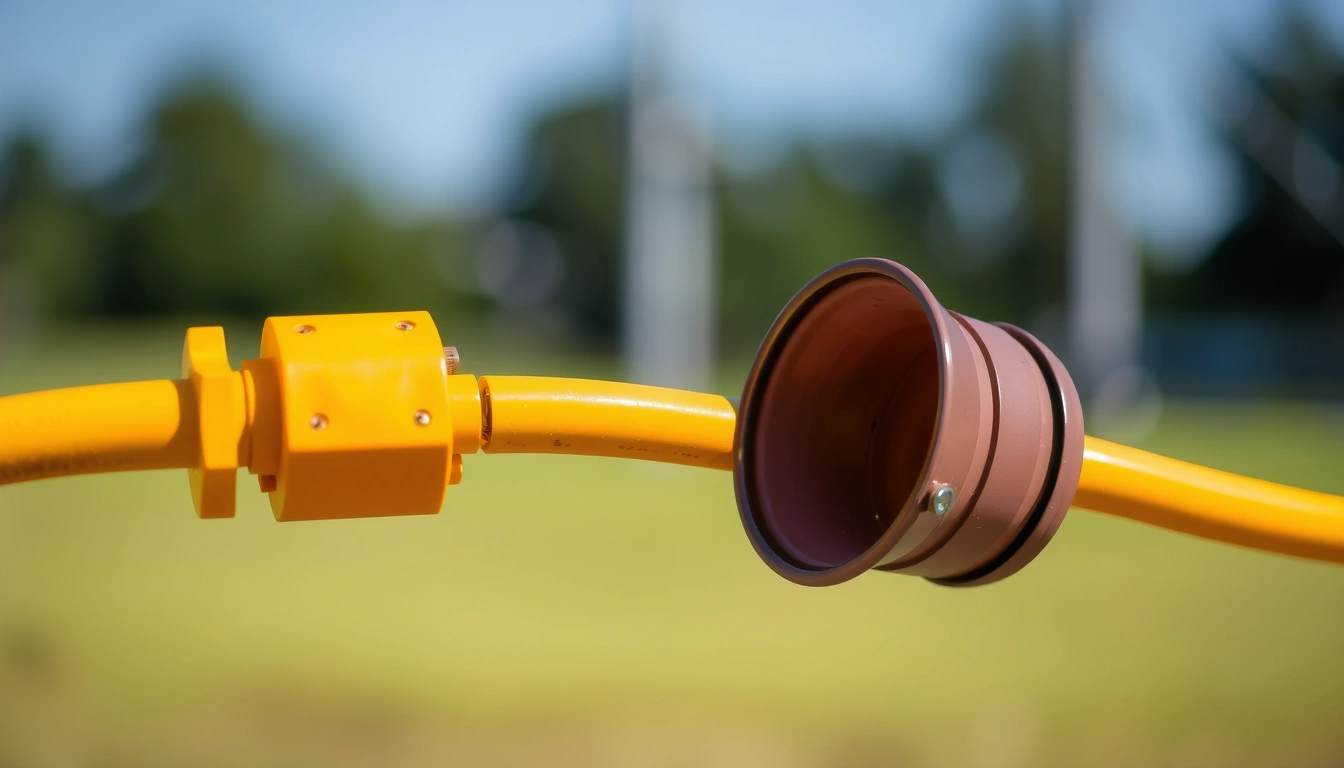
- Make joints with code-approved fittings and methods. For PE gas pipe, use fittings and fusion procedures approved for gas service; for steel, use threaded, welded, or mechanically approved connections as allowed. Verify every joint is accessible for inspection before backfill and that transitions between materials use listed transition fittings. If a joint is made with the wrong sealant, unapproved tape, or an improvised adapter, stop; that is a leak waiting to happen.
- Install tracer wire and warning tape where required. Run tracer wire alongside nonmetallic gas pipe and bring it to accessible points at both ends or at specified intervals. Place warning tape in the upper zone of the trench, often about 12 inches above the pipe, if your code requires it. Verify the tracer wire is continuous and not nicked. A broken tracer wire makes future locating harder and can turn a simple repair into a second excavation.
- Pressure-test the line before backfill. Cap the line, isolate appliances, and test at the pressure required by the authority having jurisdiction; for many gas systems, that means a manometer or gauge held long enough to prove no pressure drop. Verify the test is done on the entire buried section and that all joints remain exposed until the test passes. If the pressure falls, a joint, fitting, or buried crack must be found before the trench is closed.
- Backfill in stages and keep the pipe protected. Cover the pipe first with fine material to a cushion depth of several inches, then backfill in lifts and compact as required. Verify no large rocks, chunks of concrete, or frozen clods are against the pipe. A bad backfill job usually leaves the pipe unsupported or crushed under a hard stone pocket.
The order matters. Plenty of bad installs happen because someone digs, lays pipe, and backfills before the pressure test or before the inspector sees the joints. That’s how a tiny error gets buried and becomes a defect nobody sees until later.
How deep should a gas line be buried in a trench?
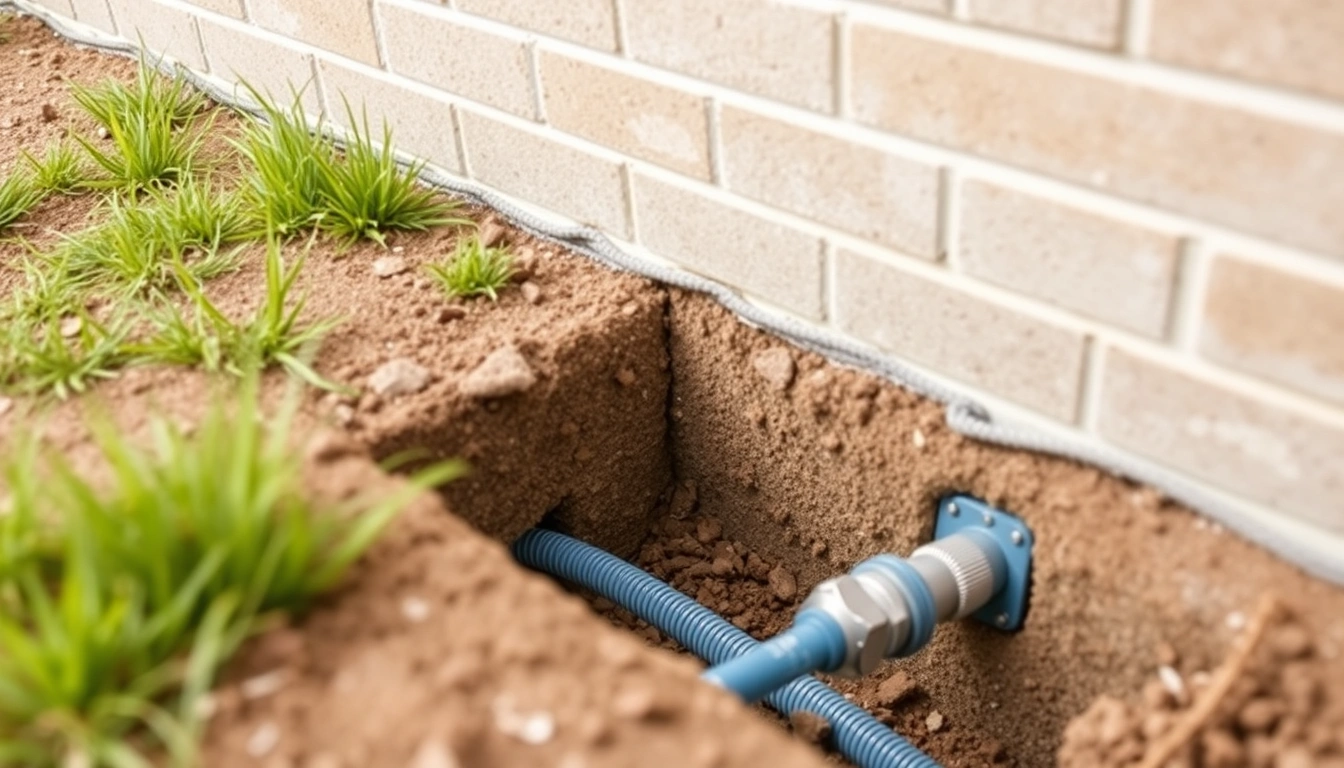
The trench should be deep enough to meet local code for the pipe material, location, and protection method, and that depth is not the same everywhere. In practice, many residential buried gas lines need roughly 18 to 24 inches of cover, but you should confirm the exact depth with the local code or a licensed gas professional rather than treating that range as universal. NFPA 54 and the IFGC both require depth decisions to track the installation conditions. NFPA 54 | International Fuel Gas Code
Depth changes with three things: whether the pipe is in a yard, under a driveway, or under a traffic area; whether the pipe is metallic or polyethylene; and whether the line has additional protection such as conduit, casing, or concrete cover. Frost depth matters too, but burial depth for gas pipe is driven more by physical protection than by freeze risk. In rocky regions, the code may allow the pipe to sit in screened fill or sand so the trench does not need to be dug absurdly deep just to avoid point loads from stone.
The wrong response is to dig “deep enough to feel safe.” That can still fail inspection if the cover is short over one section, especially where the trench rises over a root, crosses a slab edge, or passes under paving. I would check depth with a tape at multiple points, not just the center of the run. A trench that is 22 inches deep at one end and 14 inches deep at another is not a 22-inch trench; the shallow point controls the result.
If the line must cross under a driveway, a concrete walk, or a wall footing, the usual trench rules often stop applying. That is where sleeving, directional boring, or rerouting may be the right answer. The cost of the wrong route is not just extra labor; it can mean failed inspections, cracked hardscape, or a buried line that cannot be found later without cutting concrete. For site planning, compare trenching with directional boring and local utility crossing rules.
What can go wrong if the trench job is done badly?
A bad trench job usually shows up as a leak, a failed inspection, or a line that is damaged during backfill or later excavation. The worst part is that the visible mistake is often not the dangerous one; the real hazard is the buried defect that only shows up later.
Here are the failures I would watch for:
- Too little cover: The pipe sits too close to the surface and can be struck by a shovel, aerator, or future landscaping work — re-dig and bring the line to code depth before backfill.
- No tracer wire on nonmetallic pipe: The line becomes hard to locate later — add continuous tracer wire now, not after the yard is closed.
- Unapproved joints underground: The line may pass a quick visual check but fail pressure testing or corrode later — remake joints with listed gas-service fittings only.
- Rocky backfill against the pipe: Point loads can deform PE pipe or damage coatings on steel — pull the material, bed the line properly, and backfill in cleaner lifts.
- No pressure test before backfill: A small leak gets buried and is harder to find — leave all joints visible until the test is complete and documented.
- Poor separation from other utilities: Future repairs become dangerous and code compliance can fail — reopen the trench and restore the required clearance.
The cost of a bad install is rarely just the pipe. It can be an inspection delay, a utility callout, a re-excavation charge, or a hidden leak that turns into a service interruption. For a homeowner, that is a strong reason to stop once the work starts involving joints, sizing, or final tie-in. For a small project, a single failed inspection can add a day or more and another contractor visit.
When should you stop and call a qualified gas fitter?
You should stop when the job moves from trenching to design, tie-in, or testing that you are not authorized or equipped to do. Gas work does not reward improvisation, and the safest answer on how install gas lines trench work is to hand off anything beyond simple excavation to a qualified gas fitter or utility-approved contractor. NFPA 54 | OSHA excavation standards
The line crosses a public sidewalk, driveway, or road: That adds permitting, protection requirements, and often special installation methods — have a qualified contractor handle the crossing.
You need to connect to a meter, regulator, or main service: Those are regulated tie-in points and may require utility approval or a licensed gas fitter — stop before touching the existing service.
The route size depends on appliance load calculations: Wrong sizing can starve appliances or create pressure-drop problems — have the line sized from the connected load, not guessed from pipe diameter.
The trench hits ledge, heavy rock, groundwater, or unstable soil: The bedding and support change, and the risk of collapse or pipe damage rises — change the route or bring in equipment and a contractor familiar with local conditions.
You cannot pressure-test or inspect the buried section before backfill: A hidden leak is the exact failure you are trying to avoid — keep the line exposed until the test passes and someone qualified signs off if required.
The jurisdiction requires a permit or licensed trade for gas piping: That is not a paperwork detail; it is a legal requirement — follow the permit path or do not start.
I would also stop if the work includes a generator, pool heater, commercial kitchen equipment, or any appliance with manufacturer-specific gas pressure requirements. Those systems often need pressure regulators, sediment traps, and venting considerations that are outside a simple trench job.
How long does the job take, and what does a good result look like?
A straightforward residential trench and buried gas run can take a day of digging and a separate window for inspection, testing, and backfill, but the total timeline depends more on permit and utility scheduling than on the shovel time. A short run in open soil may be quick; a longer run with a crossing, rocky ground, or a driveway can stretch into multiple days.
A good result has a few clear signs. The trench matches the approved route. The pipe sits on clean bedding with no hard stone under it. Joints are accessible until the pressure test passes. Tracer wire is continuous and identified at the ends. The line is marked for future locating. Most important, there is a clean inspection record or contractor sign-off where your local rules require it. If the run is longer or more complex, check the inspector’s checklist before backfill.
A bad result looks neat on the surface and wrong underneath. Fresh sod can hide a shallow line. New asphalt can hide a joint that should never have been buried. I would trust a job less, not more, if the crew wants to backfill before anyone checks depth, material, or pressure.
What questions should you ask the contractor before you hire them?
You should ask about code, test procedure, materials, and who is actually doing the tie-in. Those questions tell you more than a sales pitch. They also help compare contractors on the same facts rather than on vague promises.
Ask these directly:
– What pipe material will you use for the buried section, and is it approved for gas service in my jurisdiction?
– How deep will you bury it at the shallowest point?
– Will you install tracer wire and warning tape where required?
– Will the line be pressure-tested before backfill, and what gauge or test method will you use?
– Who handles the meter connection or final appliance tie-in?
– Will you pull the permit, and who meets the inspector?
If a contractor answers vaguely, that is a warning sign. So is any promise to “just run it quick” without talking about depth, bedding, or testing. Gas work should sound boring and exact. Before you hire, compare the answer to local permit requirements and utility rules.
What should you do after the line is in?
You should keep a record of the trench route, depth measurements, photos before backfill, and any inspection tag or permit number. Those notes make future locating and repairs much easier. They also help if a future owner asks where the line is, which matters years later when someone is digging for a fence, drain, or patio.
If the line was installed in a yard that will be landscaped, mark the route on a site plan and keep it with the house documents. If the area may be excavated again, the route should also be flagged in a way that survives the season. For long-term reference, add the gas line path to your utility map or property file. Call 811 remains the first stop before any future digging.