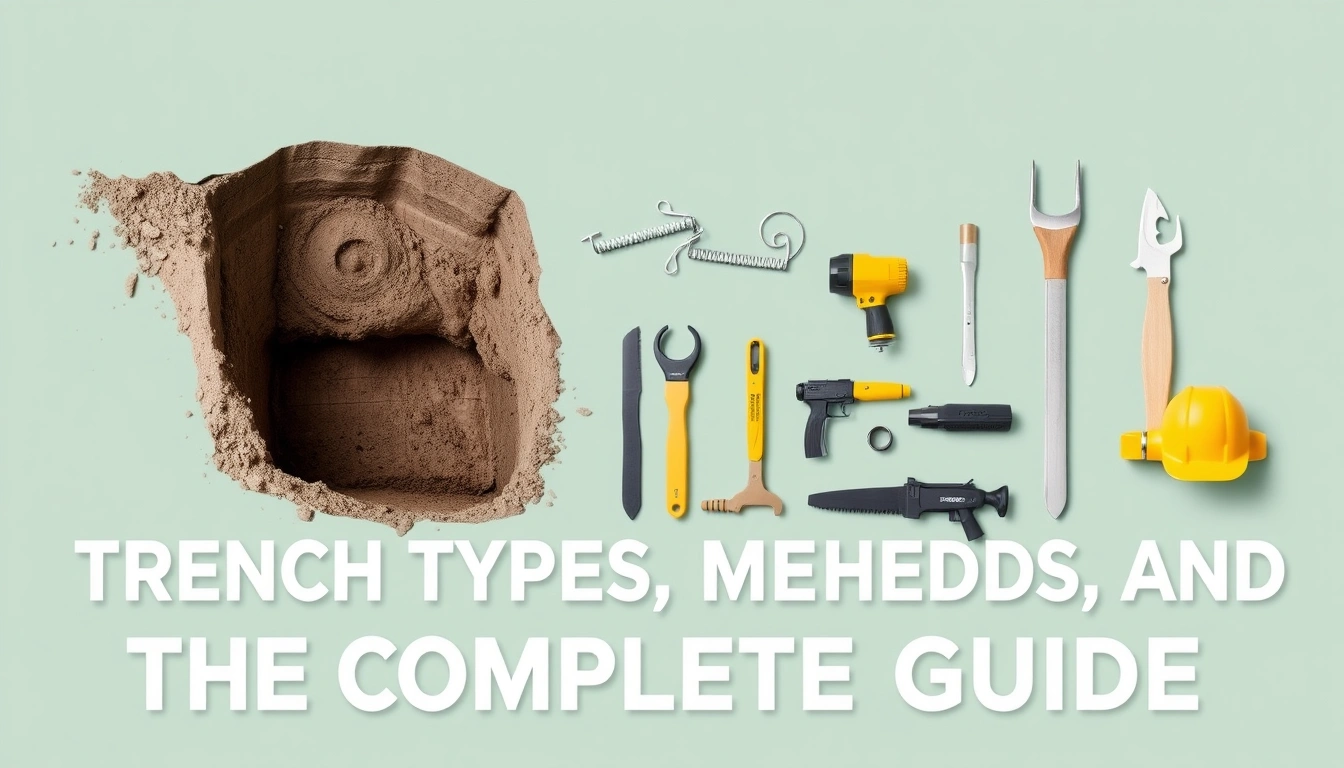
Trench Types, Methods, and Equipment: The Complete Guide
Last updated: September 10, 2026
Key Takeaways
- A trench that is 600 mm wide but uneven at the bottom can wreck footing performance.
- A shallow utility trench in stable ground is a very different job from a 2.4 m (8 ft) excavation beside a road or building.
- In the U.S., OSHA 29 CFR 1926 Subpart P sets the framework; in the U.K., HSE guidance on excavation and trench support plays a similar role.
- A 150 mm-deep cable trench in sandy soil is not the same problem as a 2 m-deep sewer trench in clay beside a slab.
Cutting a trench without the right plan is how small jobs turn ugly fast. The trench types, methods, equipment — complete guide gives the short answer: depth, soil, nearby loads, and whether anyone will enter the cut decide the method. Simple? Not really. But that’s the reality.
Who this guide is for, and what I assume you already know
This guide is for people planning or supervising trench work: contractors, site leads, farm operators, utility crews, and capable DIY readers who need to understand the options before they dig. It assumes you already know the basics of site layout, can read a tape measure and level, and understand that a trench is a narrow excavation longer than it is wide. It also assumes you are not trying to guess your way through a confined-space hazard.
I am going to use the field terms as they are used on site. A trench box is a protective shield that helps keep soil off workers. Shoring means supports that hold the trench walls in place. Battering means cutting the sides back to a safer slope. Benching means stepping the sides into ledges rather than leaving them vertical. Those are not synonyms, and mixing them up causes bad decisions.
This is high-stakes work. If the trench will be deeper than about 1.2 m (4 ft), if people will enter it, if the soil is wet or layered, or if there are pipes, cables, traffic, or structures nearby, I would treat it as a job for a qualified excavation crew with someone who understands trench safety, and I would consult a professional. In the U.S., OSHA 29 CFR 1926 Subpart P sets the framework; in the U.K., HSE guidance on excavation and trench support plays a similar role. If you are only opening a shallow trench in open ground for a short run of cable or pipe, you may be able to do parts of the work yourself, but only after you know the utility locations and local requirements.
The question is not “what machine do I buy?” It is “what method keeps the trench usable without turning it into a collapse hazard?” That is the real test, and the rest of this guide follows from that.
What counts as a trench, and which type are you actually digging?
A trench is any narrow excavation where the depth is greater than the width at the bottom and access is limited by the sidewalls. In practice, trench work falls into a few common types, and the wrong category leads to the wrong support, wrong machine, and wrong inspection plan.
First up is a utility trench. Water line, gas, sewer, storm drain, data conduit, electrical duct — these all fit here. The cut is often long and narrow, usually 300 mm to 1.2 m wide, with depth anywhere from a shallow frost line to more than 3 m, depending on the service. Alignment and grade do the heavy lifting. A sewer trench, for instance, must keep fall over distance; a power duct trench may need a clean bottom and careful separation from other utilities.
Next comes a foundation trench. These are used for strip footings, footings under retaining walls, or edge beams. They are usually broader than utility trenches, but once they get deep, they behave like trenches all the same. The big issue is bearing surface and level. A trench that is 600 mm wide but uneven at the bottom can wreck footing performance.
Then there is a drainage trench. French drains and land drains land in this bucket. They are often shallow, yet the method still matters because the bottom has to be shaped correctly and the trench may need geotextile, gravel, or perforated pipe. Over-excavate one, then try to “fix” the grade with loose fill, and you’ve made a mess. The math stops working fast.
Finally, there’s an access trench or service trench. That’s the cut for reaching an existing line, repairing a break, or placing a crossing under a driveway or path. These usually start small and get complicated when the repair is deeper than expected or the soil begins to cave.
People often flatten all of that into “digging a trench.” Not useful. The trench type sets the tolerances, the equipment, and the support method. A 150 mm-deep cable trench in sandy soil is not the same problem as a 2 m-deep sewer trench in clay beside a slab. If those are treated as the same job, planning goes sideways.
Which trench method should I use?
The trench types, methods, equipment — complete guide starts with one blunt rule: match the method to the soil, the depth, the space, and whether anyone will be inside the excavation. Four methods cover most jobs: open cut, battering, benching, and supported trenching.
Open cut is the simplest option. You dig with near-vertical or lightly sloped sides, usually in shallow ground that stays stable for a short period. Fast. Straightforward. Also the riskiest if you get lazy with it. Open cut makes sense only when the trench is shallow, the soil behaves, and no one will be standing in it for long.
Battering means sloping the sides back so the wall is less likely to fail. The exact slope changes with soil class, moisture, and surcharge loads. Many codes use something around 1.5:1 or 1:1 in less stable conditions, but the standard and the soil assessment decide the final allowance. The downside is obvious: it eats space. On a cramped site, that trade-off can kill the idea.
Benching breaks the excavation into steps, with horizontal and vertical sections. It uses less width than a full slope, but more than vertical sides. Done right, it can be a good fit. Done badly, it’s just a prettier failure shape. That’s the blunt version. Benching only works in suitable soils; if the material is fissured, wet, or layered, those ledges can let go in chunks.
Supported trenching relies on a trench box or shoring system. This is the answer when space is limited, the trench is deep, the sides are unstable, or work has to happen close to vertical walls. A trench box does not stop collapse from happening; it gives workers a protected zone. Shoring is different — it actively props the walls. In cities, for utility tie-ins and repair work, supported trenching is often the practical choice because there’s no room to slope back.
So what’s the deciding question? Can the trench be made safer by changing its shape, or does the ground need to be held in place? If geometry will solve it, batter or bench. If the soil needs support, use a box or shoring. If neither option fits, redesign first. Dig later.
How do I choose the right trench equipment?
The right trench equipment is the set that gets you to line, grade, and safe access with the least disturbance. In most cases that means some combination of excavator, trenching attachment, compaction tool, surveying gear, and protective systems.
A backhoe loader is the classic pick for smaller trenching jobs because it can dig, load spoil, and backfill without changing machines. A mini excavator is better in tight spaces, around landscaping, or beside structures because its narrow footprint and precise controls make it easier to work cleanly. An excavator with a trenching bucket—a narrow bucket used for linear cuts—reduces overbreak and keeps the trench width under control. For very long, uniform runs in softer ground, a chain trencher or walk-behind trencher can be more efficient than a bucket, especially for cable and irrigation work.
Safety gear matters too. You may need a trench box, hydraulic shoring, laser level, grade rod, utility locator, gas monitor in enclosed or contaminated settings, and proper spoil management tools. The spoil pile itself matters. Excavated soil placed too close to the edge adds load and can trigger collapse. A common rule in many safety programs is to keep the spoil at least 0.6 m (2 ft) back from the lip, though local rules may be stricter. OSHA and HSE both stress spoil placement as part of trench safety planning.
Equipment also changes with soil. In clay, a toothed bucket or ripper may be needed to break the face. In sand or gravel, clean digging and immediate support matter more than brute force. In rock, you may need a breaker attachment or controlled mechanical excavation, which turns the project into a different scale of work.
I would not use a trenching machine just because it is sitting there. A chain trencher is poor for mixed ground with buried obstructions. A large excavator is poor for narrow utility corridors beside finished surfaces. A box is not a substitute for planning the access path and spoil placement. The machine is only one part of the system. The right setup is the one that leaves room for grade control, safe entry, and clean backfill without tearing up the rest of the site.
How do you cut a trench safely, step by step?
You cut a trench safely by locating utilities, setting the trench line, choosing the support method before the first bucket, and then excavating in controlled lifts. The sequence matters because most trench failures start with bad setup, not with the final depth.
- Mark the trench line and call for utility location before digging. Use paint, stakes, or string lines, and confirm the route with a locator service or as-built drawings. Verify the intended depth and offset to known services. A problem is any mismatch between drawings and the field, especially near meter pits, pole bases, or previous repair patches.
- Check soil and site conditions along the full length. Look for wet ground, fill, fissures, sloping ground, vibration, and nearby structures. Verify whether the material is cohesive, granular, layered, or contaminated. A problem is soil that changes within the run; a trench that starts in firm clay and ends in wet sand should not be treated as one uniform excavation, and a professional should reassess the support plan when that happens.
- Choose the support method before excavation reaches unstable depth. Decide whether the trench will be battered, benched, boxed, or shored. Verify that the method fits the available width and machine reach. A problem is waiting until the trench is already deep; at that point you may not have room to install protection safely.
- Set spoil, plant, and access points back from the edge. Keep spoil at least 0.6 m (2 ft) from the lip unless a stricter local rule applies, and keep heavy equipment far enough away that the ground does not surcharge the trench wall. Verify there is a stable path for entry and exit. A problem is spoil being placed on the edge because the operator ran out of room.
- Excavate in controlled passes, not a single deep bite. Take lifts that let you see the face and correct alignment. For utility trenches, keep the bucket width just wide enough for the service and any bedding. Verify the sidewalls and bottom after each pass. A problem is overdigging, which creates loose material that must be trimmed later and weakens the wall.
- Install support as soon as the trench reaches the depth where it is required. If using a trench box, lower it into the opening and keep it positioned so workers stay inside the shield. If shoring, install the system as excavation progresses. Verify the box or shoring is seated correctly and not rocking. A problem is a box that is too small, crooked, or used after the walls are already sloughing.
- Control the grade and bottom condition. Use a laser level, pipe laser, or grade line to hit the required fall or footing elevation. Verify the invert or formation is clean and undisturbed. A problem is a soft, pumped, or disturbed bottom; if that happens, the base may need rework before pipe, bedding, or concrete goes in.
- Backfill in layers after inspection and installation. Place selected material around the service in 150 mm to 300 mm layers, depending on the spec, and compact as required. Verify there are no voids under pipe haunches or footing edges. A problem is dumping backfill in one deep lift, which can crush pipe, shift alignment, or leave settlement later.
A good trench cut looks boring: straight alignment, stable sides, clean bottom, spoil set back, and no loose faces hanging overhead. A bad one looks busy: constant trimming, caving edges, water seepage, and workers standing where they should not be standing.
What are the common mistakes, and what do they cost?
The most common trench mistakes are not dramatic; they are routine shortcuts that make the trench less stable and more expensive to finish. I would watch for five in particular.
Putting spoil too close to the edge. The consequence is surcharge load on the trench wall, which can trigger sloughing or a full collapse. The correct alternative is to keep spoil back by at least 0.6 m (2 ft) and farther if soil is weak or the lip is breaking away.
Treating all soil as if it were the same. The consequence is choosing a slope or box that works in one section but not another. A trench cut through dry clay may stand long enough to fool you, then fail where water or fill appears. The correct alternative is to reassess soil changes along the route and consult a professional or trench safety specialist when conditions vary.
Digging to final depth before planning support. The consequence is that the trench gets deeper than the safe unsupported limit before protection is in place. The correct alternative is to stage the job so that shoring, boxing, or battering is part of the plan from the first bucket.
Overexcavating and “fixing it later.” The consequence is loose bottom material, extra backfill, and poor grade control. In pipe work this can cause pipe settlement; in foundation work it can reduce bearing quality. The correct alternative is to dig to the line carefully and remove only the material you truly need.
Using a trench box as if it solves every problem. The consequence is false confidence. A box protects workers inside it, but it does not stop collapse outside the shield, and it does not make a bad access route safe. The correct alternative is to combine the box with controlled excavation, proper placement, and edge management.
Ignoring water. The consequence is softened soil, pipe float in drainage work, and unstable trench walls. The correct alternative is to pump, divert, or wait for drier conditions, because a wet trench can change shape in minutes.
Those mistakes cost time first, then material, then safety. A trench that needs regrading or re-shoring almost always costs more than the original setup would have cost if it had been done right.
When should I stop and change the plan?
You should stop and change the plan when the trench stops matching the assumptions you made at the start. In trench work, that usually means the soil, depth, water, or surroundings are telling you the original method is no longer safe or efficient.
Depth is approaching 1.2 m (4 ft) and people need to enter: this is where many standards start requiring stronger controls, and the hazard rises fast — switch to a supported method or bring in qualified excavation support planning.
The trench face is cracking, sloughing, or dropping crumbs continuously: the soil is failing already — stop entry, widen, batter, or shore before anyone goes back in.
Groundwater, seepage, or pumping is needed to keep the trench usable: the soil has lost strength and may change suddenly — pause and redesign drainage, dewatering, or support.
You find an unknown pipe, cable, void, or buried structure: the excavation is no longer predictable — stop mechanical digging and verify the asset before continuing.
Traffic, machinery, or a building is loading the trench edge: surcharge load can turn a marginal trench into a collapse risk — move plant back, add protection, or change the route.
The trench must be deeper or longer than your box, shoring, or access equipment can safely handle: the equipment no longer fits the task — bring in a system sized for the excavation, not a workaround.
The bottom will not hold grade because it pumps or turns to mush: the formation is not suitable for immediate installation — remove the unstable material and replace it with the correct base or wait for conditions to improve.
For a shallow, open, non-entry trench, the job may simply become a different excavation problem. For an entry trench, these are stop signs. The cost of stopping is small compared with the cost of a collapse or a ruined install.
What changes in rocky ground, wet soil, or tight sites?
The standard trench answer changes as soon as the site stops being clean, dry, and open. Rocky ground, wet soil, and tight corridors each force a different trade-off.
In rocky ground, the challenge is not collapse as much as overbreak, vibration, and tool wear. A toothed bucket may chatter and widen the trench more than intended. A breaker or ripper can help, but it also slows production and can damage nearby services if the ground is not fully understood. The fix is often careful mechanical excavation, shorter runs, and more attention to line and grade than brute force.
In wet soil, the wall can look stable until water weakens it. Fine-grained soil can slump even when it seemed firm at the surface. Drainage trenches in wet conditions often need more bedding control, faster installation, and a dewatering plan. If water is flowing into the trench, I would treat that as a sign to stop and reassess rather than “push through” to the finish.
In tight sites, there may be no room for battering or wide support systems. That is where a trench box, narrow excavator, or staged excavation plan becomes the practical choice. But there is a catch: the tighter the site, the less margin you have for error. Tiny space. Huge consequences.
A lot of people try to force