Utility Line Installation Methods and Use Cases — The Complete Guide
Last updated: September 10, 2026
Key Takeaways
- A 40-foot run across open soil and a 120-foot run under a driveway are not the same job, even if they carry the same pipe diameter.
- For trenching, this may mean 2 to 4 feet of safe working width; for HDD, you also need space for the drill rig and mud handling.
- Utility line installation is not one job.
- Even where the excavation itself is simple, the utility connection and verification steps matter.
Utility line installation methods use cases — complete guide: utility line installation is not one job. Instead, it is a set of methods chosen for a specific line type, soil condition, depth requirement, and surface you do not want to destroy. Say you are deciding who to call. Then the real question is which utility line installation methods use cases fit your site, because the wrong pick can push costs up, delay the work, or leave you with a repair that fails in the first freeze, storm, or settlement cycle.
Who this guide is for, and what it assumes you already know
This guide is for a homeowner, property manager, contractor, or developer who needs a utility line installed and wants to understand the practical differences between trenching, boring, horizontal directional drilling, plowing, and hand digging before they sign a proposal. I am assuming you already know the utility type you need — water, sewer, gas, electric, telecom, or drainage — or at least the general purpose of the line. Site, not theory, is also assumed: a yard, driveway, street crossing, farm field, easement, or building lot with real constraints.
Gas, electric service, or any line near an occupied structure? I treat that as high-stakes and would strongly suggest a qualified contractor and the local utility’s rules before anyone starts work. In those cases, the safer question is often not “Can I do it myself?” but “Which parts can I prepare for, and which parts need a qualified contractor with the right permits and utility coordination?” That fits Dig Safe-style excavation guidance and utility safety practices. Live gas tie-ins, energized electrical service work, and utility locates are not casual DIY tasks. Not even close. Even where the excavation itself is simple, the utility connection and verification steps matter.
The first decision is usually not equipment. Route comes first. A 40-foot run across open soil and a 120-foot run under a driveway are not the same job, even if they carry the same pipe diameter. Soil type, frost depth, groundwater, local road-opening rules, and whether you need a service lateral or a main extension can change the method completely. In a municipality with strict right-of-way rules, or in an area with shallow bedrock, clay, peat, or a high water table, the answer is often different from a generic “best practice” article written for flat ground.
I also want to be blunt about who this is not for. If you are trying to get a buried line in place with no locate tickets, no route plan, and no idea where existing power, gas, sewer, or fiber already runs, you are not ready to choose a method. The job starts with information, not a machine. A clean proposal should name the line type, the route, the method, the depth target, the restoration scope, and any permit or inspection requirements. For planning basics, see 811 and utility locate requirements and OSHA excavation safety. No guesswork.
What counts as a utility line installation method?
A utility line installation method is the way the line gets into the ground and through obstacles. The core methods are open-cut trenching, directional boring, trenchless drilling, plowing, auger boring, and hand excavation around sensitive areas. In practice, a contractor may combine two or three methods on the same project. That is normal. A line can be trenched in open yard, bored under a driveway, then hand-dug at each end for connection and inspection.
Open-cut trenching is the easiest to picture: excavate a trench, bed the pipe or conduit, cover it, compact the backfill, and restore the surface. It is often the most direct and can be the lowest-risk choice when surface restoration is not a major concern. It is also the most disruptive. A trench through a finished lawn, concrete apron, parking lot, or landscaped area can be the wrong tool even when it is technically easy.
Horizontal directional drilling, often shortened to HDD, is a trenchless method that steers a drill head underground along a planned path. It is common for telecom conduit, water service crossings, and road or stream crossings where you want to avoid cutting the surface. It needs room for entry and exit pits, soil that can be drilled and steered through, and a contractor who understands drilling fluids, bore path control, and pullback loads.
Plowing uses a blade or plow to slice a narrow path and place cable or small-diameter conduit behind it, often in one pass. It is fast on open ground and common in telecom and rural utility work. It is less suited to rocky soil, dense roots, or places where exact depth control is critical.
Auger boring uses a rotating auger inside a casing to create a bore, often under roads or rail crossings. It is more controlled than plowing and can handle heavier utilities or casings. I would not expect it for a short residential service unless the crossing or surface rule justifies it.
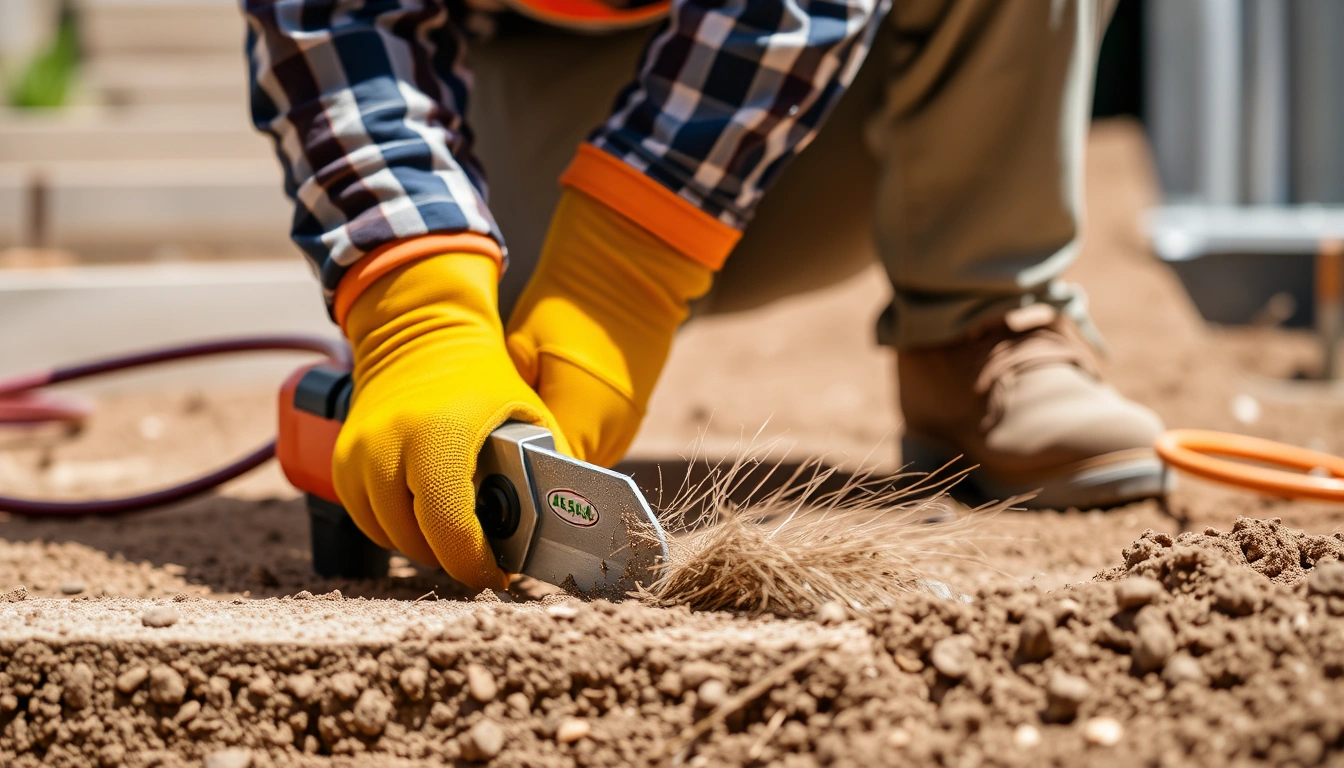
Hand digging is not a full installation method by itself for long runs, but it is essential at locates, near existing utilities, around service points, and in tight spaces where machines are unsafe. The most professional jobs often include the most hand labor in the most sensitive spots.
People call everything “trenching.” That is the sloppy version. It hides what actually matters: surface damage, depth control, utility conflict, and how the line will be restored after backfill. A bad method choice can cost more to repair than to install. For method comparisons and trenchless definitions, the Trenchless Technology Center and FHWA utility construction guidance are useful starting points.
Which installation method fits which job?
The right method depends on what you are crossing, how much surface you can disturb, and what the utility needs to do once buried. Open-cut trenching is often the best fit for short runs in open ground, shallow utility laterals, and jobs where you need easy visual inspection during installation. It is often the simplest choice for water, sewer, and drainage in unpaved areas. The trade-off is restoration. A 30-foot trench through lawn is one thing; a trench through a stamped concrete patio or an active driveway is another.
Directional boring fits drives, sidewalks, landscaped areas, road crossings, and utility runs where the owner wants to preserve the surface. I would look at HDD first for telecom conduit and many non-pressurized crossings. It can also fit water service lines and, in some jurisdictions, gas service work where the contractor and utility allow it. The catch is accuracy. A bore path is only as good as the plan, the locating, and the operator’s control of grade. If the route must hit a specific depth at both ends and avoid unknown utilities, HDD may be right, but only if the contractor can document how they will verify the path.
Plowing is a good fit for long, relatively straight runs in open, unobstructed soil, especially for cable or conduit that does not require a large trench profile. It is efficient in rural settings, field edges, and utility corridors. It is a poor fit for rocky ground, tight urban lots, or anything near other buried services. I would not choose plowing where a service needs a bedded trench, multiple bends, or careful separation from existing lines.
Auger boring and jack-and-bore work best for roadways, rail crossings, or places where a casing is needed under load-bearing surfaces. This is the method I expect when a utility must preserve structural support and avoid settlement under traffic. It takes more setup, more equipment, and usually more time. It also needs better planning of alignment and casing size than a simple trench.
Hand excavation fits utility potholing, tie-ins, and any area where locate marks, shallow congestion, or uncertain as-built records make machine digging too risky. It is slow, but slow is sometimes the correct speed. A small exposed section can prevent a major strike. Ugly truth, but true.
For a local service business, the pricing usually follows the method and the restoration scope, not just the footage. A short open trench may be priced very differently from a 60-foot directional bore because the drill, tracking gear, and operator are specialized. What matters more than a generic price per foot is whether the quote includes locates, permits, spoil removal, casing, bedding, compaction, and final grading. A 2024 regional bid for a 60-foot HDD service crossing can run several thousand dollars before restoration, while a simple open trench on open soil may be far less, depending on access and surface repair.
How do utility line installation methods work step by step?
The job usually follows the same sequence even when the equipment changes. The middle changes; the logic does not. A good contractor will be able to explain each of these steps before the first bucket touches soil.
- Confirm the utility type, route, and endpoint requirements. Define whether the line is water, sewer, gas, electric conduit, telecom, or drainage, and mark the start and end points within about 1 foot of actual location. Verify the required depth, cover, slope, and any casing or separation rules. A problem shows up when the route has not been tied to existing structures, because the crew ends up improvising around unknown conflicts.
- Get locate tickets and mark known utilities. Before excavation or drilling, contact the local locate service and wait for the response window required in your area, often several business days. Verify that power, gas, telecom, and sewer marks are in the ground and that private utilities on the property have also been identified. A problem is any missing mark, faded paint, or utility record that conflicts with the route.
- Set the working width and access path. Establish entry, exit, spoil stockpile, and equipment access areas. For trenching, this may mean 2 to 4 feet of safe working width; for HDD, you also need space for the drill rig and mud handling. Verify there is room for the machine to operate without overreaching. A problem is a setup that forces the crew to dig from an awkward angle or cross unstable ground.
- Expose critical points by hand. Pothole or hand-dig around conflict points, often using a vacuum excavator or hand tools depending on conditions and local practice. Verify the actual position and depth of existing utilities before the main run begins. A problem is finding a utility where records said there would be none, which means the route has to change.
- Install the line using the chosen method. For trenching, excavate to the design depth, place bedding, and lay the pipe or conduit with the correct slope and alignment. For HDD, steer the drill along the plan and monitor pullback force and fluid returns. For plowing, keep depth and tension within the equipment’s working range. Verify that the line stays continuous and undamaged during placement. A problem is kinking, ovaling, or excessive stress on the pipe or conduit.
- Check depth, slope, and separation before backfill. Measure cover against the local requirement and confirm the line stays clear of other utilities by the required horizontal and vertical separation. Sewer and drainage lines need slope control; pressure lines need secure bedding and alignment. A qualified contractor should confirm this before backfill. A problem is discovering after backfill that the line is too shallow, too steep, or too close to another service.
- Backfill in controlled layers. Place selected bedding around the line first, then backfill in lifts, often 6 to 12 inches at a time, compacting as required by the surface and jurisdiction. Verify that the line does not shift during backfill and that settlement does not start immediately. A problem is dumping heavy fill straight on the line, which can deform pipe or create voids that settle later.
- Restore the surface and document the run. Regrade soil, patch pavement, replace sod or aggregate, and record final line location if the jurisdiction or owner wants an as-built. Verify that access points, valves, handholes, and cleanouts remain visible and serviceable. A problem is “repair” that leaves a dip, a hump, or no record of where the line actually ended up.
The measurements in those steps matter because the failure modes are physical. A 1-inch mistake in depth can be a nonissue in a protected conduit run or a serious problem in a shallow service crossing. A 2-degree slope error on drainage may not sound dramatic, but it can create standing water. The method is only as good as the verification between each stage. On projects using HDD, bore path records and locating logs are often part of that verification.
What does a bad installation look like?
A bad utility line installation shows up as movement, shallow cover, poor restoration, or unexplained service problems after the crew leaves. The obvious signs are easy to spot: sunken trenches, cracking pavement, a conduit path that does not follow the planned line, exposed warning tape too close to the surface, or a cleanout and valve that are no longer reachable without digging.
The less obvious signs are more expensive. In water service work, a bad job can mean a line with repeated low spots where sediment collects, poor bedding that lets the pipe sag, or fittings under stress from a bend that should have been made with a longer sweep. In sewer work, an incorrect slope can cause frequent backups even when the pipe itself looks intact. In telecom, a crushed or sharply kinked conduit may not fail on day one but can make cable pulling impossible later. In gas work, unsupported or damaged pipe is not a cosmetic issue; it is a safety issue.
The most common sign of a poor HDD bore is not the bore itself but the aftermath: swelling ground from drilling fluid returns, surface heave, or a pullback that damaged the conduit because the bore path was too tight. A poor open trench often shows up as settlement because the backfill was dumped in too fast or not compacted in layers. A poor plowed installation often leaves a path that looks clean at the surface but cut too close to existing roots, rocks, or other utilities beneath.
I judge a job partly by whether the restoration matches the site. A lawn with a utility route should not look like a trench scar six months later. A driveway crossing should not flex, pump, or sink at the cut line. A utility corridor should be legible enough that the next crew can find and protect it. If the contractor cannot describe how they will restore the surface, that is often a warning sign.
Price and time are also clues. A quote that is far below others may omit locates, cleanup, concrete cutting, inspection, or traffic control. A timeline that sounds too fast may mean the contractor is skipping verification steps. The lowest number is not always the cheapest job if it leaves a repeat repair.
When should you stop and choose a different approach?
You should stop and change method when the site, the line type, or the surface makes the original plan unreliable. That is not a failure; it is normal field judgment.
There are no confirmed utility locates in the work area: you do not know what is under the ground — stop and wait for markings or use private locating and potholing first. Hitting an unmarked line can shut down the job and create a repair bill that dwarfs the installation cost.
The route crosses a paved driveway, sidewalk, or road: open cutting may be the wrong choice — switch to boring, auger boring, or a method approved by the owner or municipality. Cutting hard surface adds saw-cutting, patching, and settlement risk.
The soil is rocky, root-filled, saturated, or collapsing: the trench or bore may not hold shape — change the method or add casing, shoring, dewatering, or hand excavation as needed. In unstable ground, a fast method can become unsafe and cause damage around the trench line.
The line needs a precise slope, especially sewer or drainage: plowing or a poorly controlled bore may not hold grade — use open-cut trenching or a guided bore system with verification. A slope error can create standing water or recurring backups.
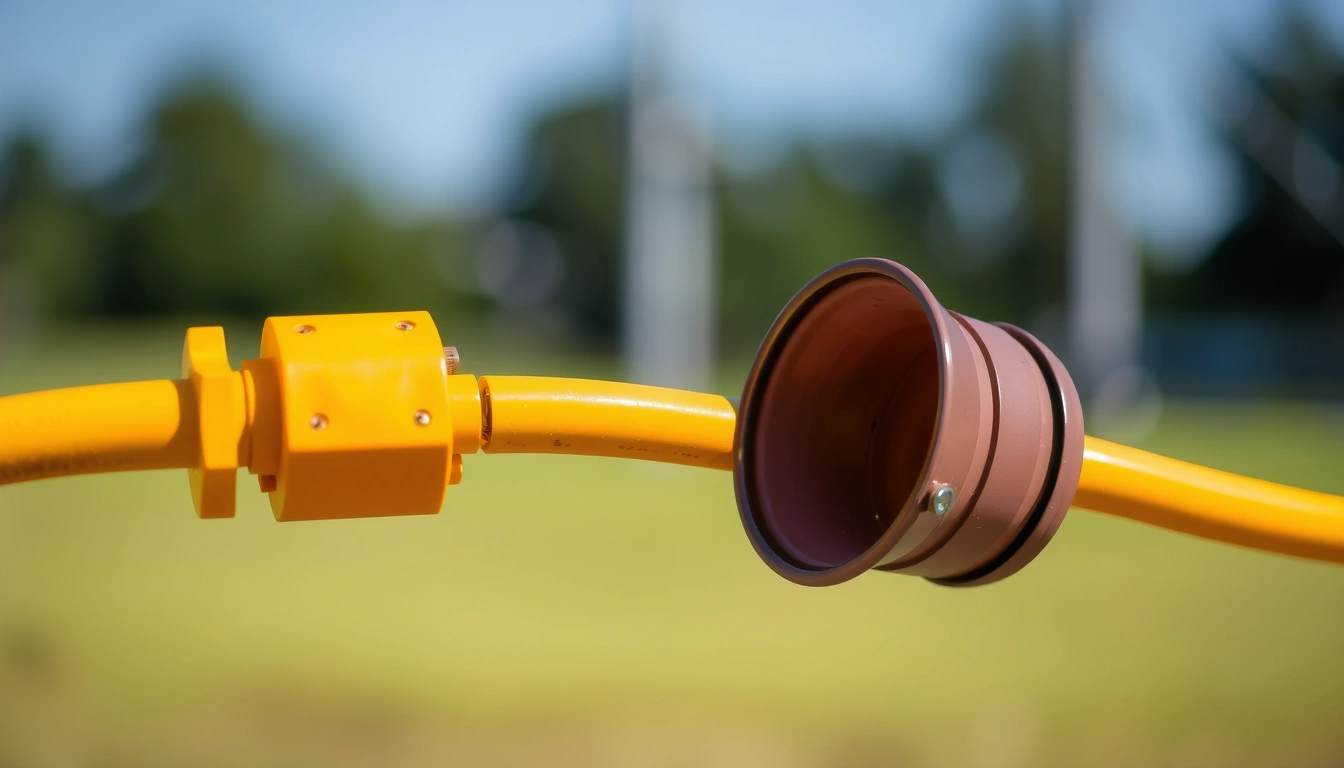
The utility is gas, electric service, or another high-consequence connection: the route may be simple, but the tie-in and test are not — stop before any live connection and use a qualified contractor who can handle the code, inspection, and utility coordination. A small error here can create a major hazard.
The property owner wants minimal surface disturbance but the route has unknown obstacles: a trenchless method may still be possible, but only after potholing and route confirmation — otherwise the bore risk rises sharply. A failed bore can cost more than a controlled trench.
The job needs traffic control, trench shoring, or excavation deeper than the local safe slope allows: the install is no longer a simple cut-and-cover task — change the plan to one that meets the site safety requirements. A deep trench without proper protection is not a shortcut; it is a liability.
This is where a contractor’s honesty matters. A good contractor does not force one method onto every site. If they keep steering every job to the same machine, I would ask why.
What should you ask a contractor before you sign?
You should ask about route control, restoration, depth, and what is included in the quote. The point is to learn whether the contractor is pricing a complete installation or just the digging.
Ask what method they intend to use and why. “Trench, bore, plow, or auger?” is a better question than “How much per foot?” A real answer should mention soil, surface type, and the utility itself. If you get a vague answer about doing “whatever is easiest,” that is a weak sign.
Ask how they will verify depth and separation before backfill. For many residential or light commercial jobs, the key issue is not simply getting the line underground but getting it underground at the right cover and away from conflicts. If the answer is only “we’ve done this before,” that is not enough. I want to hear about potholing, depth checks, or locates.
Ask whether the quote includes locates, concrete cutting, spoils removal, bedding, compaction, inspection coordination, and final restoration. A quote that leaves out half of those items may look cheap and then grow. Restoration is often where the budget slips. Concrete, asphalt, sod, and hauling spoil can add more than many people expect.